Category: DIY

science activities you can do at home, science crafts, scientist favorite recipes, science travel, fashion and beauty science, science art, mods

  • Raindrop Cake, Not a Cake?

    Raindrop Cake, Not a Cake?

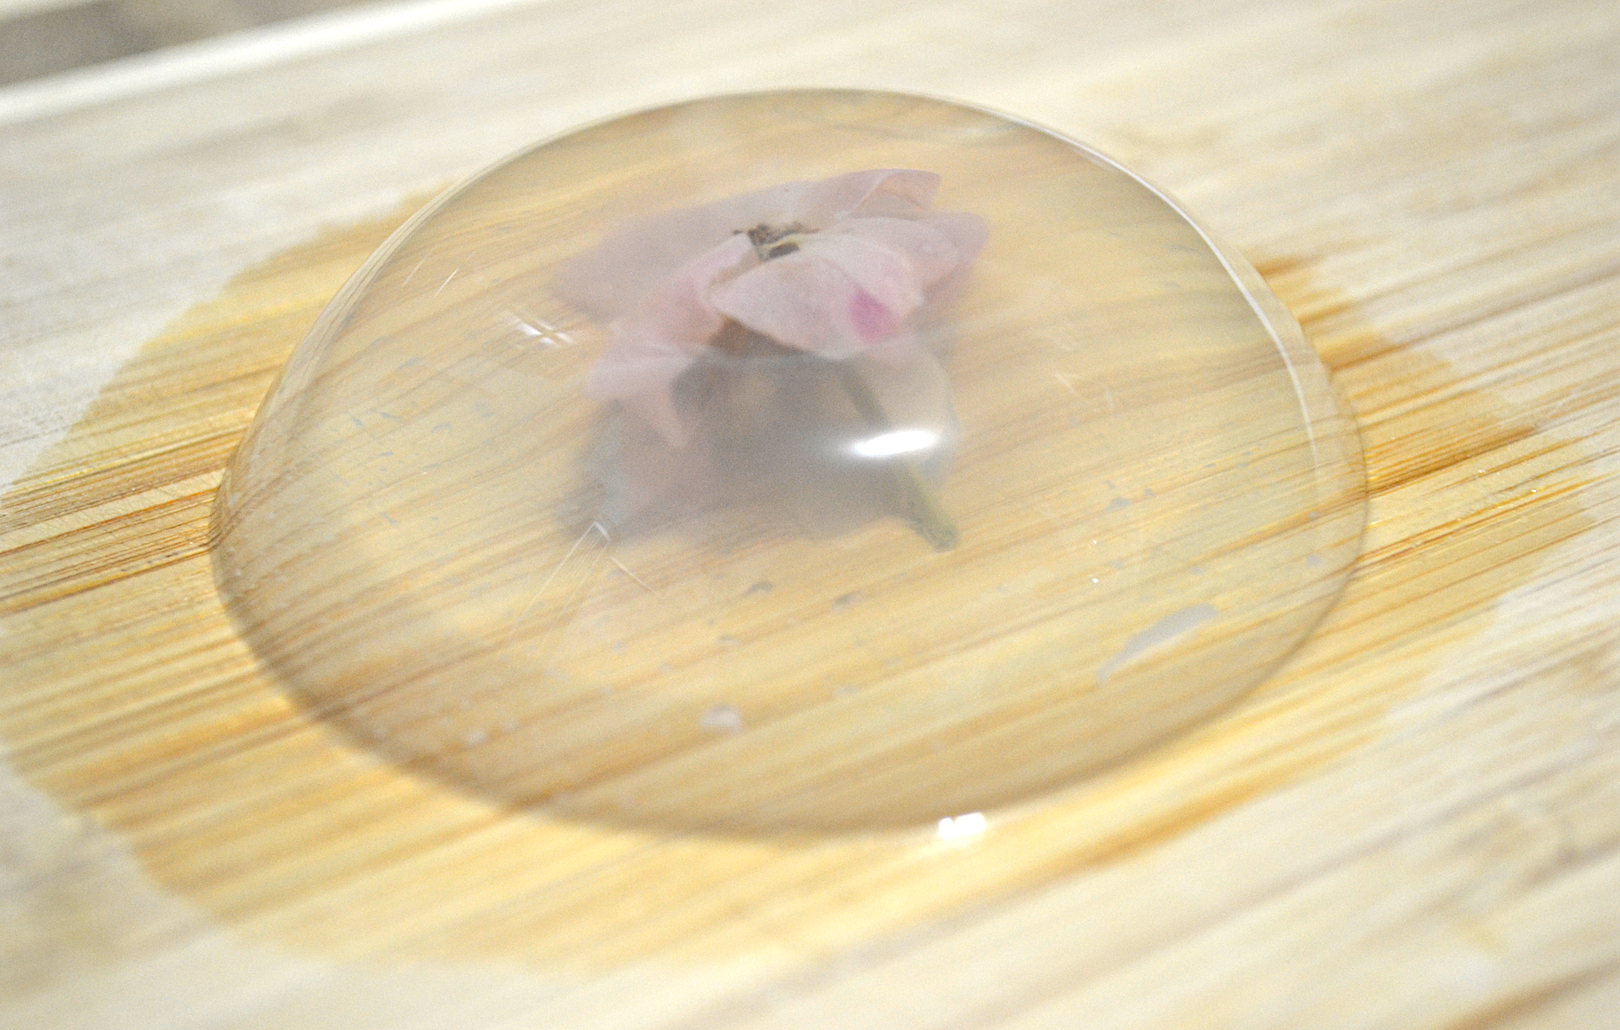
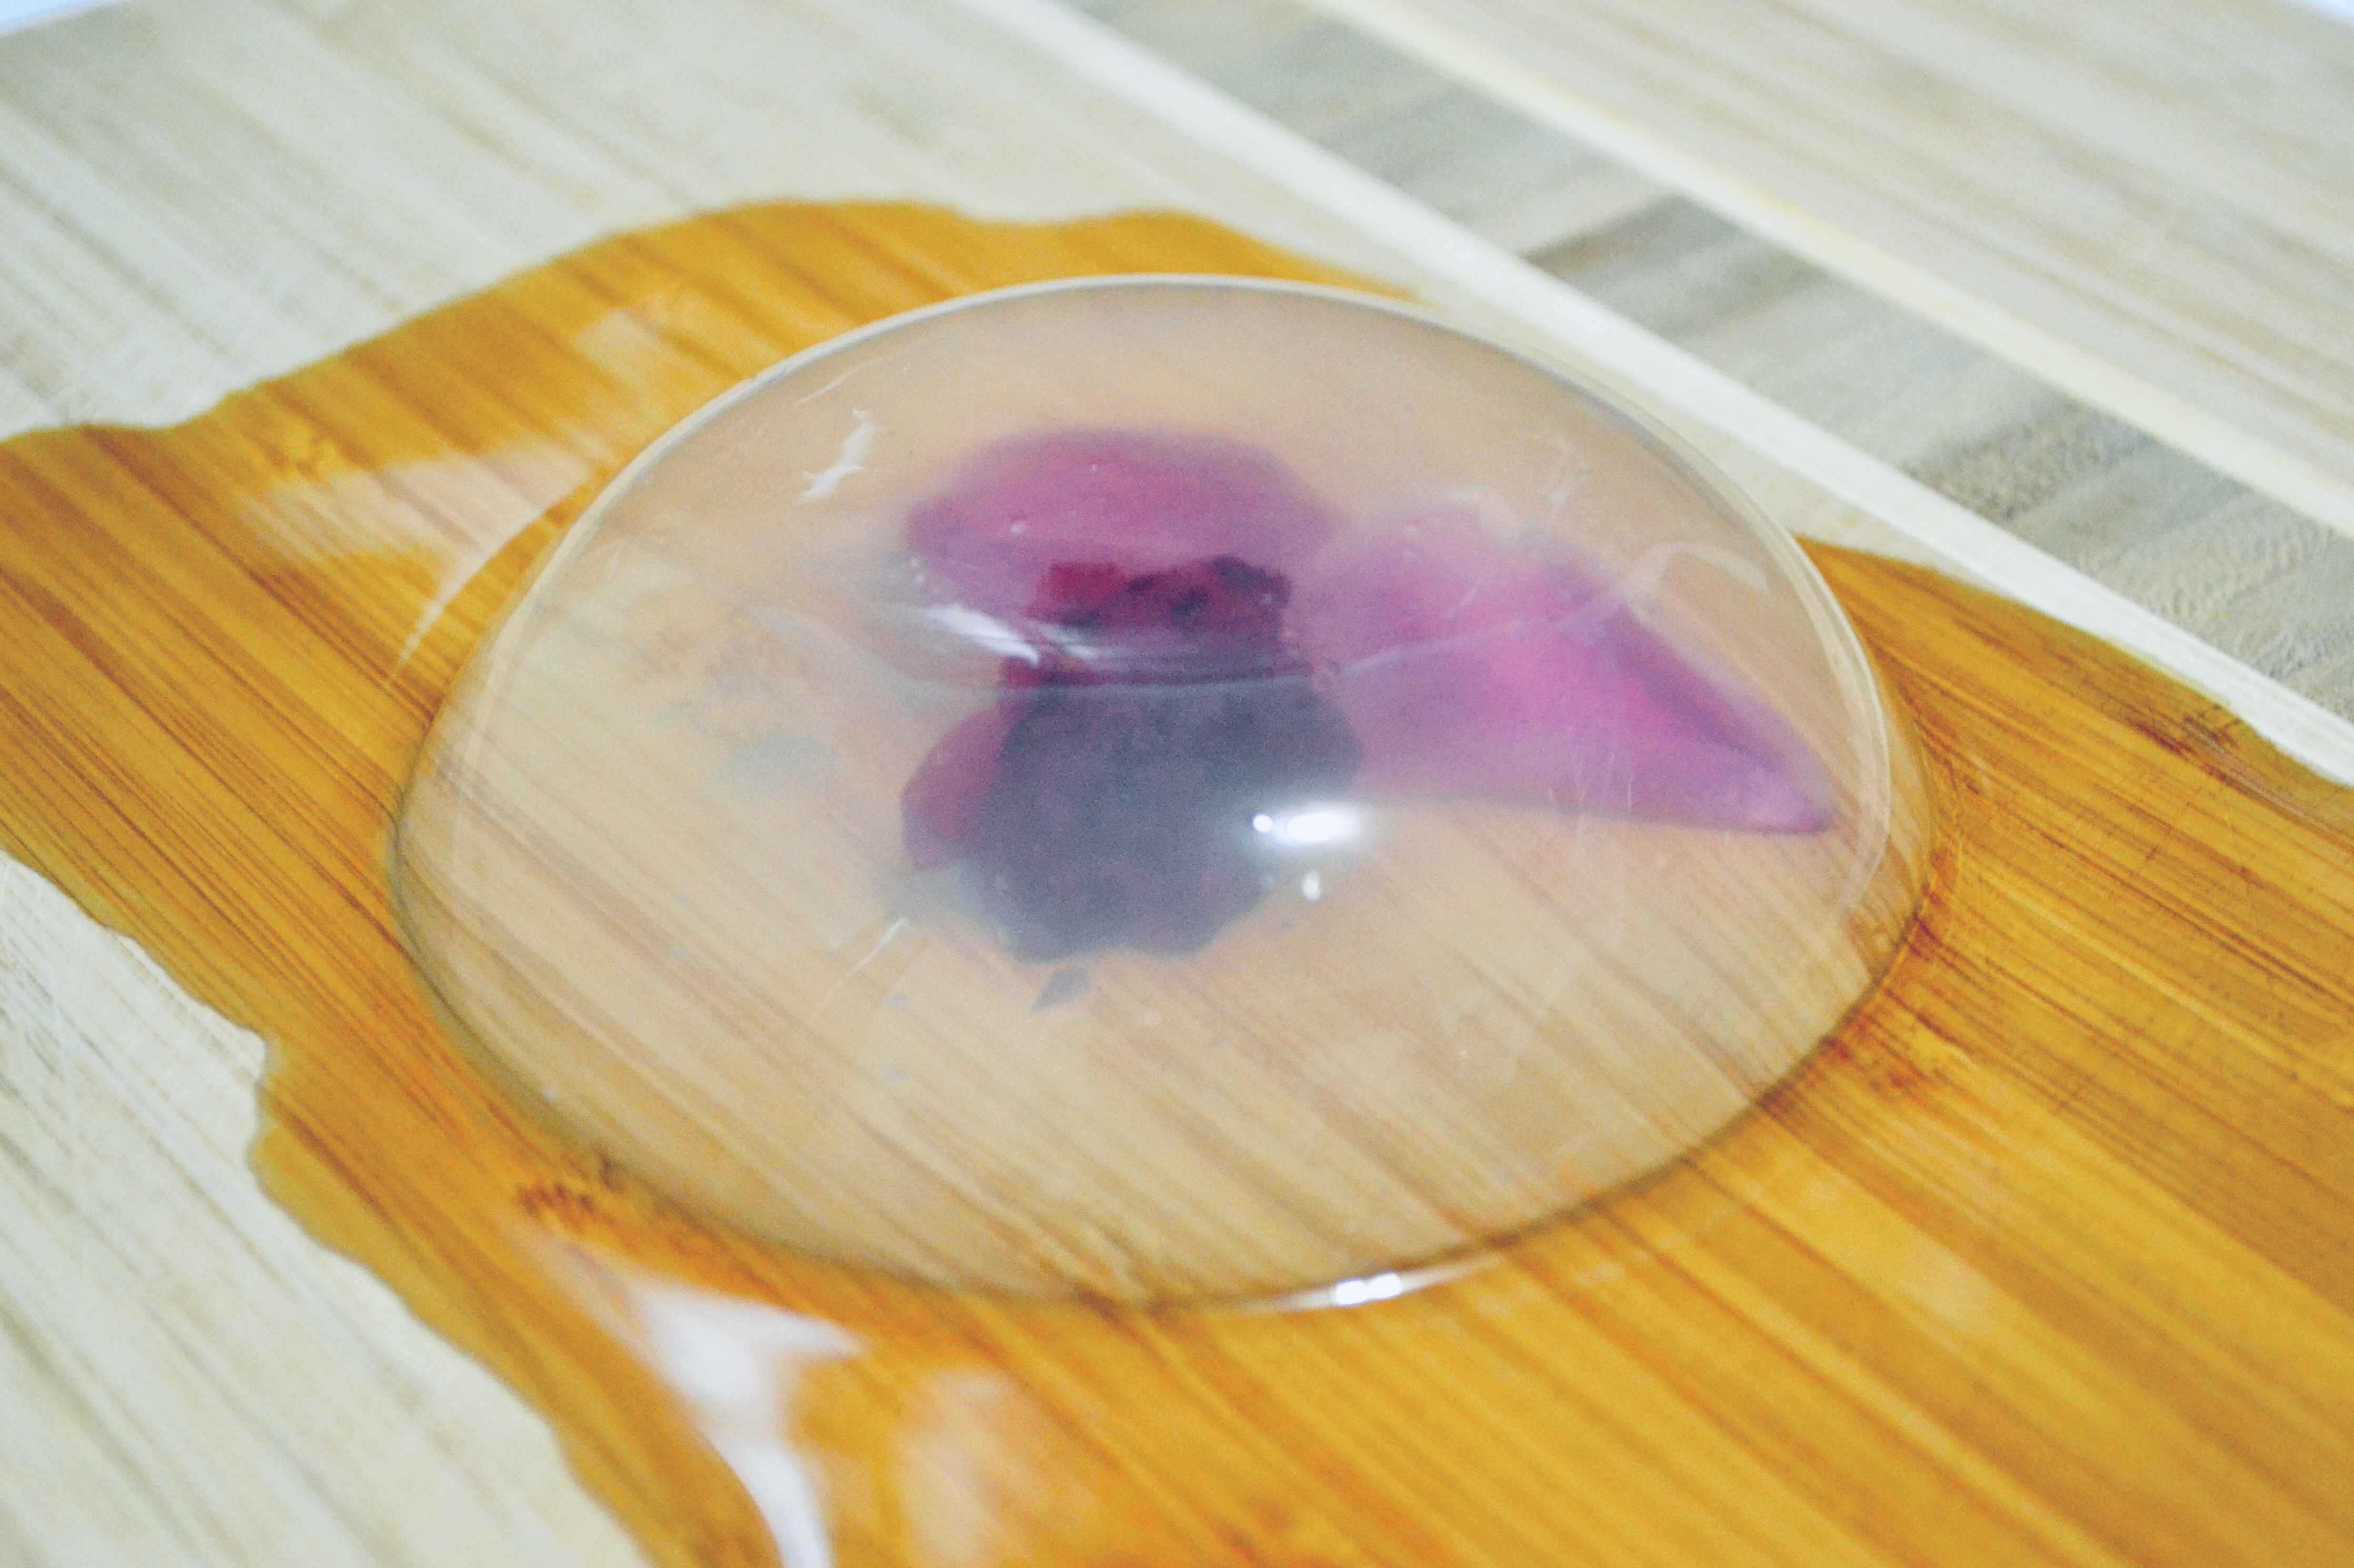
    Have you ever wondered what a raindrop would taste like if it was transformed into cake form? Look no further! Raindrop cake, albeit very different from your typical, traditional cake, will let you have a truly magical experience.
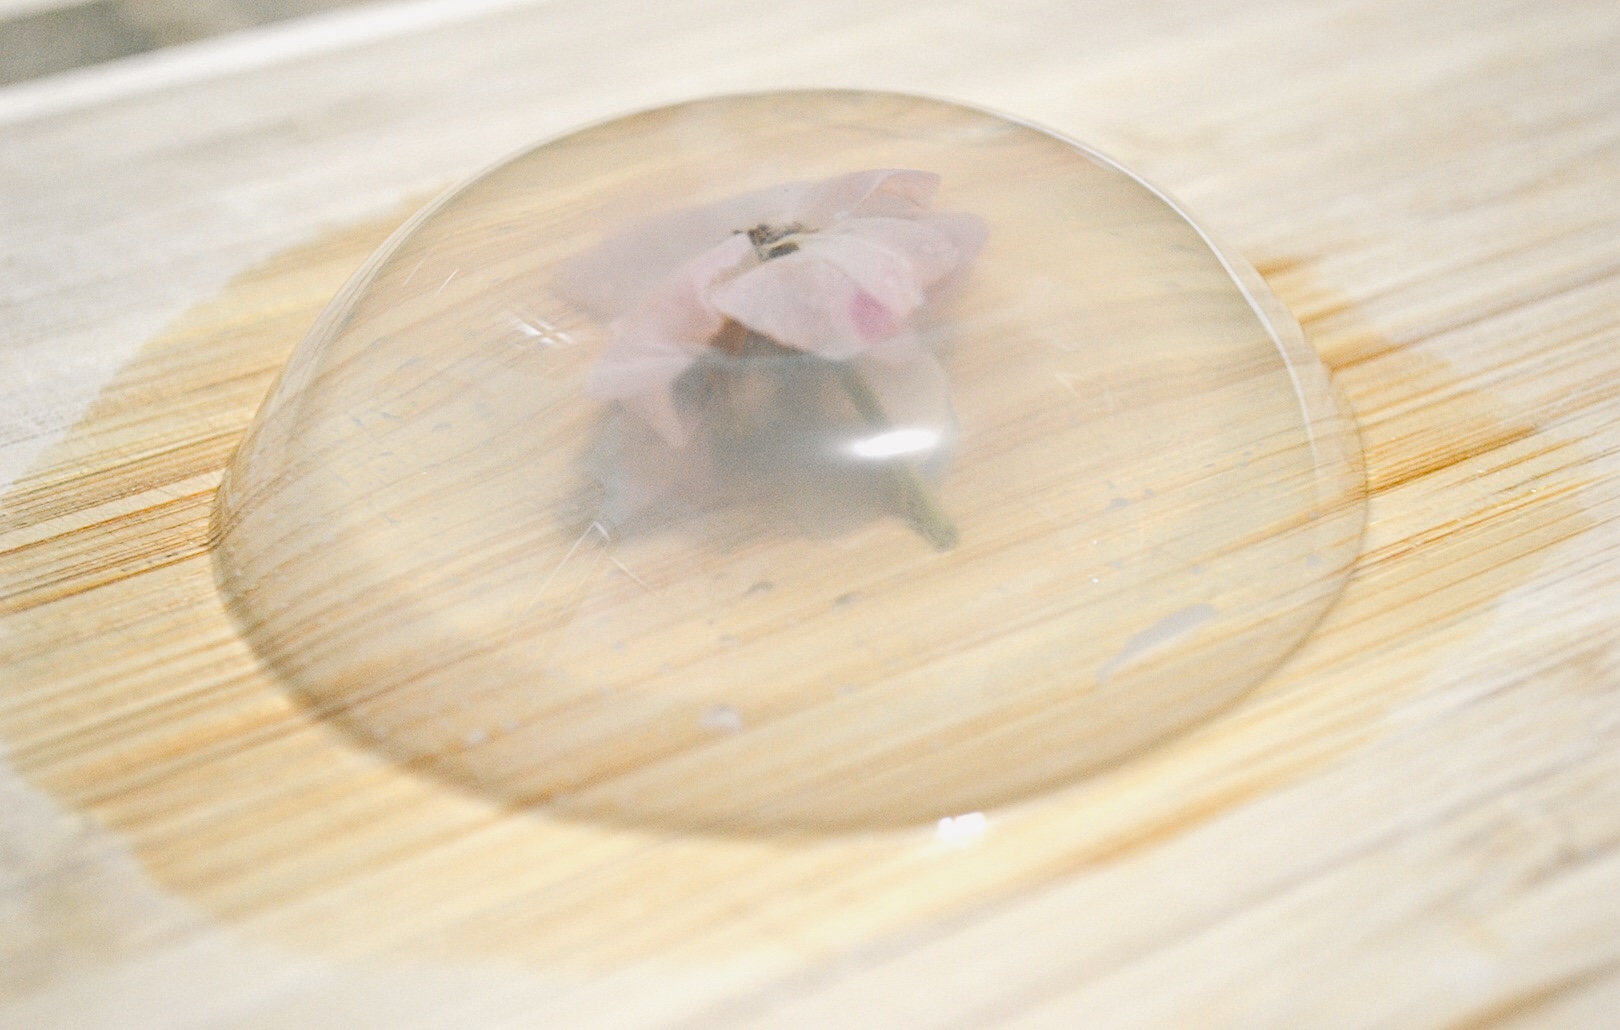
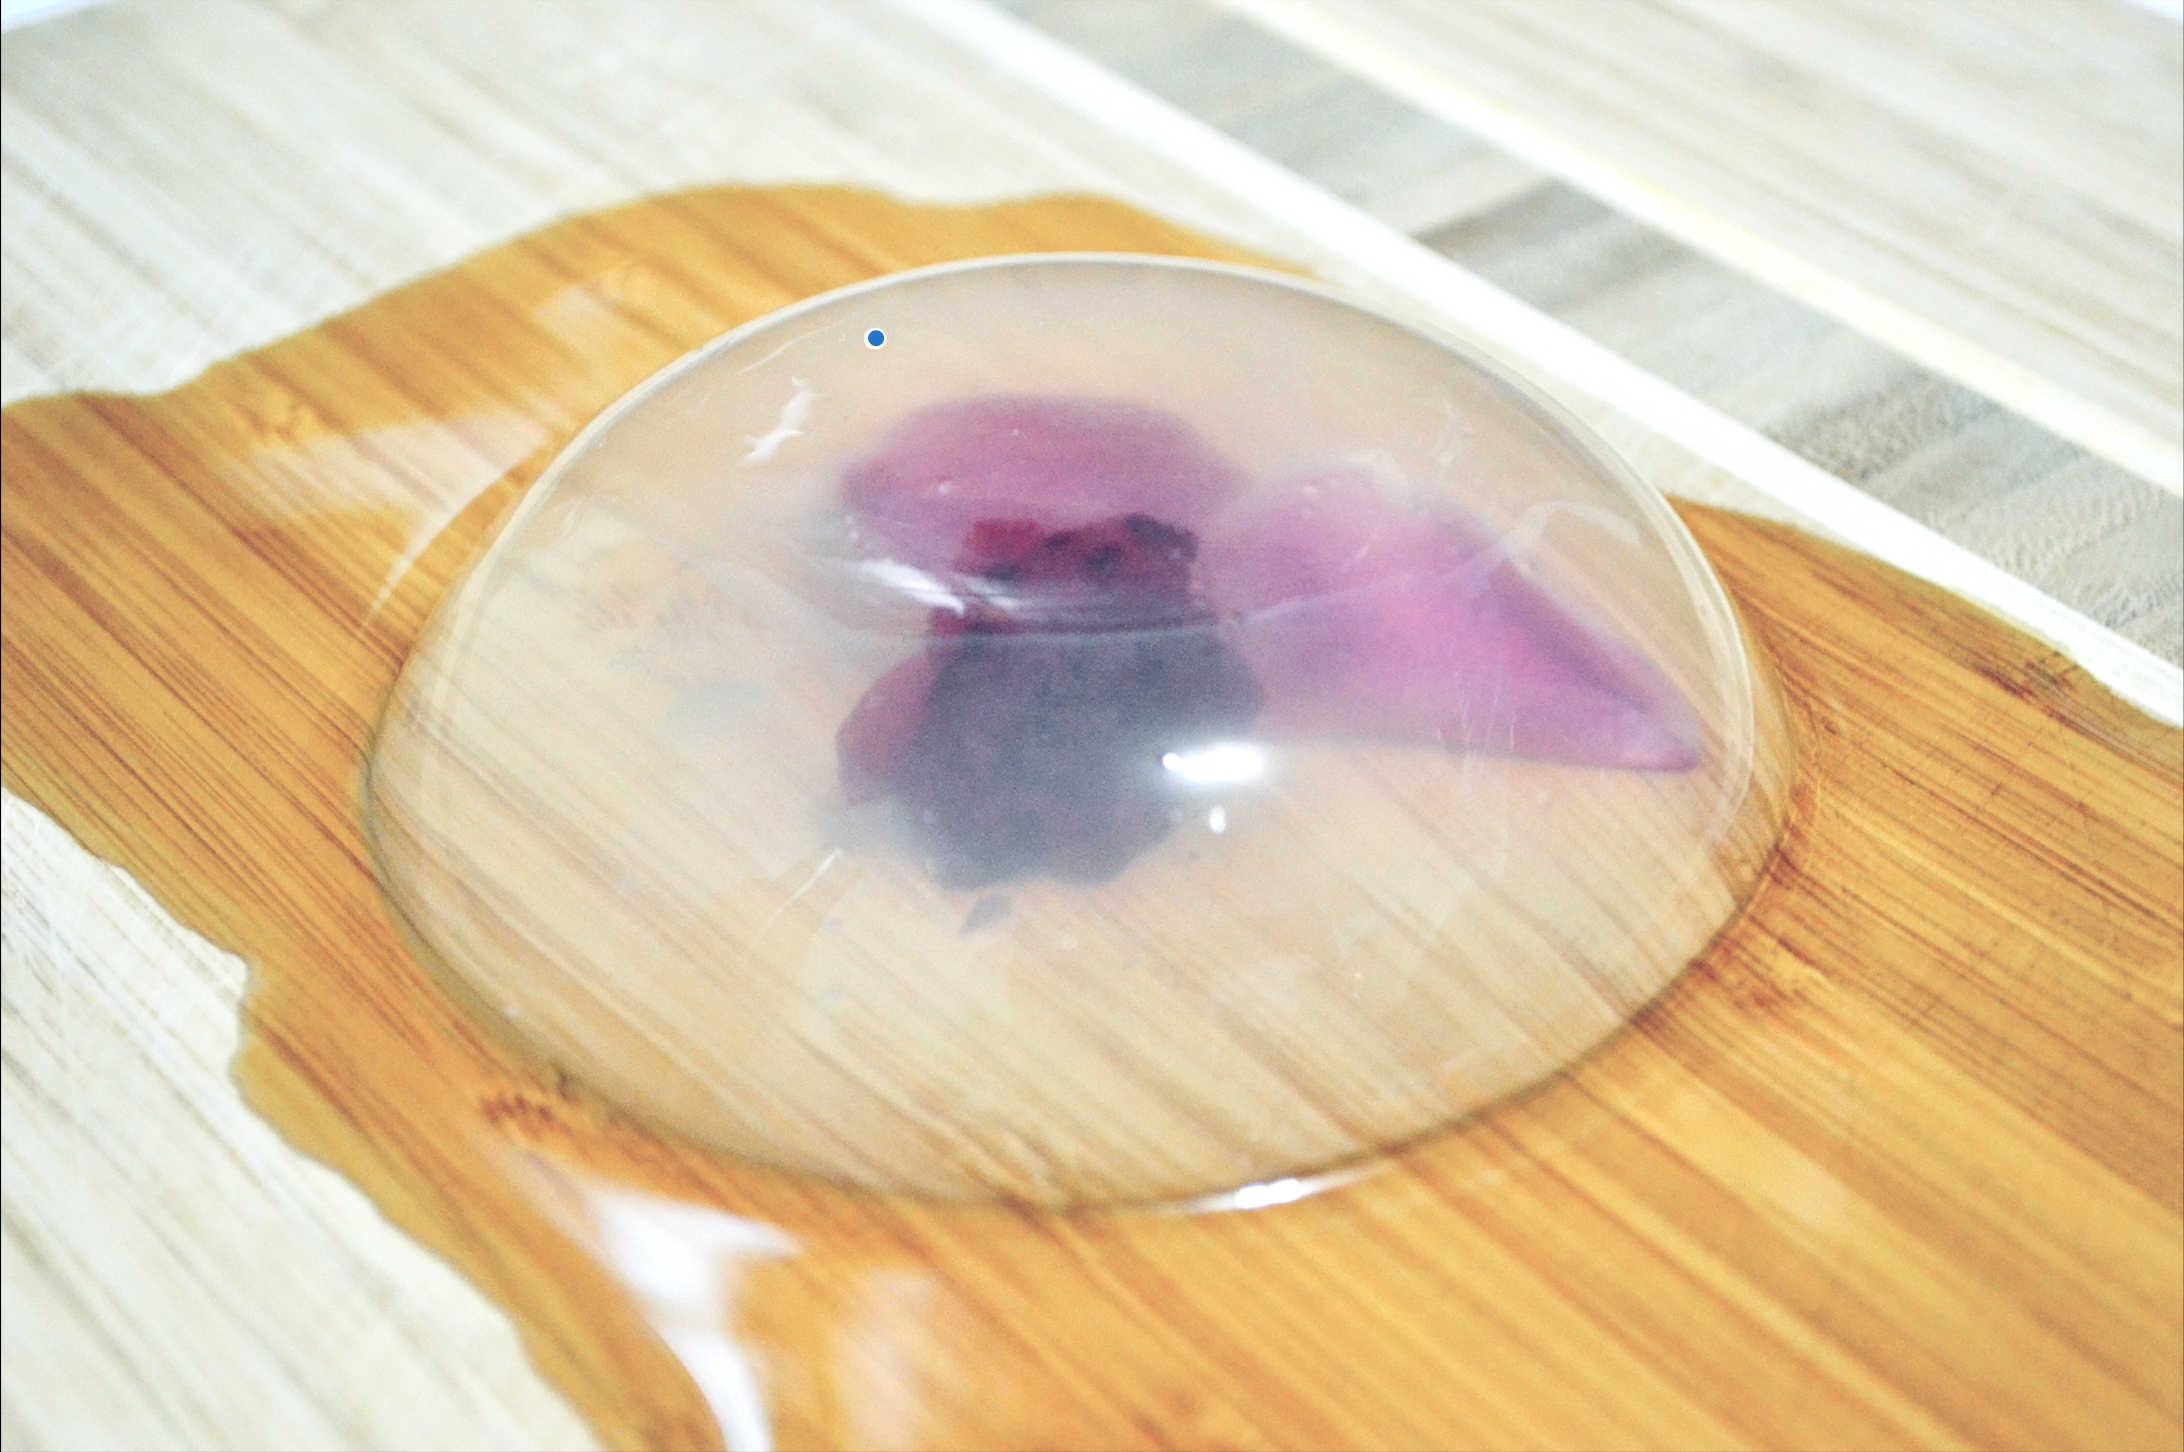
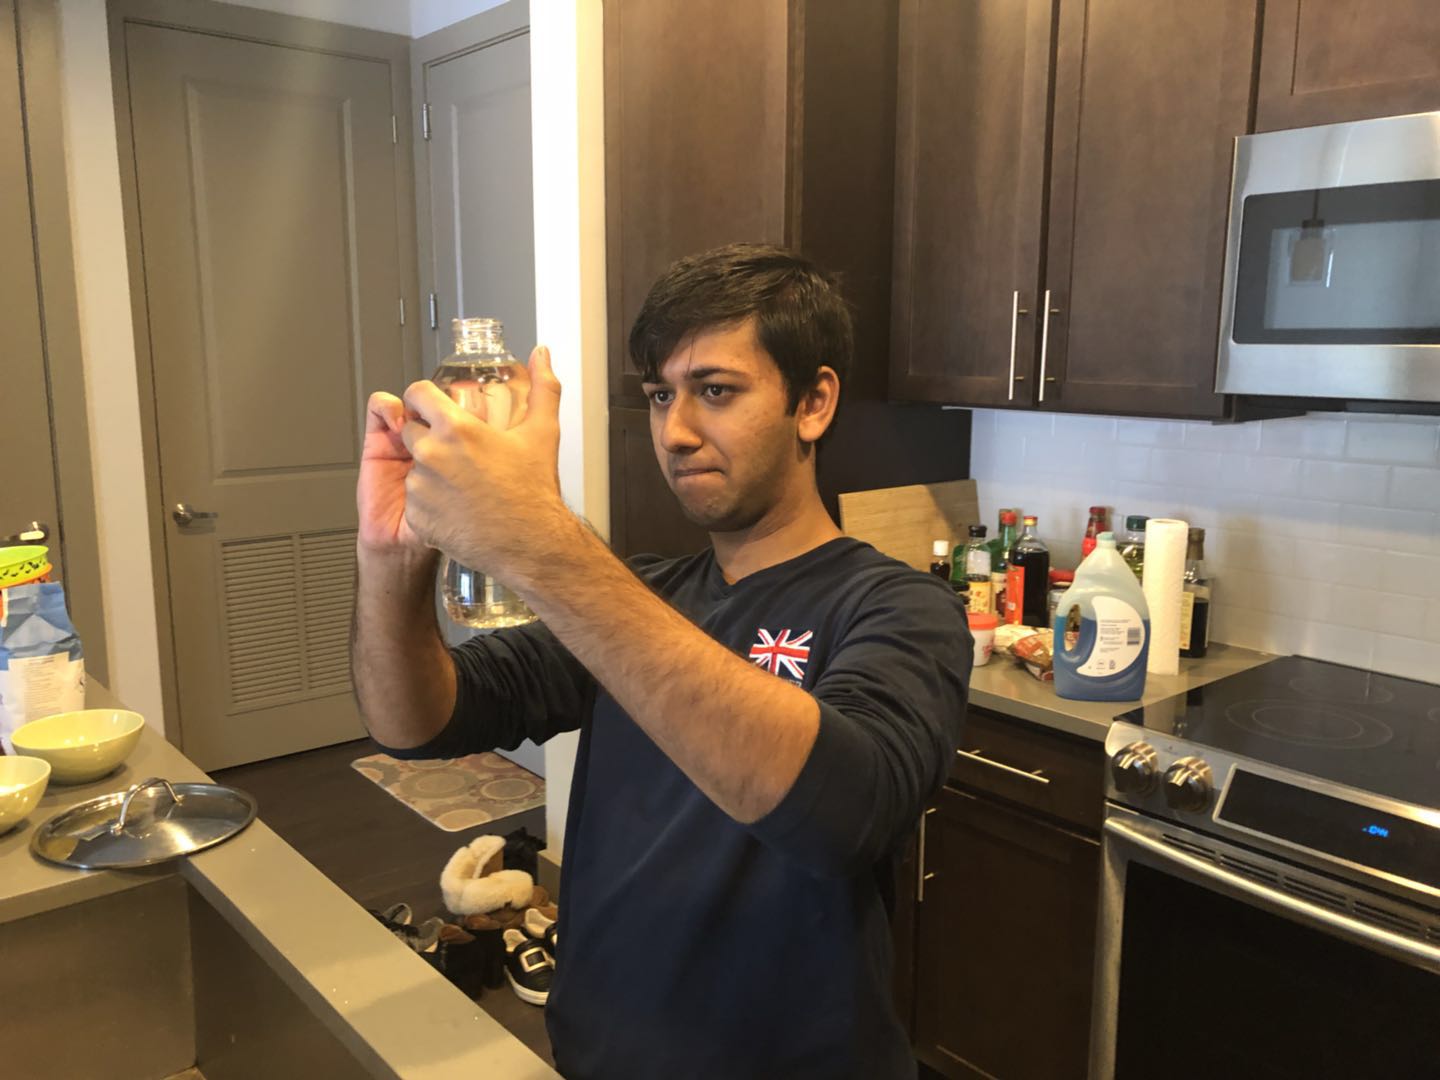
    IMG_1885                                                         My first attempt!

    Screen Shot 2018-11-01 at 8.50.37 PM

    My second attempt!

    I’ve always loved scrolling through food reviews and videos. One trend that emerged in recent years caught my eye. It was a clear, beautiful jelly bubble resembling a raindrop. It seemed so unique that I set out on a journey to try creating it myself, and it was definitely not an easy task. Being able to set the cake while trying to keep it light, soft, and bouncy and to where you’re able to feel like you’re eating a drop of water took many trials and errors. Keep reading to discover more about the secret ingredient and how you can make your own raindrop cake!

    Raindrop cake, also known as Mizu Shingen Mochi, was first created by the Kinseiken Seika Company in Japan, using two main ingredients: fresh, mineral water from the Japanese Alps and agar. This light, refreshing delicacy resembles a jiggly, blob of jello, but will melt in your mouth and fill it with a hint of sweetness and nuttiness when paired with brown syrup and roasted soybean flour. But beware! If not eaten immediately, this dessert will dissolve and vanish within 30 minutes as recipe calls for the minimal amount of agar.

    The key ingredient that solidifies water into a raindrop cake is a polysaccharide known as agar-agar. Agar is made from seaweed or red algae, Gelidium amansii. It was first introduced in Japan over 350 years ago, in 1658, and is still commonly used to this day due to the hydrocolloid properties and agarose composition that allow it to form gel-like substances using hydrogen bonding in the presence of water. Agar is also unique in that its thickening properties are reversible; disintegration occurs when temperatures are varied.
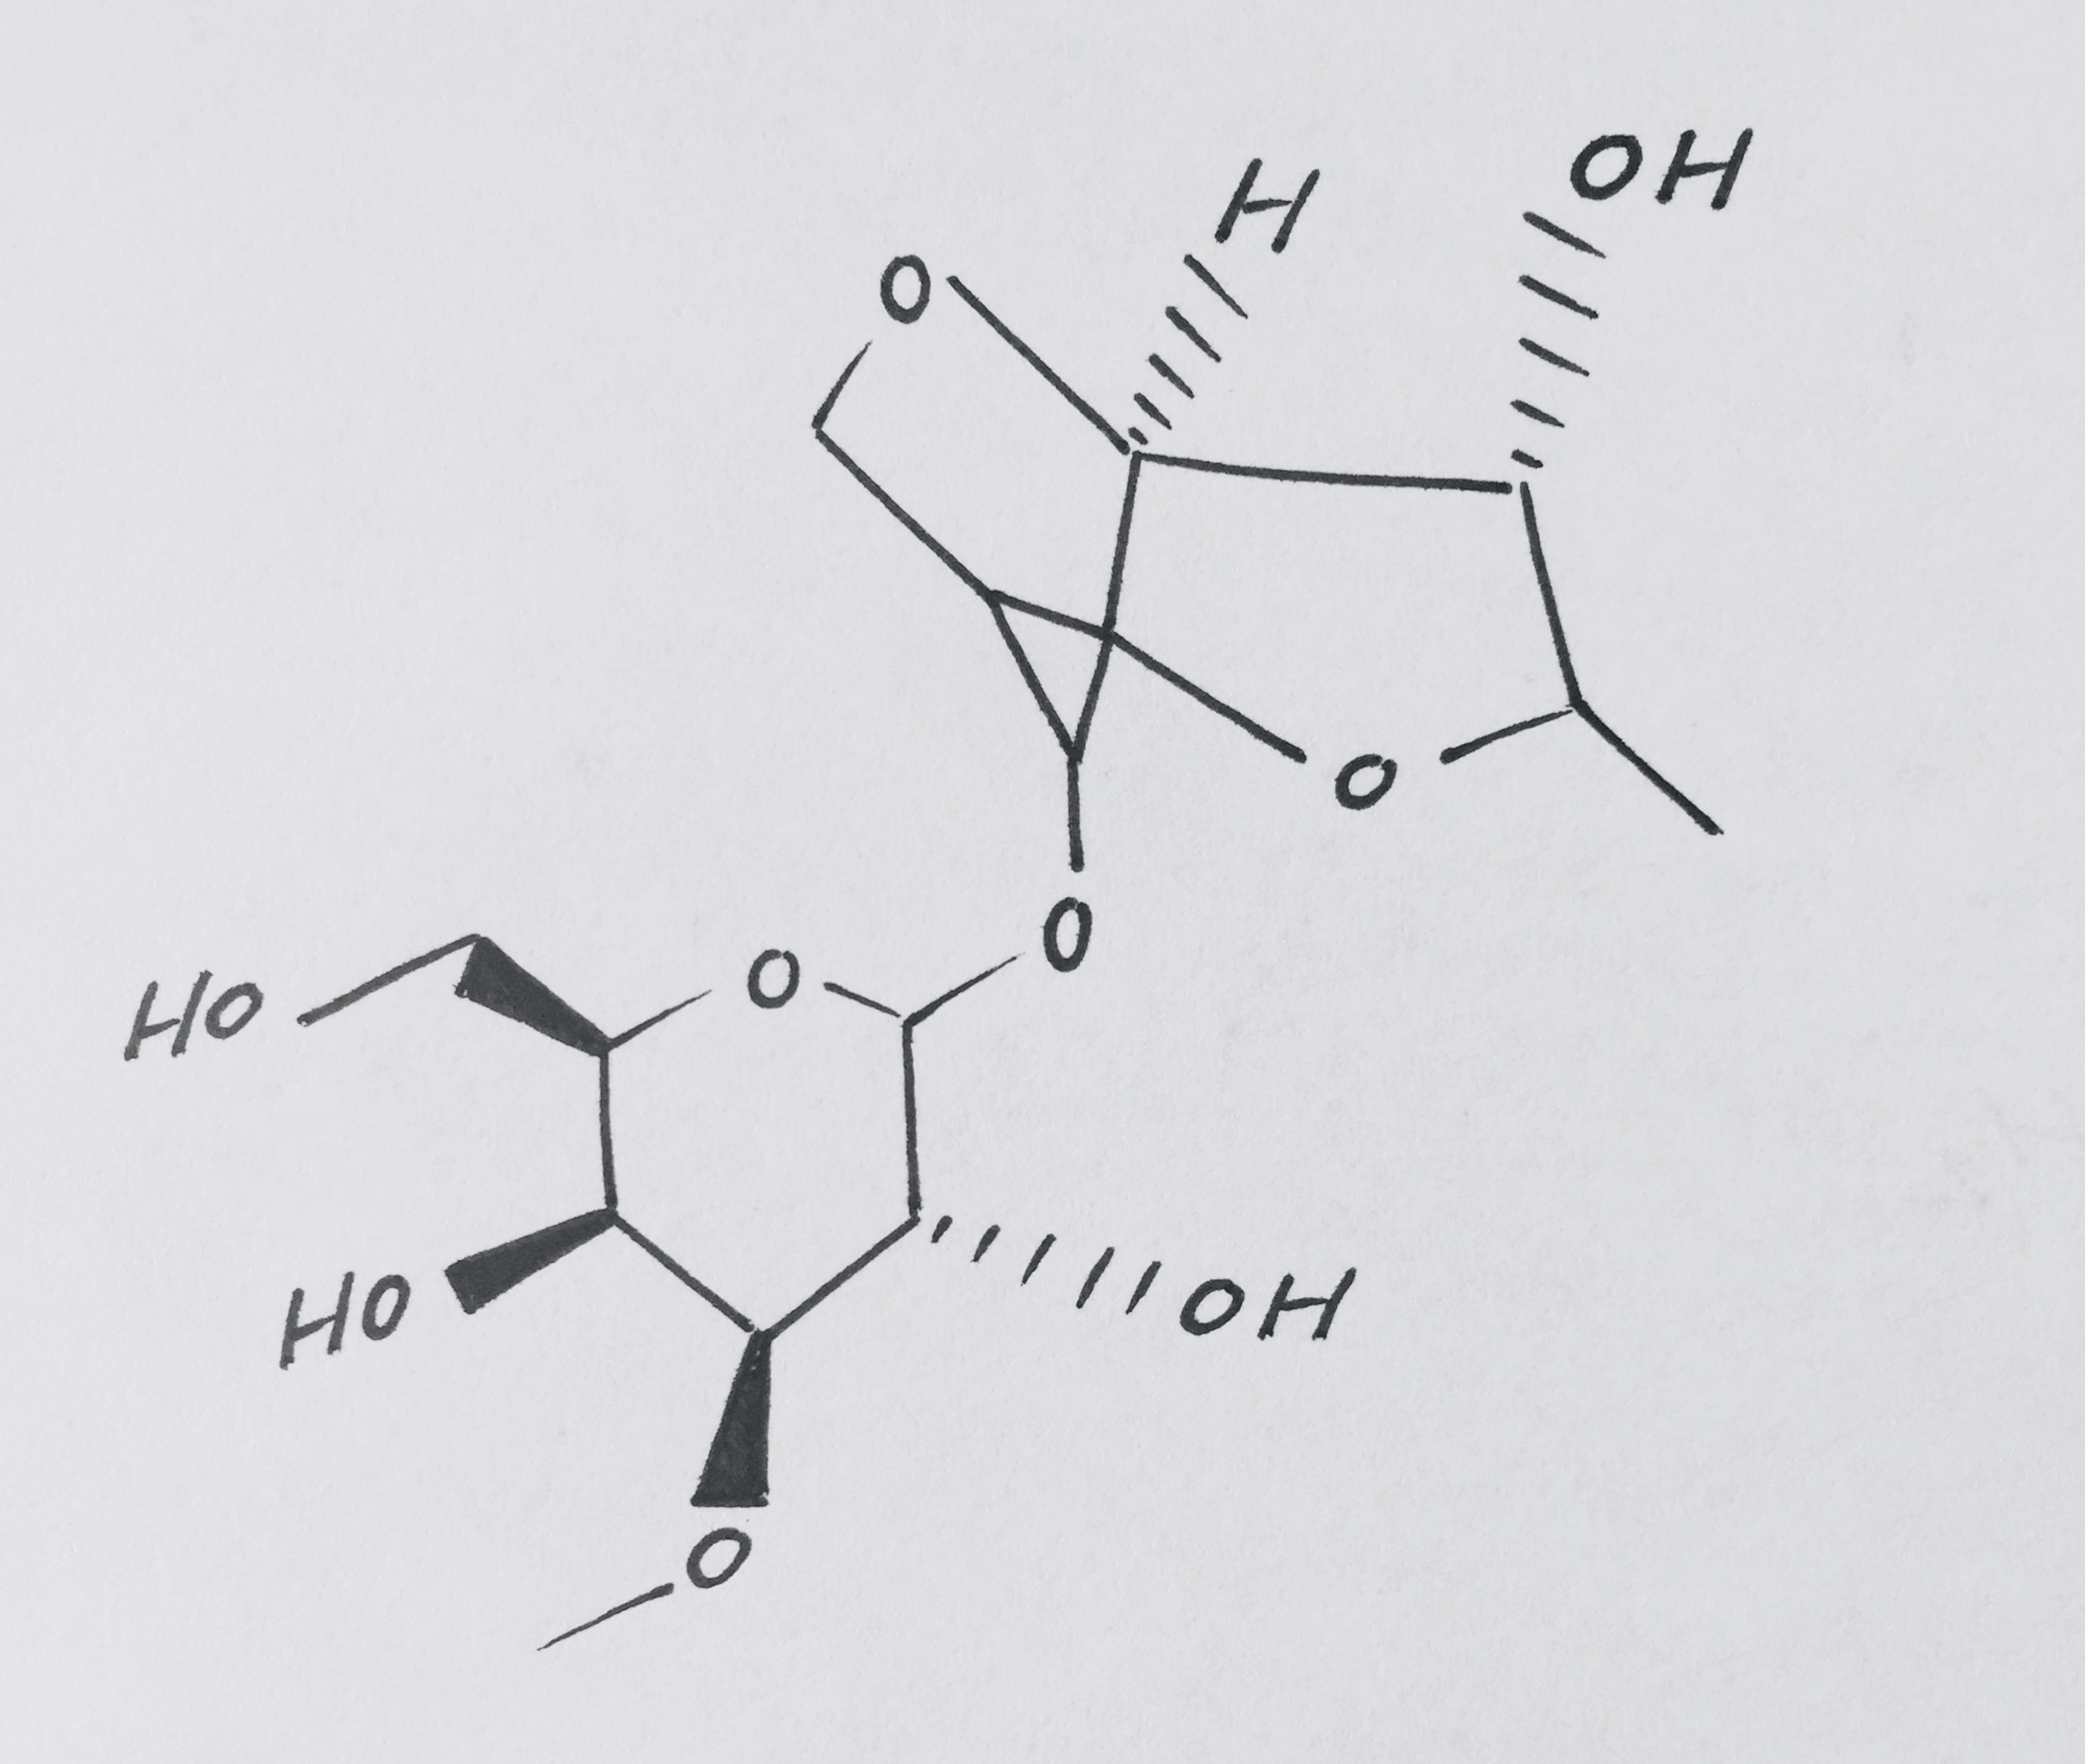
    IMG_1883The structure of agar.

    Due to agar’s gelling ability and the ease at which substances can be gelled, melted, and reformed, agar has numerous uses. One of the most common applications of agar can be found in the food industry. Agar is used in canning foods and is also tasteless, making it a perfect addition to foods and desserts that need thickening such as ice cream, icings, puddings, cookies, jelly, and pie fillings. It can also be found as an agar jelly or as a crystal boba topping in many bubble tea drinks. It has also been used as a laxative and in diets due to its ability to stimulate fullness using low calories.
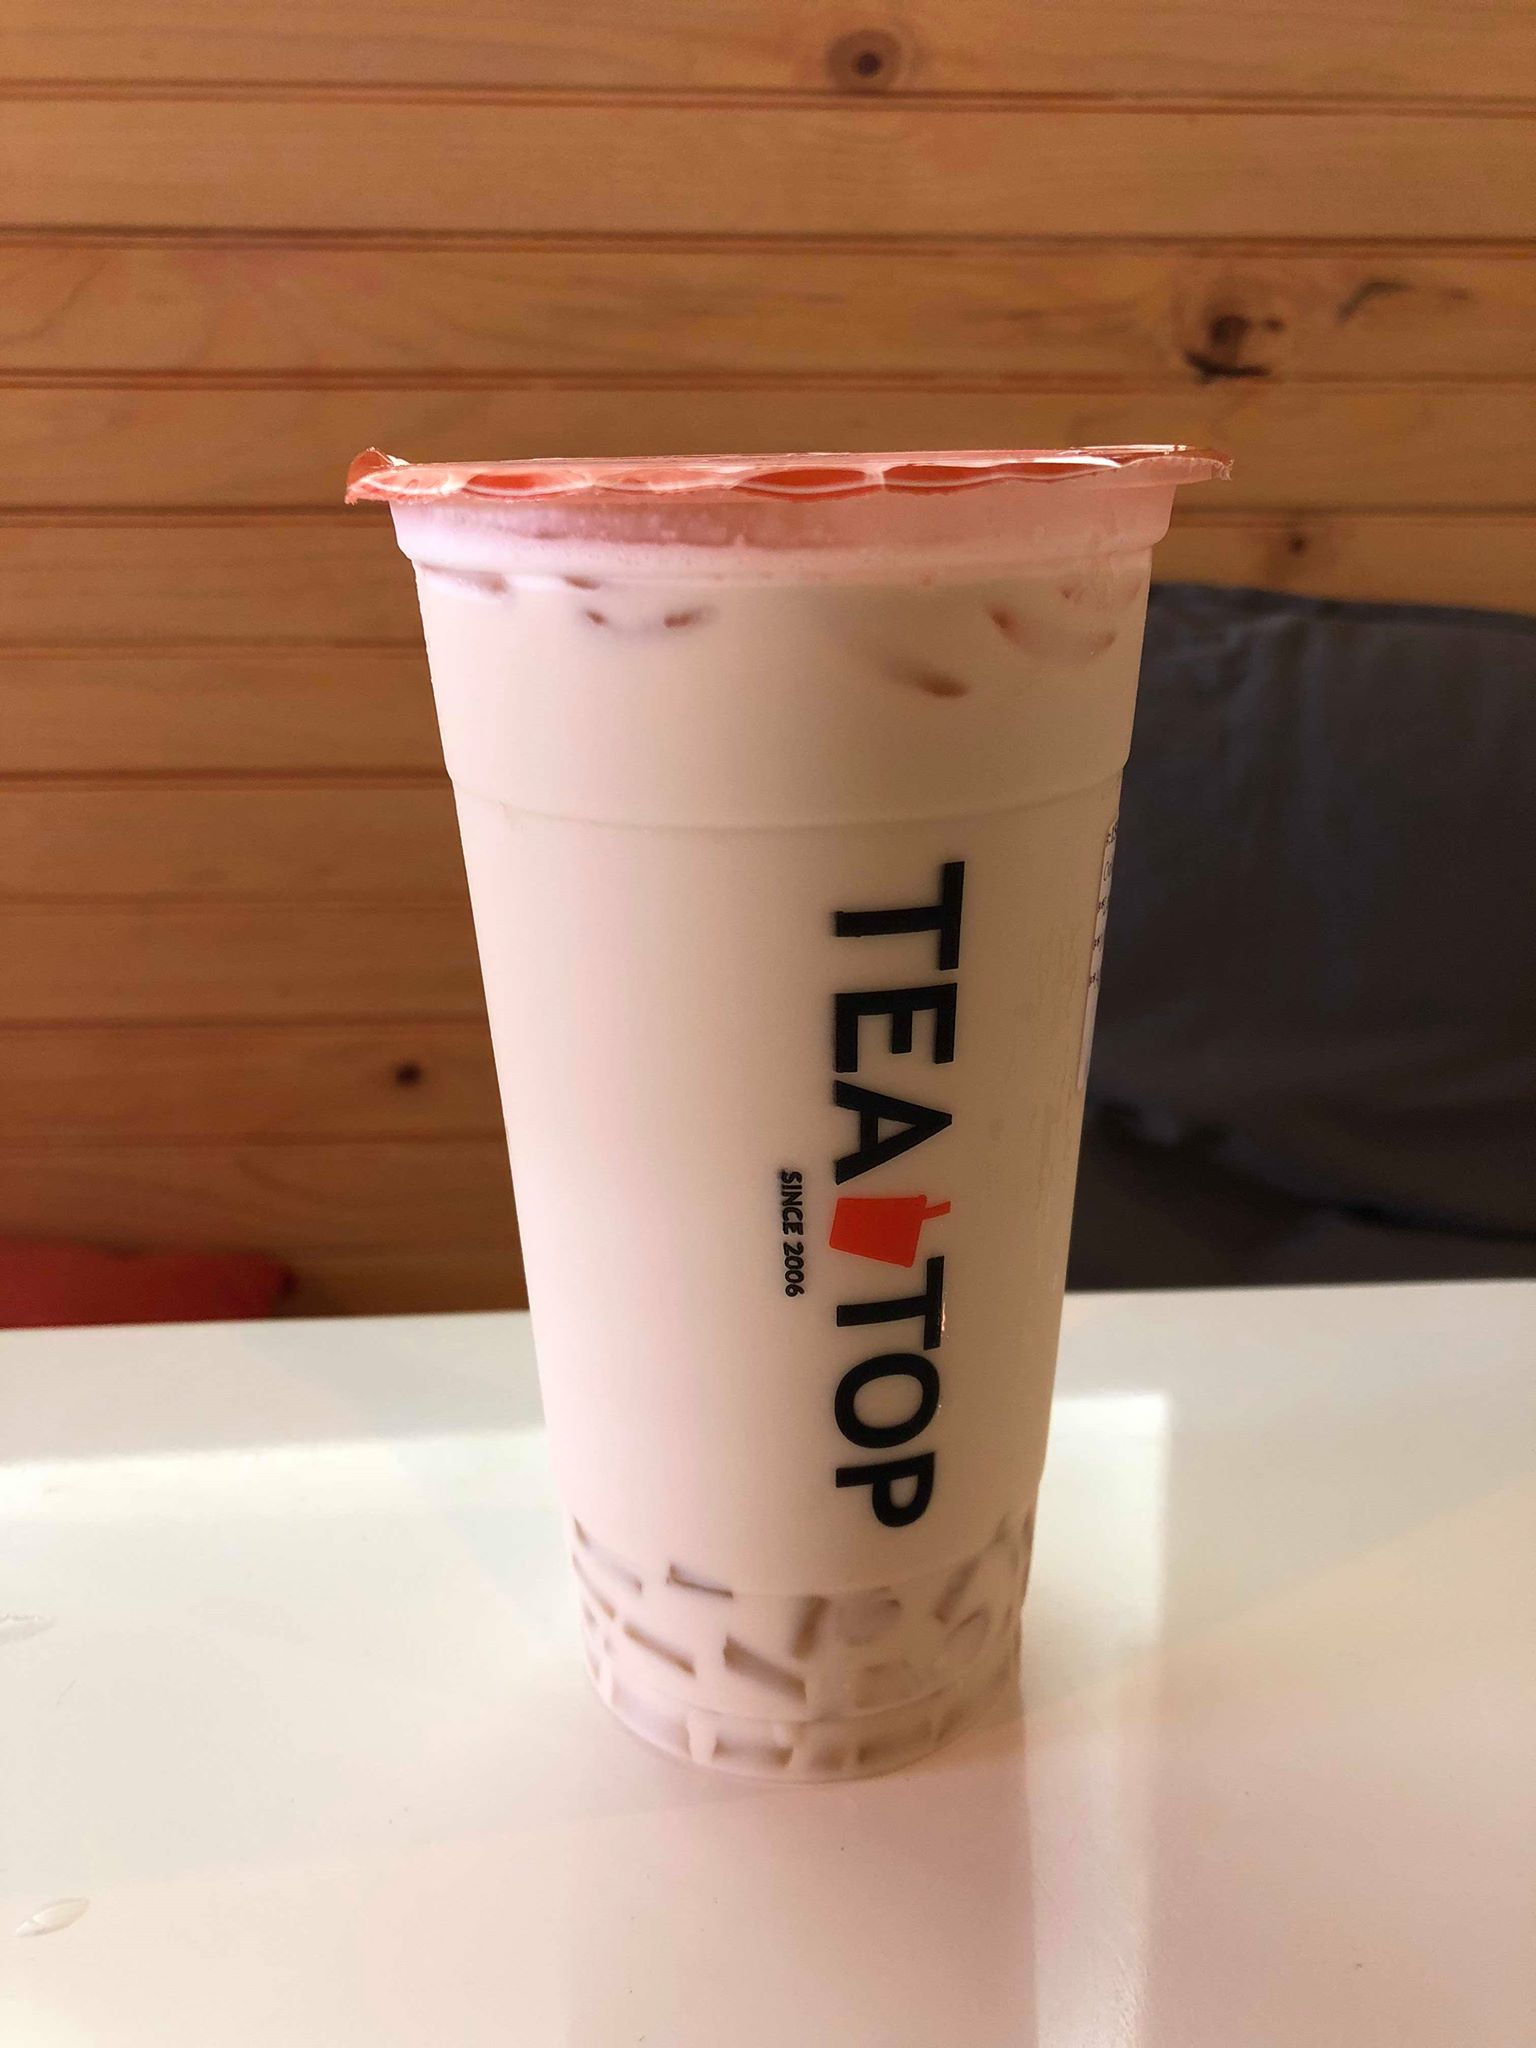
    bubbleAgar jelly used as a topping for bubble tea.
    This was the first time I’ve ever had agar jelly, and I haven’t looked back since! Yum!

    Application in biology labs as a medium to breed insects like silkworms and fruit flies or to culture bacteria and yeasts is also common.
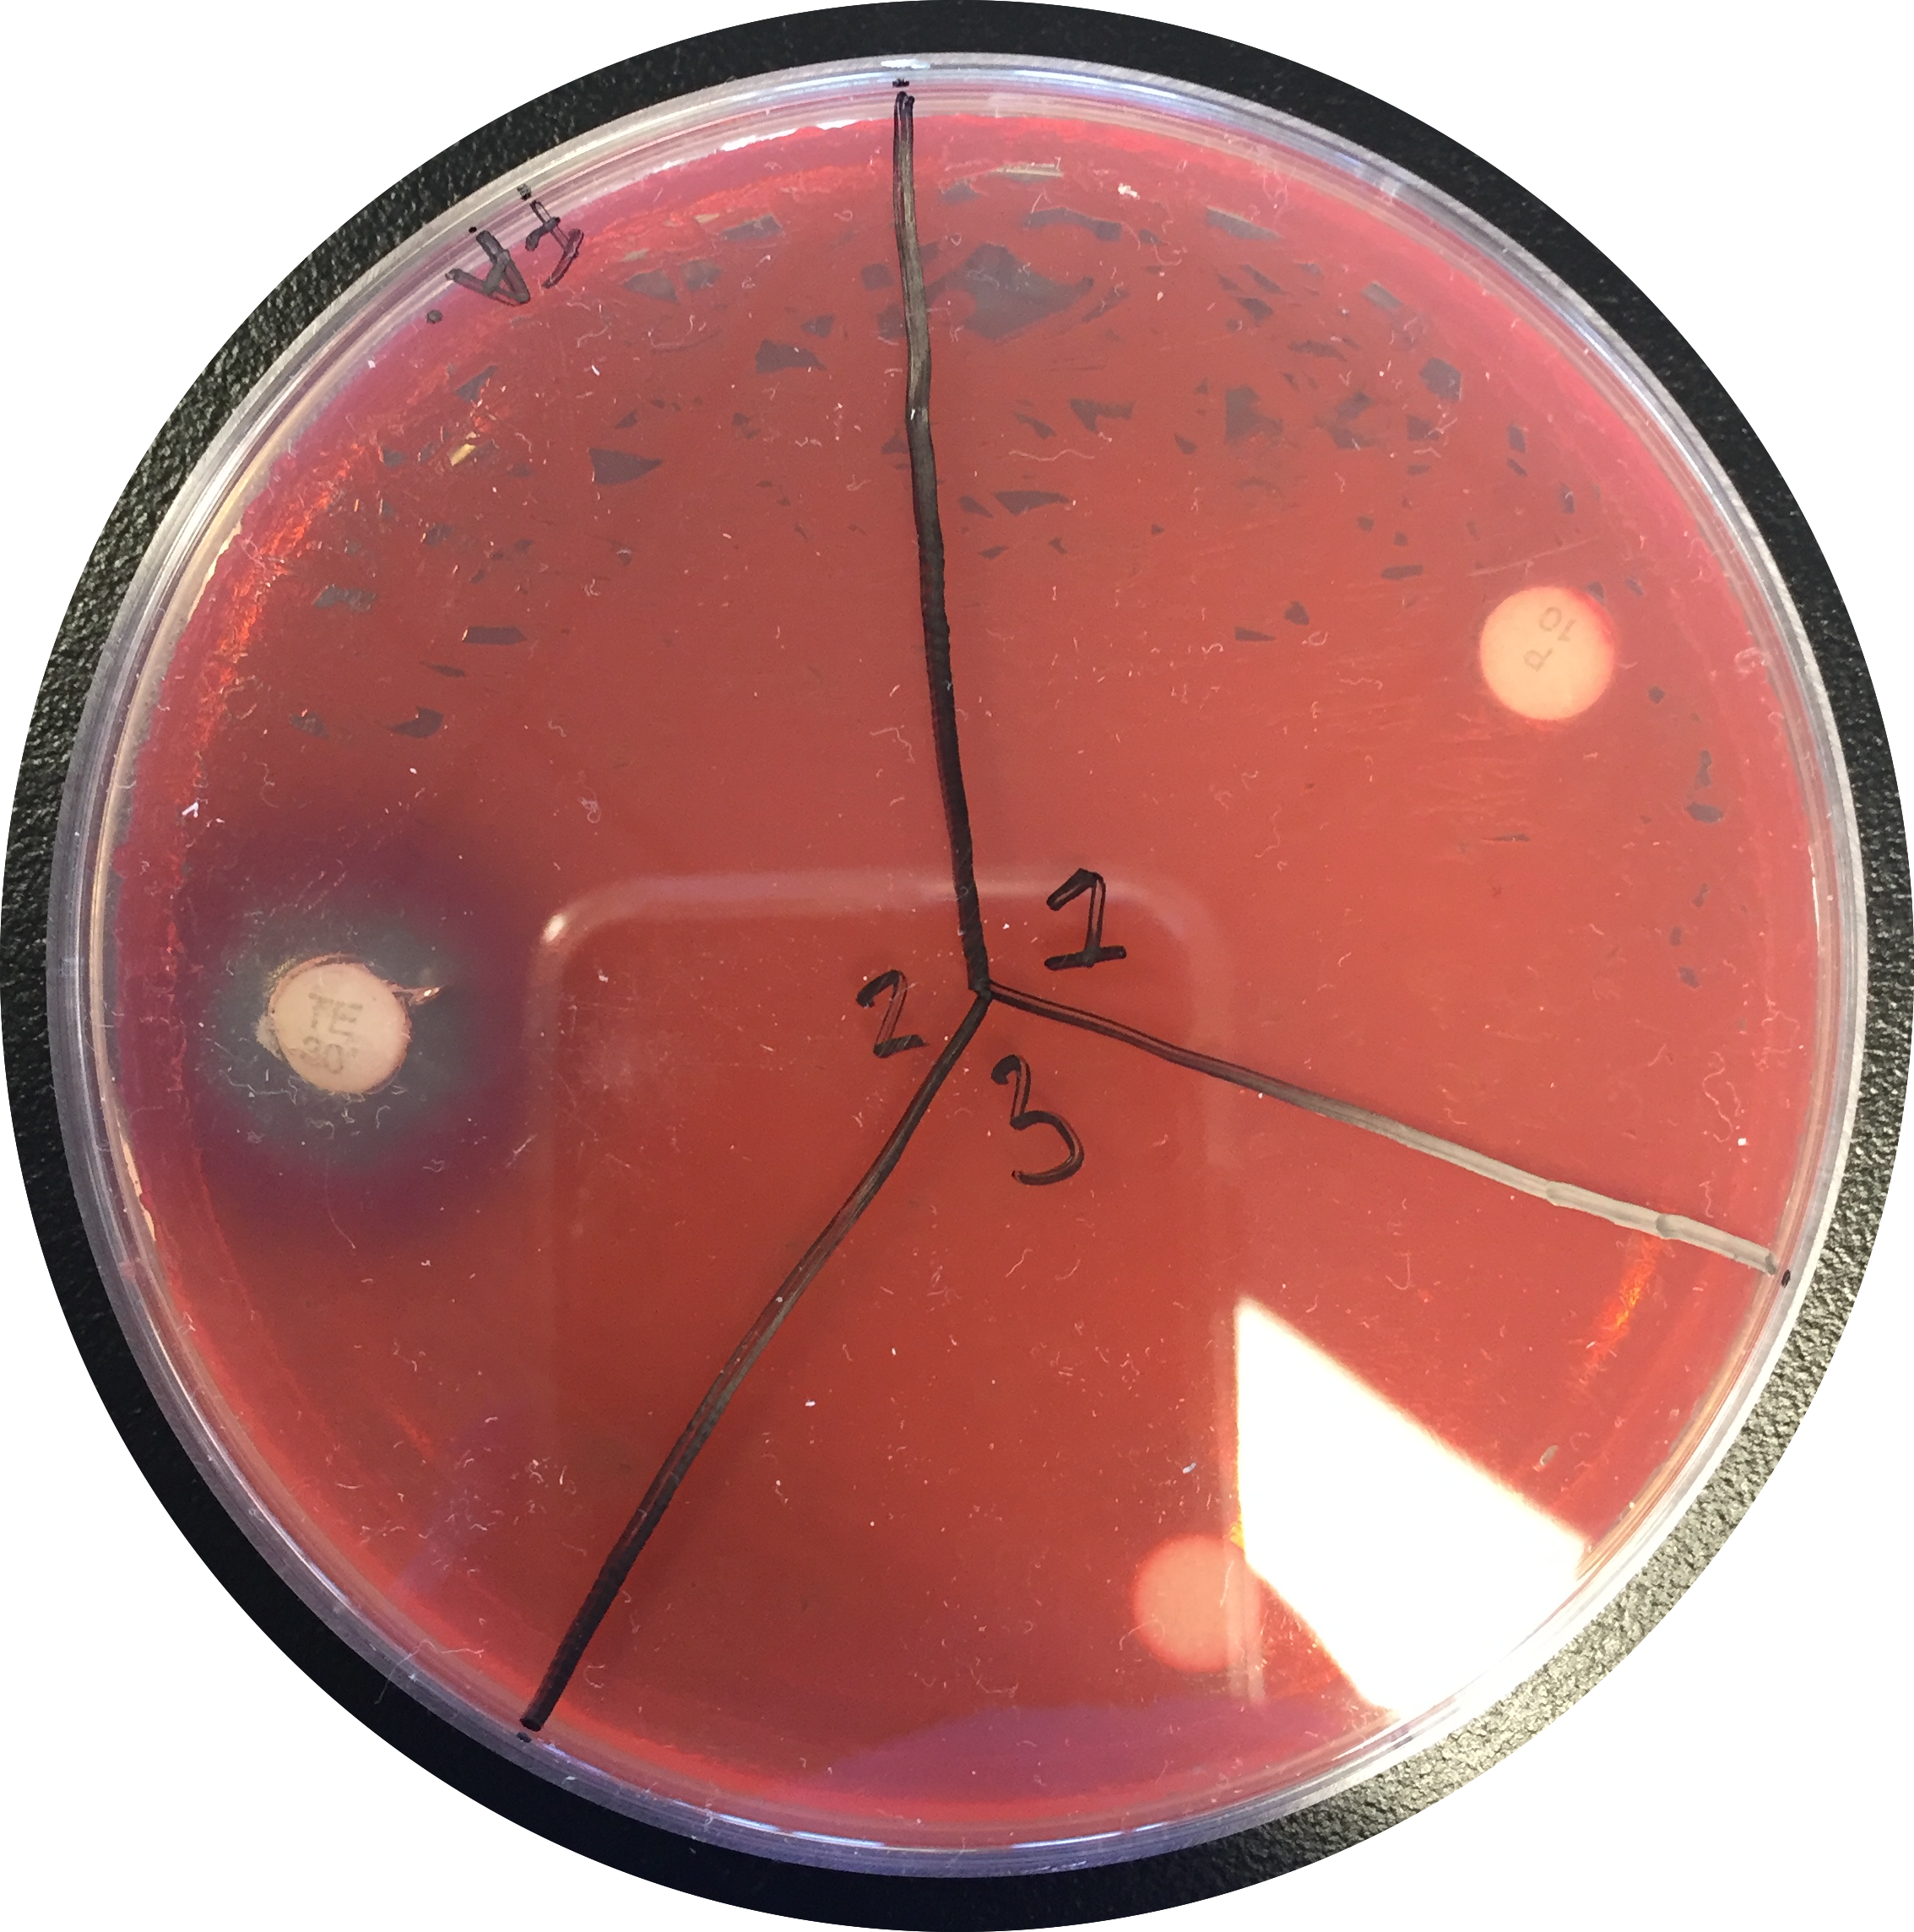
    IMG_1118     Here an agar plate was used to culture Serratia marcescens, a Gram-negative bacteria. 

    Agar is a valuable ingredient for many reasons such as being extremely low in calories and containing fiber. Agar also does not require sugar to solidify, which is highly beneficial in food preparation for diabetics. It is also known as a vegan and vegetarian gelatin substitute, and best of all, it is an environmentally friendly product.

    Here’s how you can make your own raindrop cake that has swept the internet in recent years!

    Ingredients
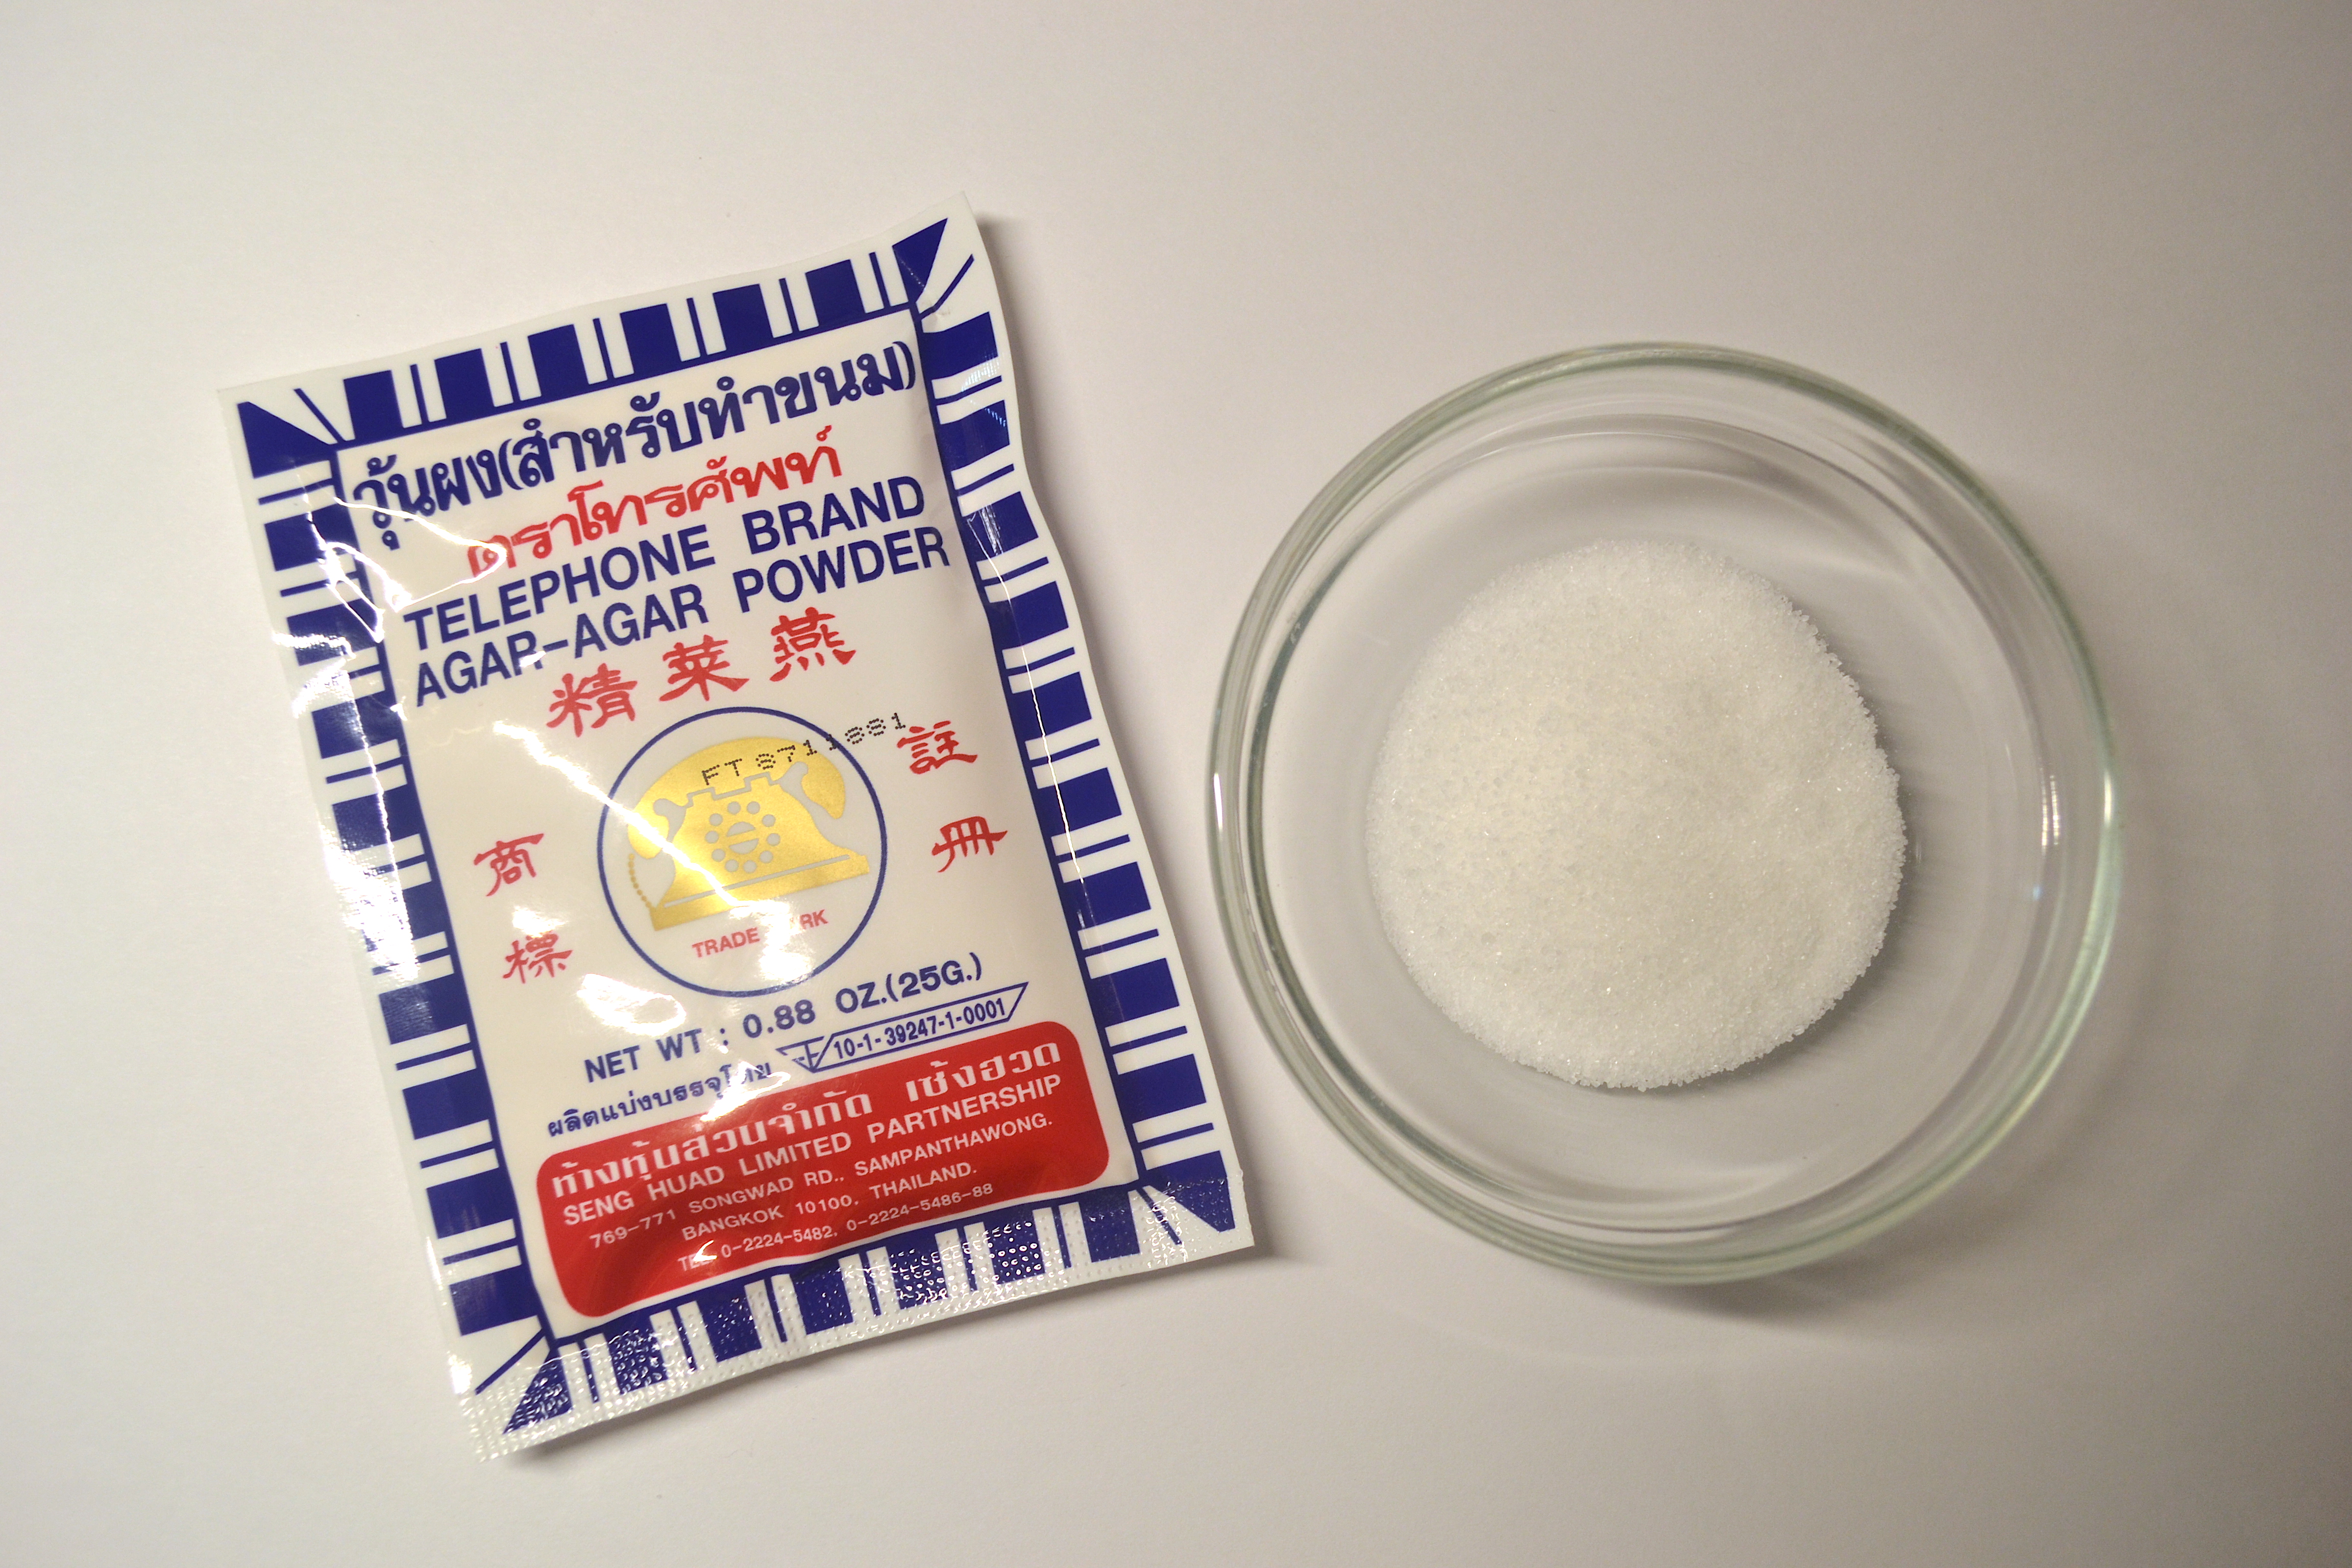
    DSC_0452

    • 1 cup of mineral water
    • 1/4 tsp agar-agar
    • 3 tsp of granulated sugar (optional)

    Optional toppings

    • 1 tbsp roasted soybean flour
    • brown sugar syrup (1 cup of brown sugar + 1/2 cup of water)
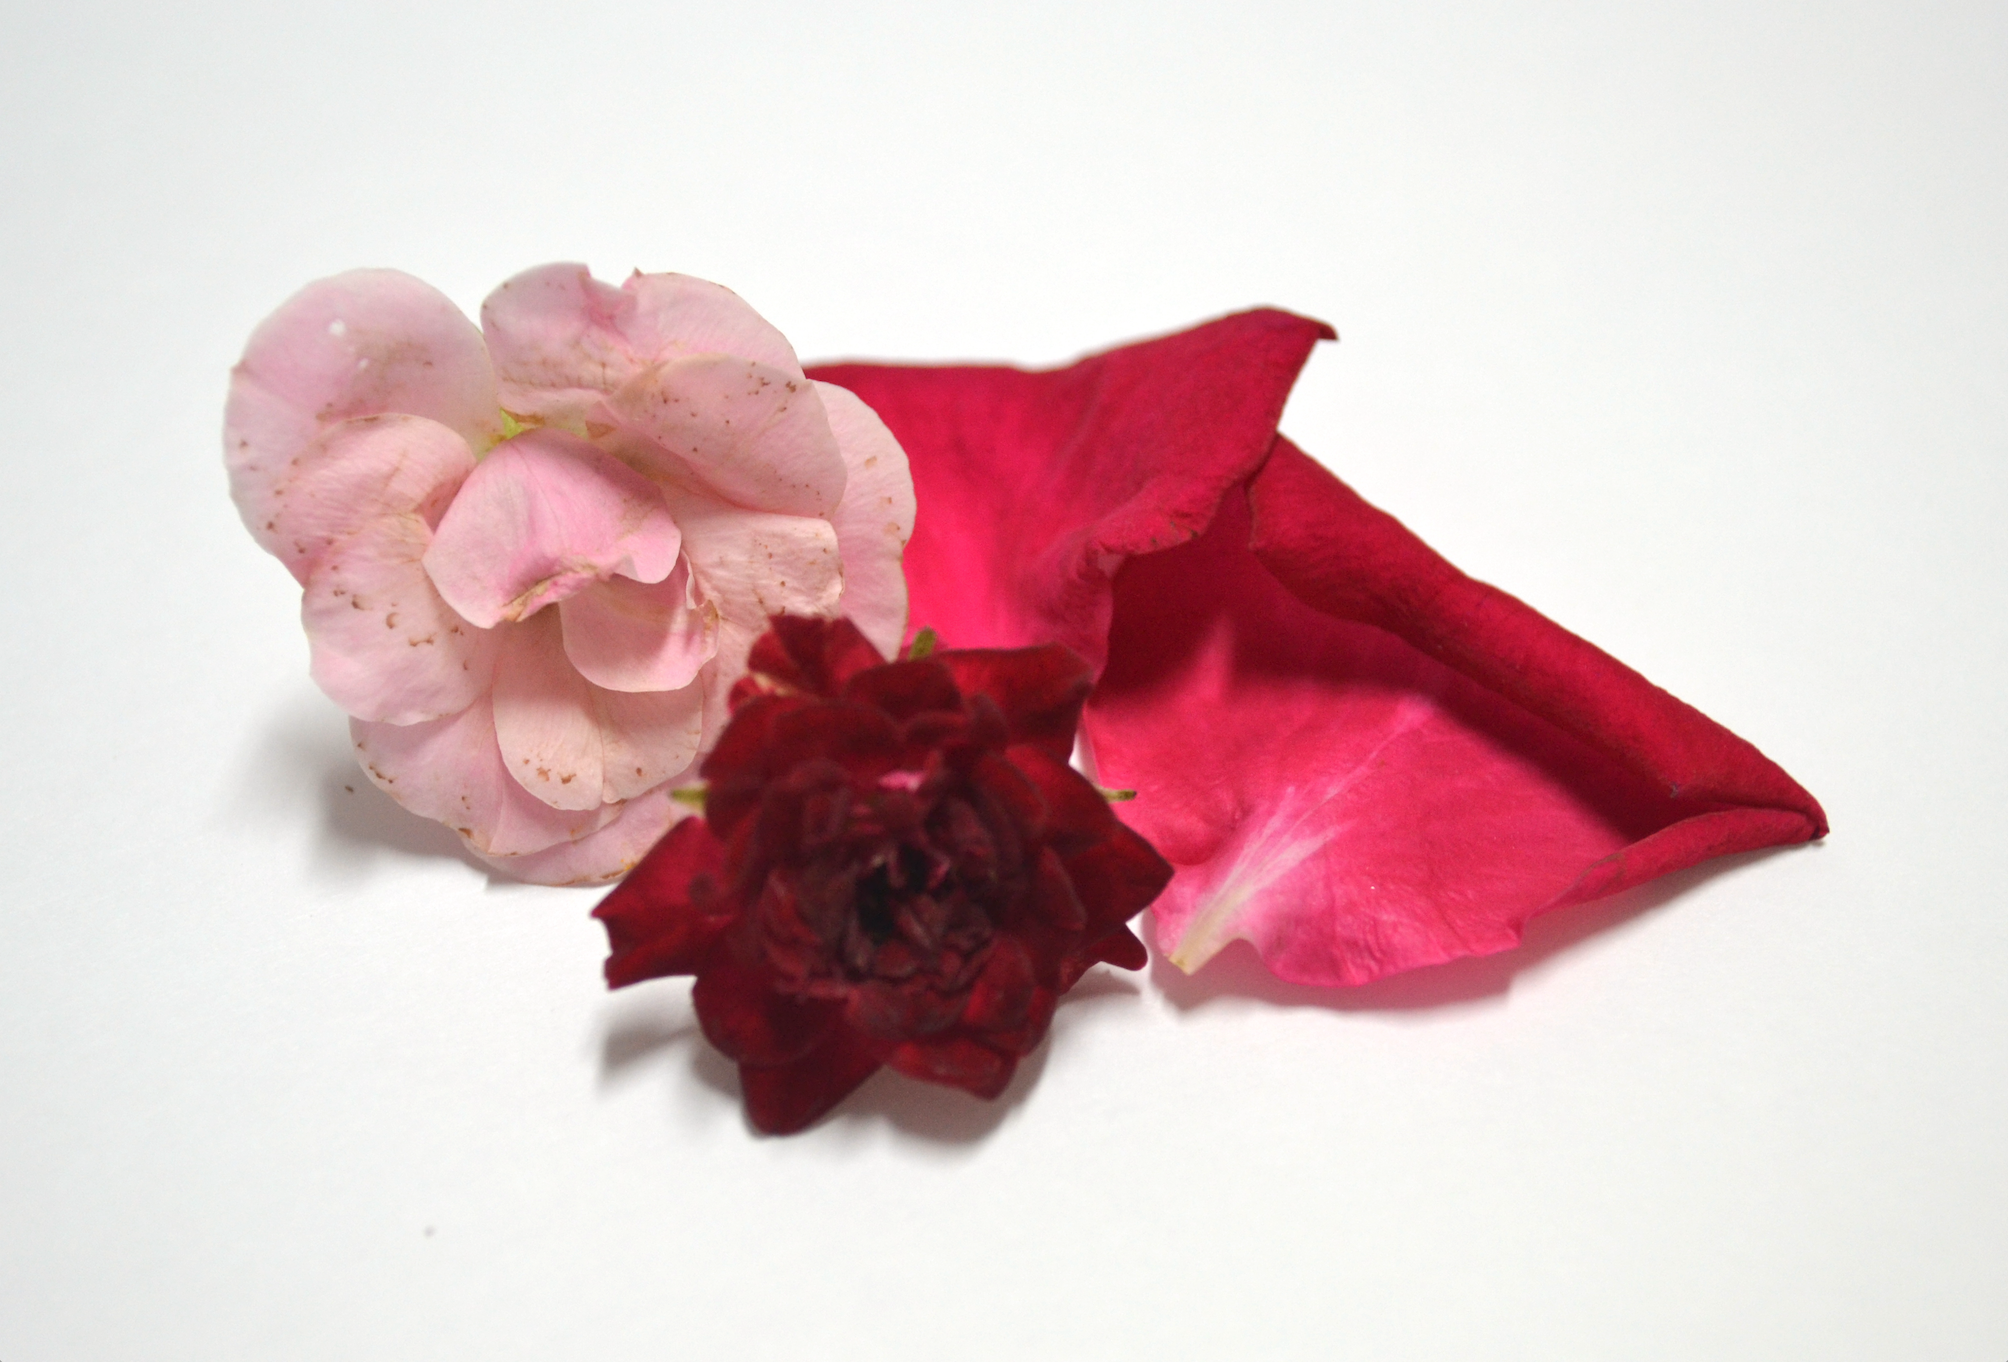
    • flowers, petals, fruits

    flowers

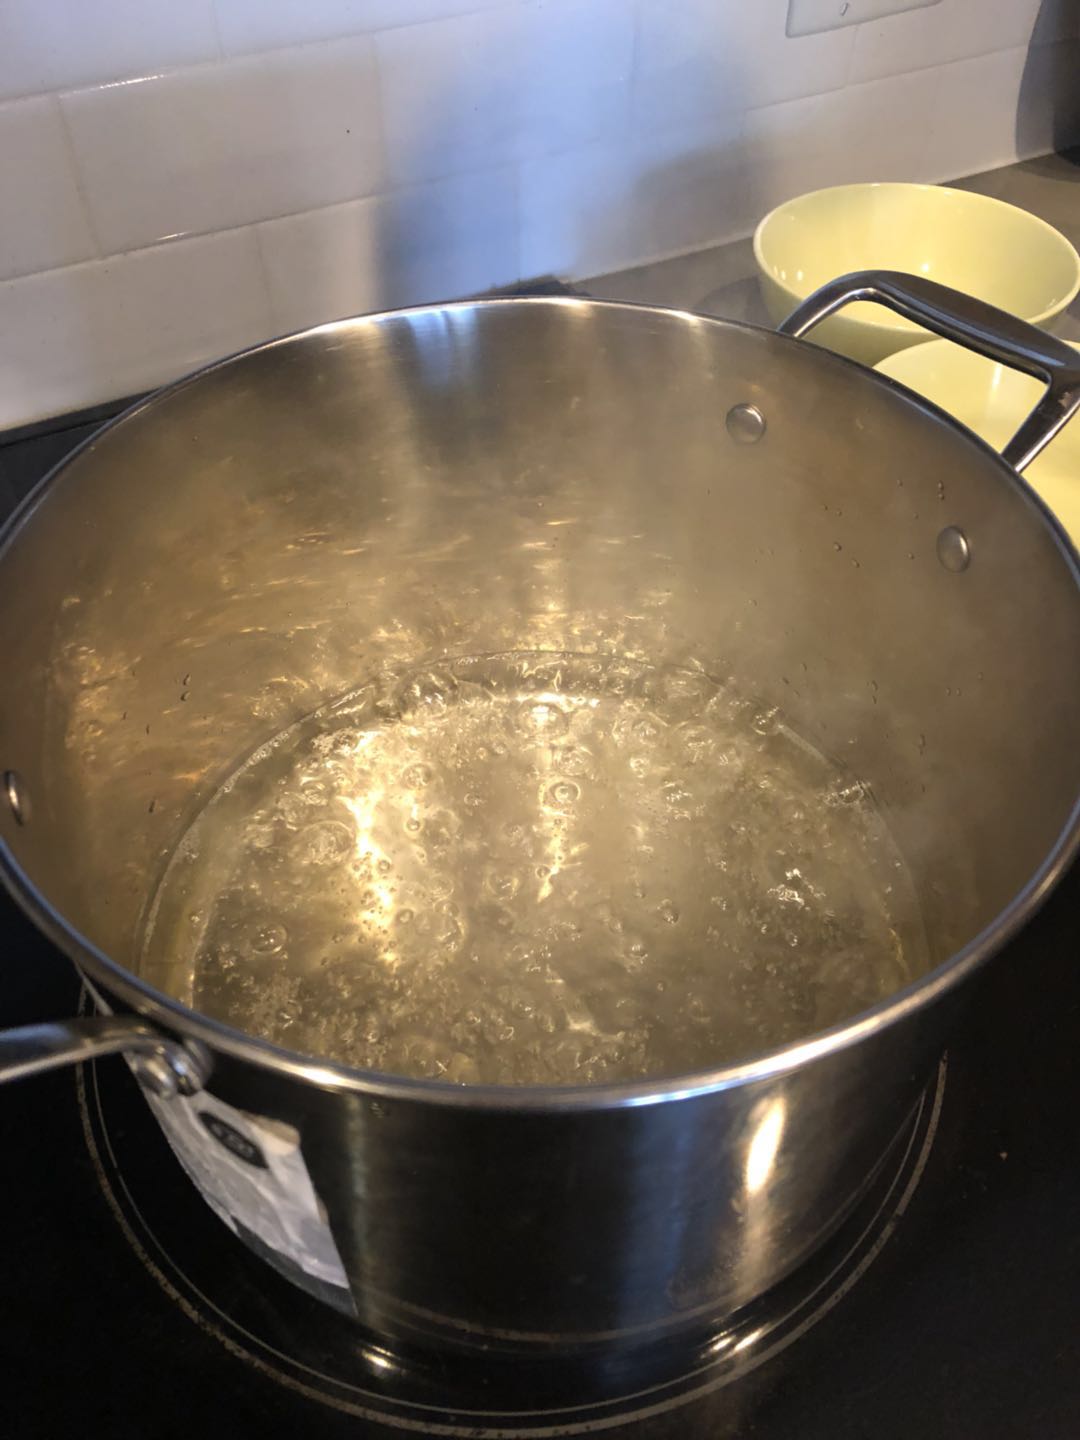
    1. Dissolve agar and water in a small pot.
    2. Allow mixture to come to a boil over medium-high heat. Continue boiling over a medium heat for 1-2 minutes.
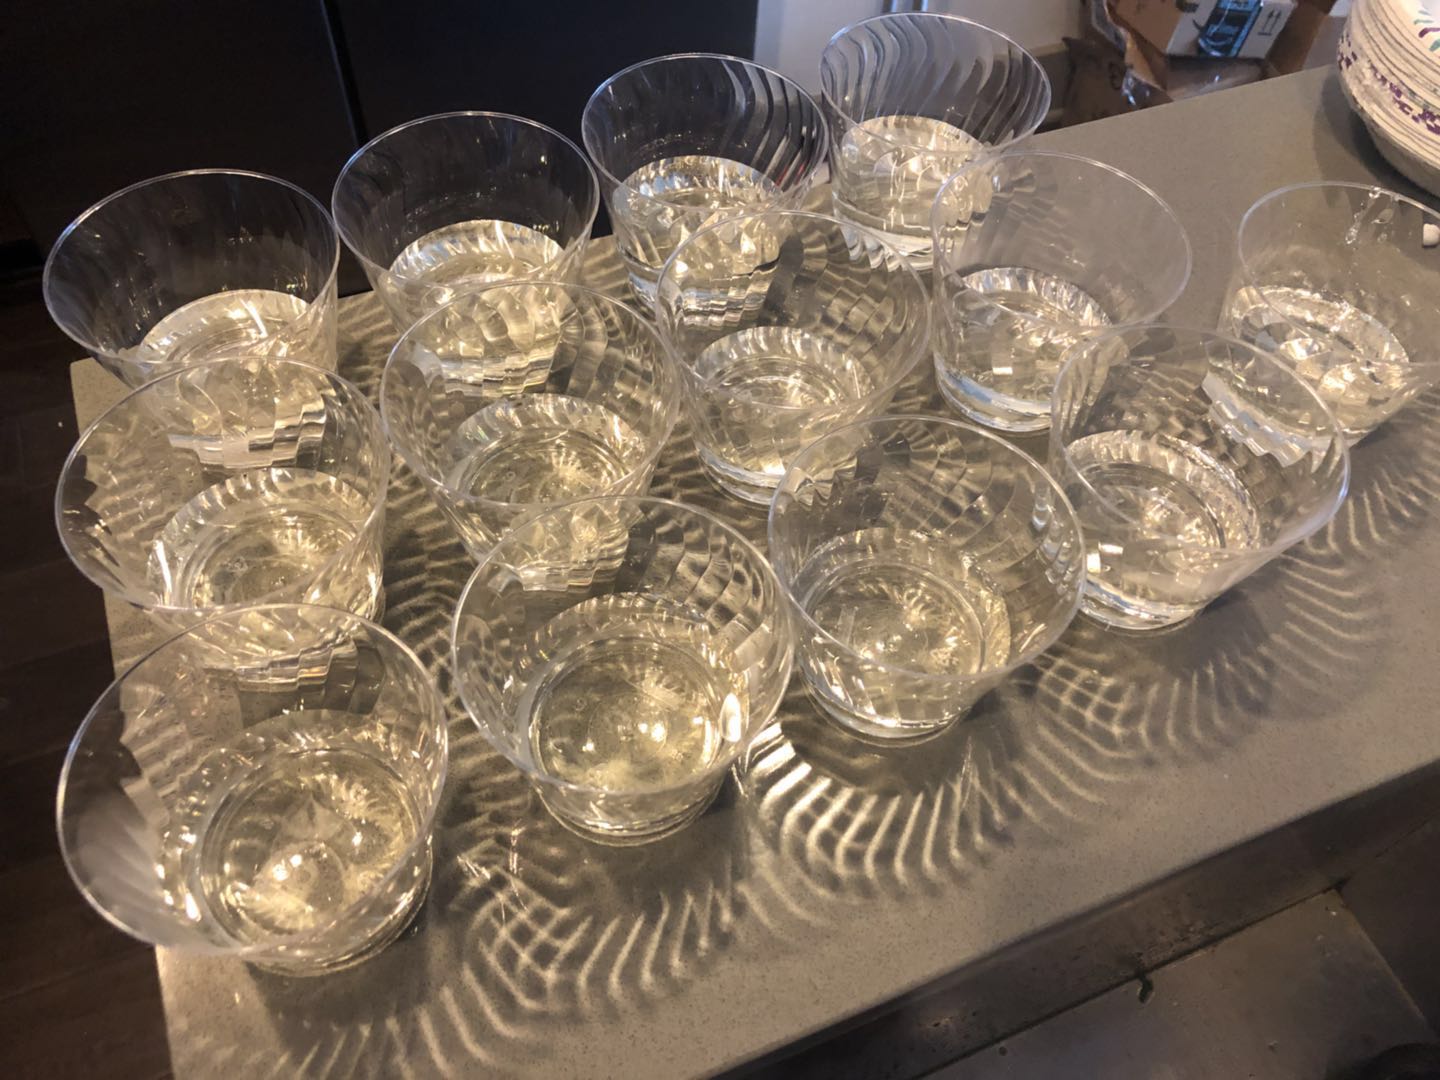
    3. Pour mixture into any round-bottom mold. (Optional: Add light fruit/flower toppings to the mixture.)
    4. Let mixture cool and place in the fridge overnight or until it sets.
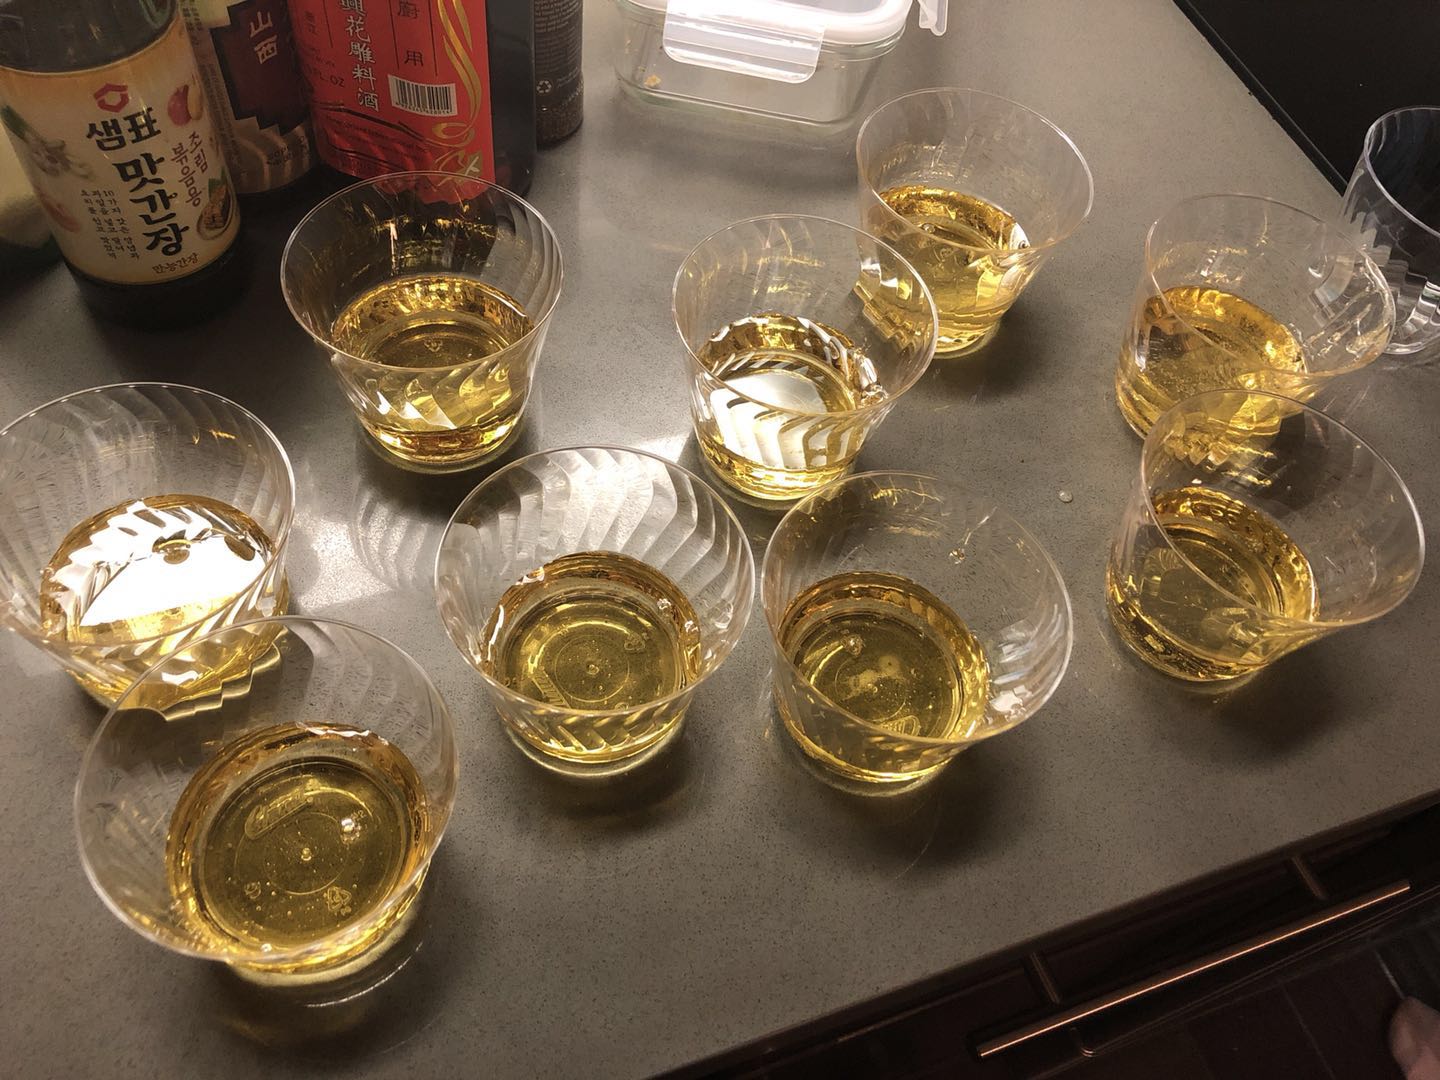
    5. To make syrup, dissolve the brown sugar in water over medium-high heat until mixture boils. Maintain a rolling boil for 1 minute.
    6. Remove mixture and let cool. Serve with raindrop cake along with optional soybean flour. *Consume your raindrop cake upon taking it out the fridge. May melt if left out for over 20-30 minutes.

    References

    Giant Raindrop Cake Recipe by Tasty. (n.d.). Retrieved from https://tasty.co/recipe/giant-raindrop-cake

    K. (2018, September 15). Raindrop Cake. Retrieved from https://kirbiecravings.com/raindrop-cake/

    Maitland, H. (2017, August 02). Everything You Need To Know About Raindrop Cakes. Retrieved from https://www.vogue.co.uk/article/everything-you-need-to-know-about-raindrop-cake

    National Center for Biotechnology Information. PubChem Compound Database; CID=71571511, https://pubchem.ncbi.nlm.nih.gov/compound/71571511 (accessed Sept. 28, 2018).

    Phillips, G.O. Williams, P.A.. (2009). Handbook of Hydrocolloids (2nd Edition).Woodhead Publishing. Retrieved from
    https://app.knovel.com/hotlink/toc/id:kpHHE00002/handbook-hydrocolloids/handbook-hydrocolloids

     

  • Learn How to Make Water Disappear

    Learn How to Make Water Disappear

    Learning intricate card tricks and complex hand movements can be overwhelming and hard to execute in front of an eager audience, so here is a how to perform a magic trick that does not require any skill but, instead, just a little bit of science. Here is the premise of the trick: You tell an unassuming bystander to pour a glass of water into your magician’s hat. You wave your hands over the hat and chant a seemingly realistic spell. When you flip the hat over, no water pours out… not even a drop. So how did this happen?

    While the audience believes that the enchanting spell you cast over the hat made the water disappear, the real magic is rooted in the chemistry behind one particular item: the diaper. When we think of diapers, words like “ew” or “baby” or even “ew babies” come to mind. However, after reading this, you might have a new perspective on the amazing properties of diapers.

    We’re now going to do something no ordinary person would do: dissect the diaper. The magical substance that you will line your magician’s hat with can be found underneath the lining of a diaper. This substance is a water-absorbing chemical called sodium polyacrylate. Polyacrylate can absorb more than 200 times its own mass (which is extremely fortunate for those potty training and those who have to change the diapers of potty trainers). Although this superabsorbent polymer is now found in a wide variety of products like medical bandages, female hygiene products and diapers, the substance was originally manufactured for the U.S. Department of Agriculture in the 1970s. The original use for polyacrylate gel was to improve the water retention in soils in an effort to improve germination and plant growth (Liu, 2001).

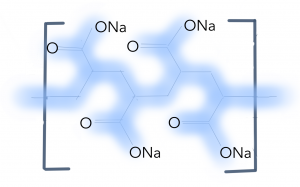
    sodium polyacrylate
    This is the chemical structure of sodium polyacrylate. The molecule is a polymer, so this structure repeats beyond the bars in the diagram.

    Sodium polyacrylate is a network polymer that contains sodium ions. The key to the absorption process and this magic trick is understanding basic rules of diffusion, osmosis and bonding. Osmosis is the when molecules in a solvent move from a less concentrated solution to a more concentrated solution. In this magic trick, when the water comes into contact with the sodium-containing polymer, the sodium diffuses into the water. This results in the replacement of sodium atoms with water molecules in the complex network (Carnegie Mellon University, n.d.). The polymer is essentially a long chain of negatively charged molecules and bonds to water through hydrogen bonds. The bonds allow the network to swell and hold the water in place, which is why the resulting mixture is crystal-like, fluffy substance that does not spill out of the hat. Now that you know the secret to this trick you will now be able to hone and perfect your water vanishing skills!

    Hopefully now when you think of diapers you think “awesome, absorbent polymer.” That said, there are limitations to how amazing this polymer is. Although bunnies are about 70% water, please know a diaper will not make a bunny disappear.

    Here’s what you need for the trick:

    –       Hat

    –       Source of sodium polyacrylate (>2g)

    –       Glass of water (8 floz.)

    Start with some sodium polyacrylate at the base of the hat. You can tape a diaper to the bottom of the hat to conceal the water-absorbing polymer. Ask someone to pour a regular glass of water in the hat. Swirl the hat around and distract the audience while the water absorbs. The absorption time will depend on how much sodium polyacrylate you use and how much water is added, however, this process should occur within a matter of seconds to minutes. Once you are convinced everything has been absorbed, flip the hat over and watch the audience be amazed!


    References:

    Carnegie Mellon University (n.d.). Super absorbing polymer powder. Retrieved from https://www.cmu.edu/gelfand/education/k12-teachers/polymers/polymer-and-absorption/super-absorb-powder.html

    Foy, J. M., & Schnieden, H. (1960). Estimation of total body water (virtual tritium space) in the rat, cat, rabbit, guinea‐pig and man, and of the biological half‐life of tritium in man. The Journal of physiology, 154(1), 169-176.

    Liu, M., & Guo, T. (2001). Preparation and swelling properties of crosslinked sodium polyacrylate. Journal of Applied Polymer Science, 82(6), 1515-1520.

    Parks, L. R. (1981). Cross-linked sodium polyacrylate absorbent. U.S. Patent No. 4,295,987. Washington, DC: U.S. Patent and Trademark Office.


  • Glow in the Dark Nail Polish in Five Easy Steps

    Glow in the Dark Nail Polish in Five Easy Steps

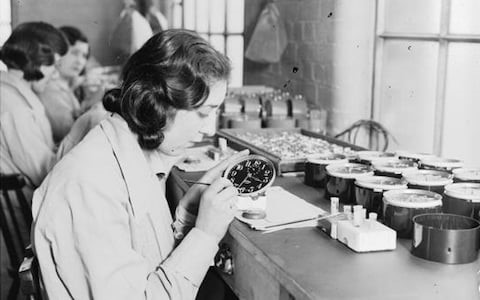
    In the early 1920’s glow in the dark watches were the newest fad out there. The United States was in a radium craze. Doctors preached its health benefits when consumed in small amounts and food products laced with it were even sold in grocery stores. Its “benefits” were even targeted towards women through beauty products claiming to give you a radiant glow. But those female factory works now forever in history known as the “ Radium Girls” truly got the worst end of the radium craze.

    The women working in factory painting clock faces.
    The women working in factory painting clock faces.

    The Radium Girls were women hired to work in the glow in the dark watch factories painting the numbers onto watch faces. In order to get the numbers as precise as possible they were told to put the tips of the brushes into their mouth in between strokes to make it extra pointy. As a result they were ingesting radium constantly throughout their workday. Because management emphasized how safe it was to handle some of the women even began painting their nails with it so they would glow in the dark. Their teeth began to fall out, their bones would break suddenly just from standing up; one woman went to have her tooth pulled by the dentist and her entire jaw ended up coming out with the tooth! Radium poisoning happens because radium is very similar to calcium chemically, so the body mistakenly incorporates it your bones, leading to bone necrosis, which is death of bone tissue and leads to tiny breaks in the bone and eventually the complete collapse of the bone, and bone cancers. But glow in the dark nail polish is still a cool idea!  Here’s how to make your own (not jaw breaking) glow in the dark nail polish in five easy steps!


    Materials:

    1 glow stick

    Nail polish in clear or a color matching your glow stick

    Scissors


    Directions:

    Step 1

    • Start by activating your glow stick by giving it a snap and a few shakes. Once your glow stick is glowing, it’s ready to use!

    Step 2

    • Carefully cut your glow stick in half with sharp scissors. Be careful not to spill any of the liquid out.

    Step 3

    • Squeeze the glowing contents of the glow stick into your nail polish. If you’re having trouble getting it all out, you can also cut the top end of the glow stick to allow the liquid to flow down more easily.

    Step 4

    • Thoroughly mix your nail polish with the glowing solution by giving your nail polish bottle a quick shake. Make sure the glow is evenly distributed through the polish.

    Step 5

    • Apply your newly mixed glow nail polish to your nails.

    Disclaimer: Nail polish will only glow as long as the glow stick itself would last.

  • Chemical Secrets Behind Dragon Beard Candy

    Chemical Secrets Behind Dragon Beard Candy

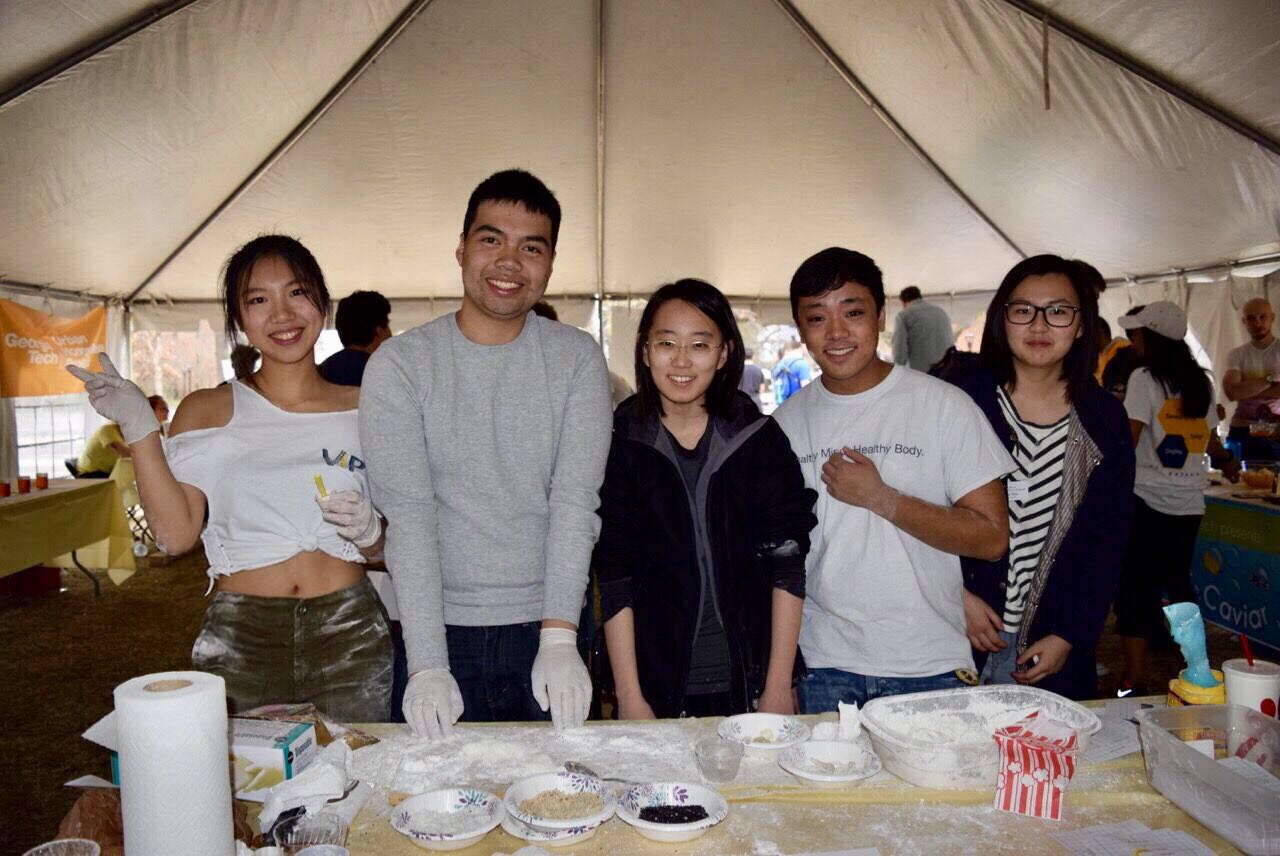
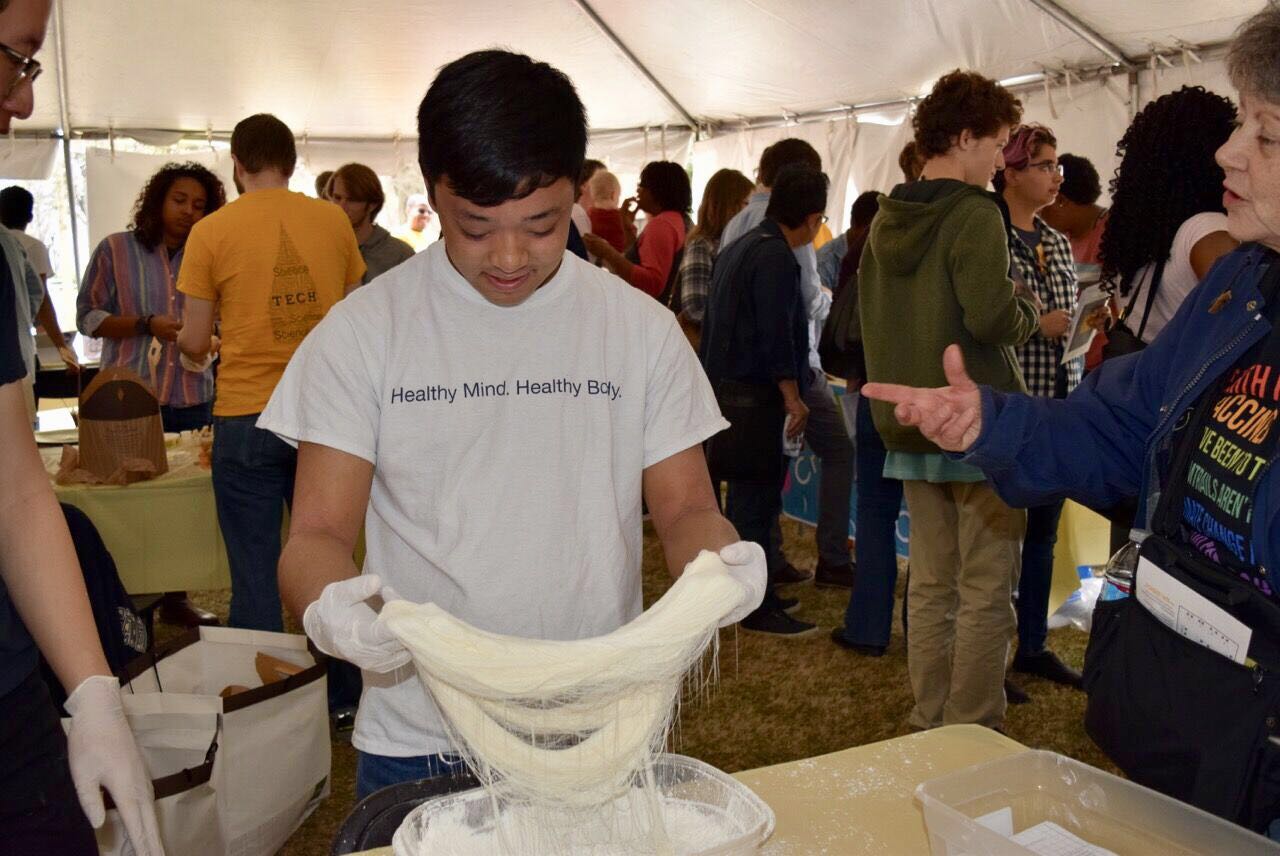
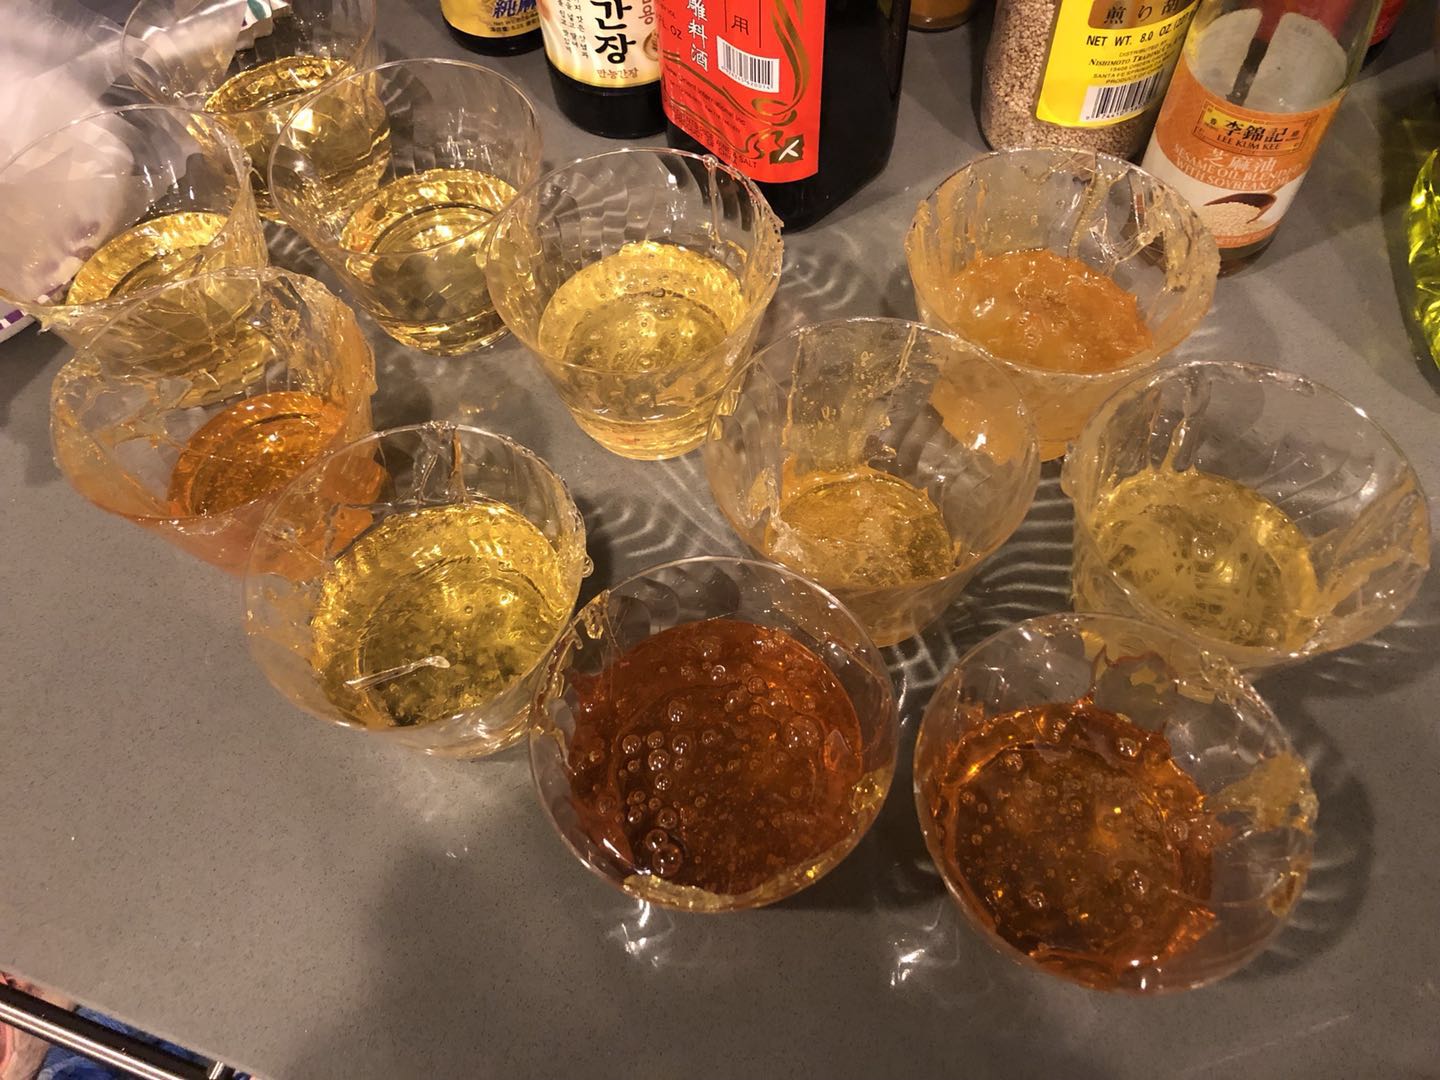
    The Georgia Tech STEMcomm VIP team had the Taste of Science festival on March 12, 2018.  During this event, my group (members from Georgia Tech SASE) and I decided to make dragon beard candy. Now let’s see the steps of making it and some science knowledge behind it.

    Materials:

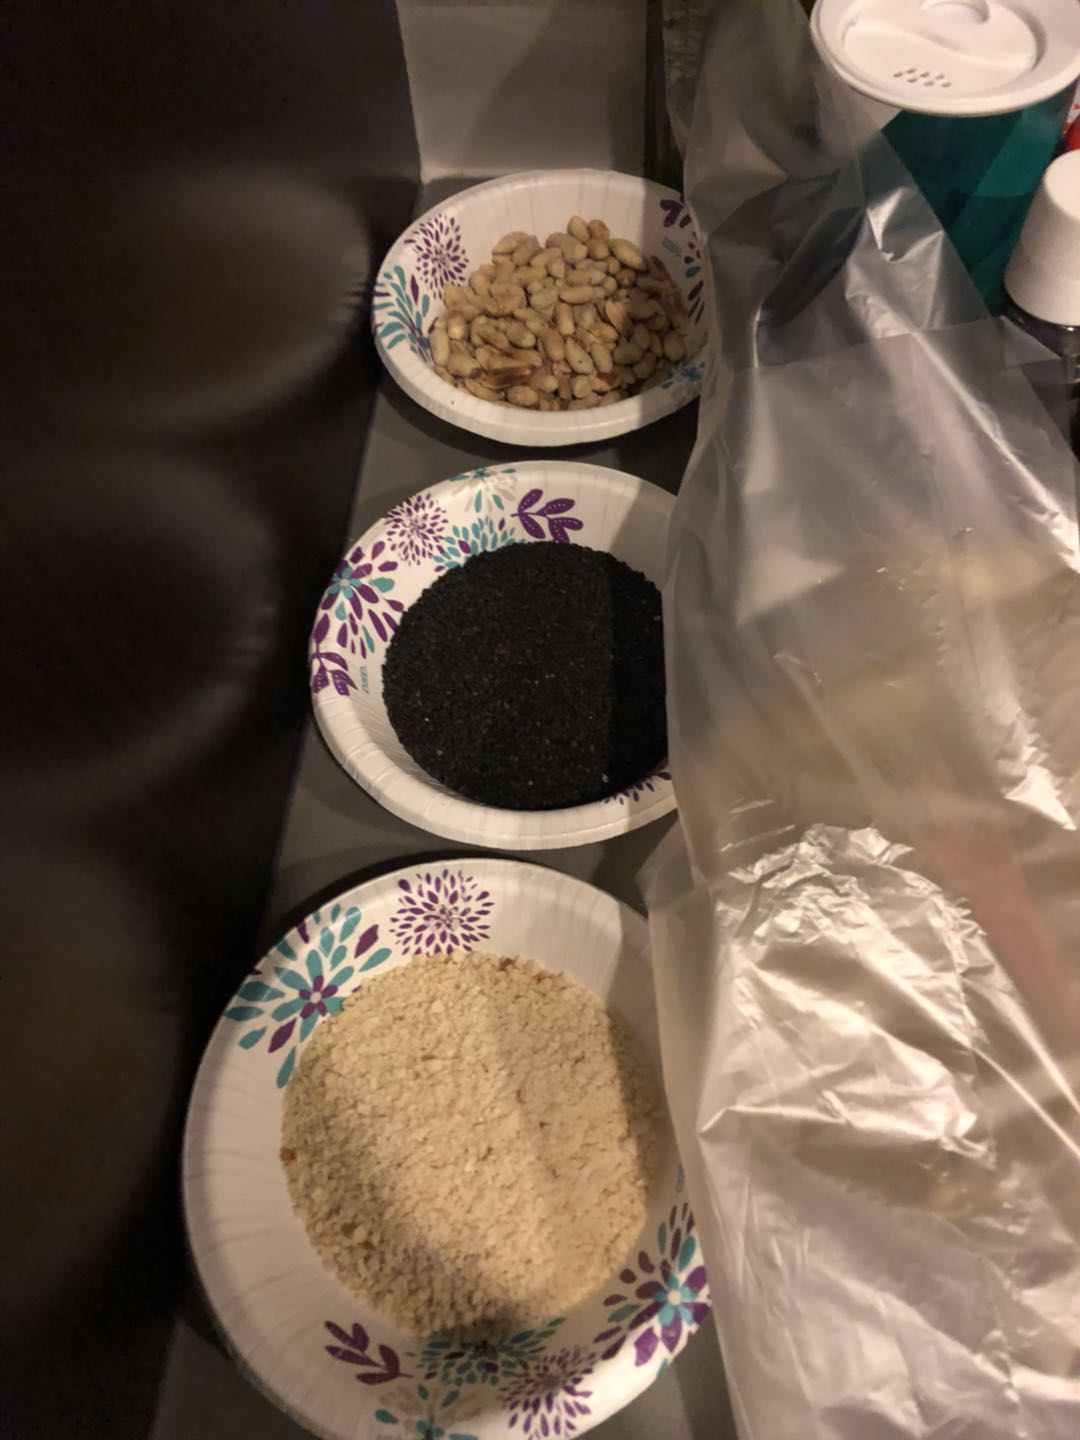
    corn starch, corn syrup, white sugar, vinegar, peanuts and sesame

    Step 1

    Pour 1kg white sugar, 100 g corn syrup, 2 cup of water, 2 tea spoon of vinegar into the pot and boil in medium fire for 30-40 min, do not stir!

    Step 2

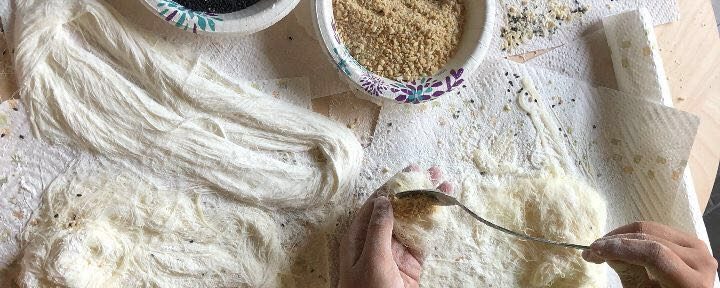
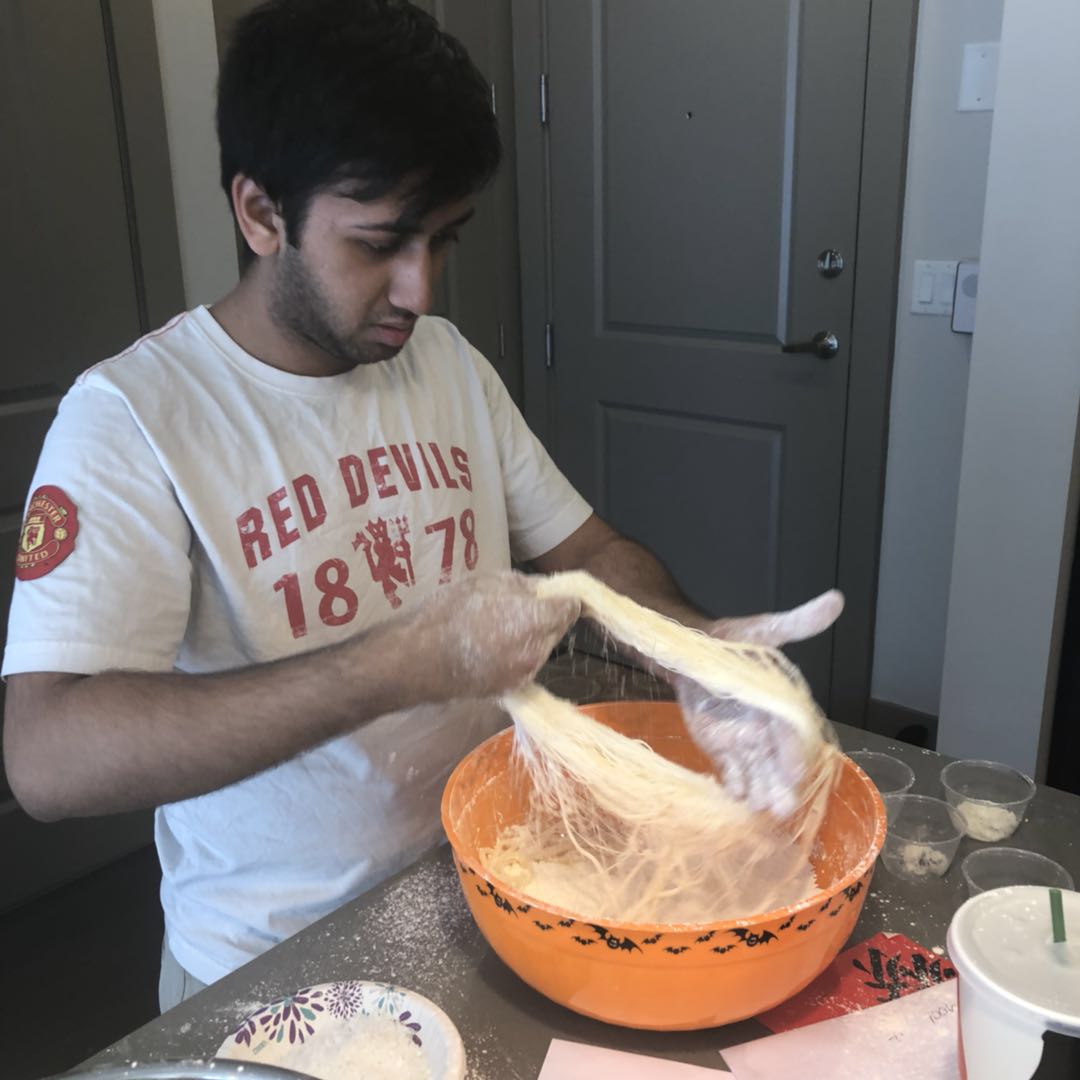
    Pour the caramelized syrup out and wait until it gets cool down. Put the candy into corn starch and start pulling. First of all, drill a holein the enter of candy to make it look like the shape of donut. Then make the hold bigger and start folding and double the strands.

    Step 3

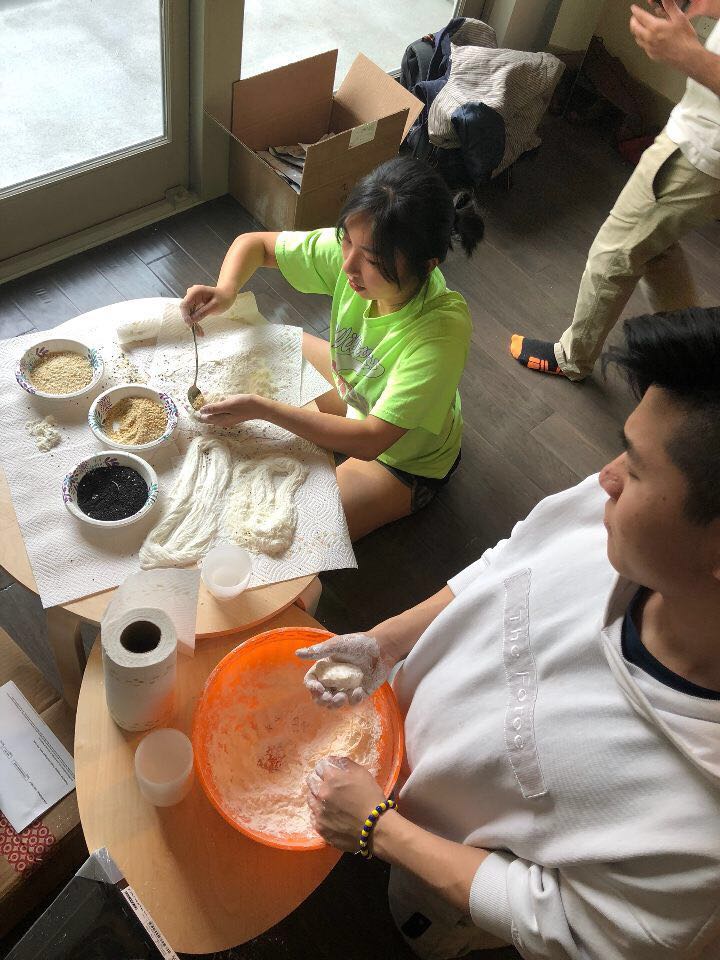
    Tear down 5 cm of candy strands, put peanuts and sesame inside of the candy strands and wrap it up.

    During the process of making dragon beard candy, the most difficult step is the boiling part. Our first time, we didn’t understand the purpose of making caramelized syrup. Also, we didn’t know the function of the vinegar so we only used less than 1 teaspoon so we didn’t make our candy too sour. Then we boiled about 20 minutes and poured the sugar syrup out even though it didn’t change color. We even put it into refrigerator for 5 hours, but it was still too soft and sticky to make it into any shape.

    After discussion, we decided to boil it for a longer time than the first time and surprisingly, we found the color of the syrup slowly changed to gold and yellow after 30 minutes, and then it turned into red and brown. Then we suddenly realized that the purpose of this step is to let the white sugar get caramelized.

    WechatIMG175

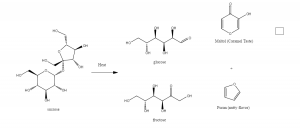
    White sugar is actually sucrose. When we heat sucrose solution, it first gets boiling. Keep heating, thermal decomposition reaction happens. Sucrose decomposes into glucose and fructose. At a high temperature, caramelization happens.  According to the science of cooking, “ Caramelization is the oxidation of sugar and a type of non-enzymatic browning reaction. As the process occurs, volatile chemicals are released producing the characteristic caramel flavor. The reaction involves the removal of water (as steam) and the break down of the sugar. The caramelization reaction depends on the type of sugar. And the caramelization temperature about 160 C, 320 F. ” [1] Thus, the reason why we failed the first time is that we didn’t boil for long enough.

    What’s more, based on the sugar property study, the inversion reaction is accelerated by the presence of acids (low pH) or by some enzymes. This reaction will accelerate with increasing acidity and increasing temperature. [2] This tells us why we should put 2 teaspoons of vinegar in order to accelerate the chemical reaction.

    Caramelization

    Citation

    [1] http://www.scienceofcooking.com/caramelization.htm

    [2] Knecht, R. L. “Properties of sugar.” Sugar (1990): 46-65.

  • The Primary Colors are What?!

    The Primary Colors are What?!

    It’s about that time of the year where projects are due. You want to create a fantastic looking poster to present your research in a neat editing software. Yet you’re having trouble choosing the correct colors. Or wait, is it just your computer that’s having trouble choosing the correct colors? What is this section under the “edit colors” tab that says “RGB values”? You just want to make the perfect shade of orange using red and yellow, but the computer only understands RGB. It turns out that when it comes to computer science, red, blue, and green are the primary colors.

    Let’s break down this computational color system. The RGB (red, blue, and green) is known as an additive color system. The additive system was given its name because when wavelengths of light are added together, the color values approach white light. This system makes use of the physics of light to create the colorful (or colorless) pixels on your screen. To understand this further we have to break down the concept of light.

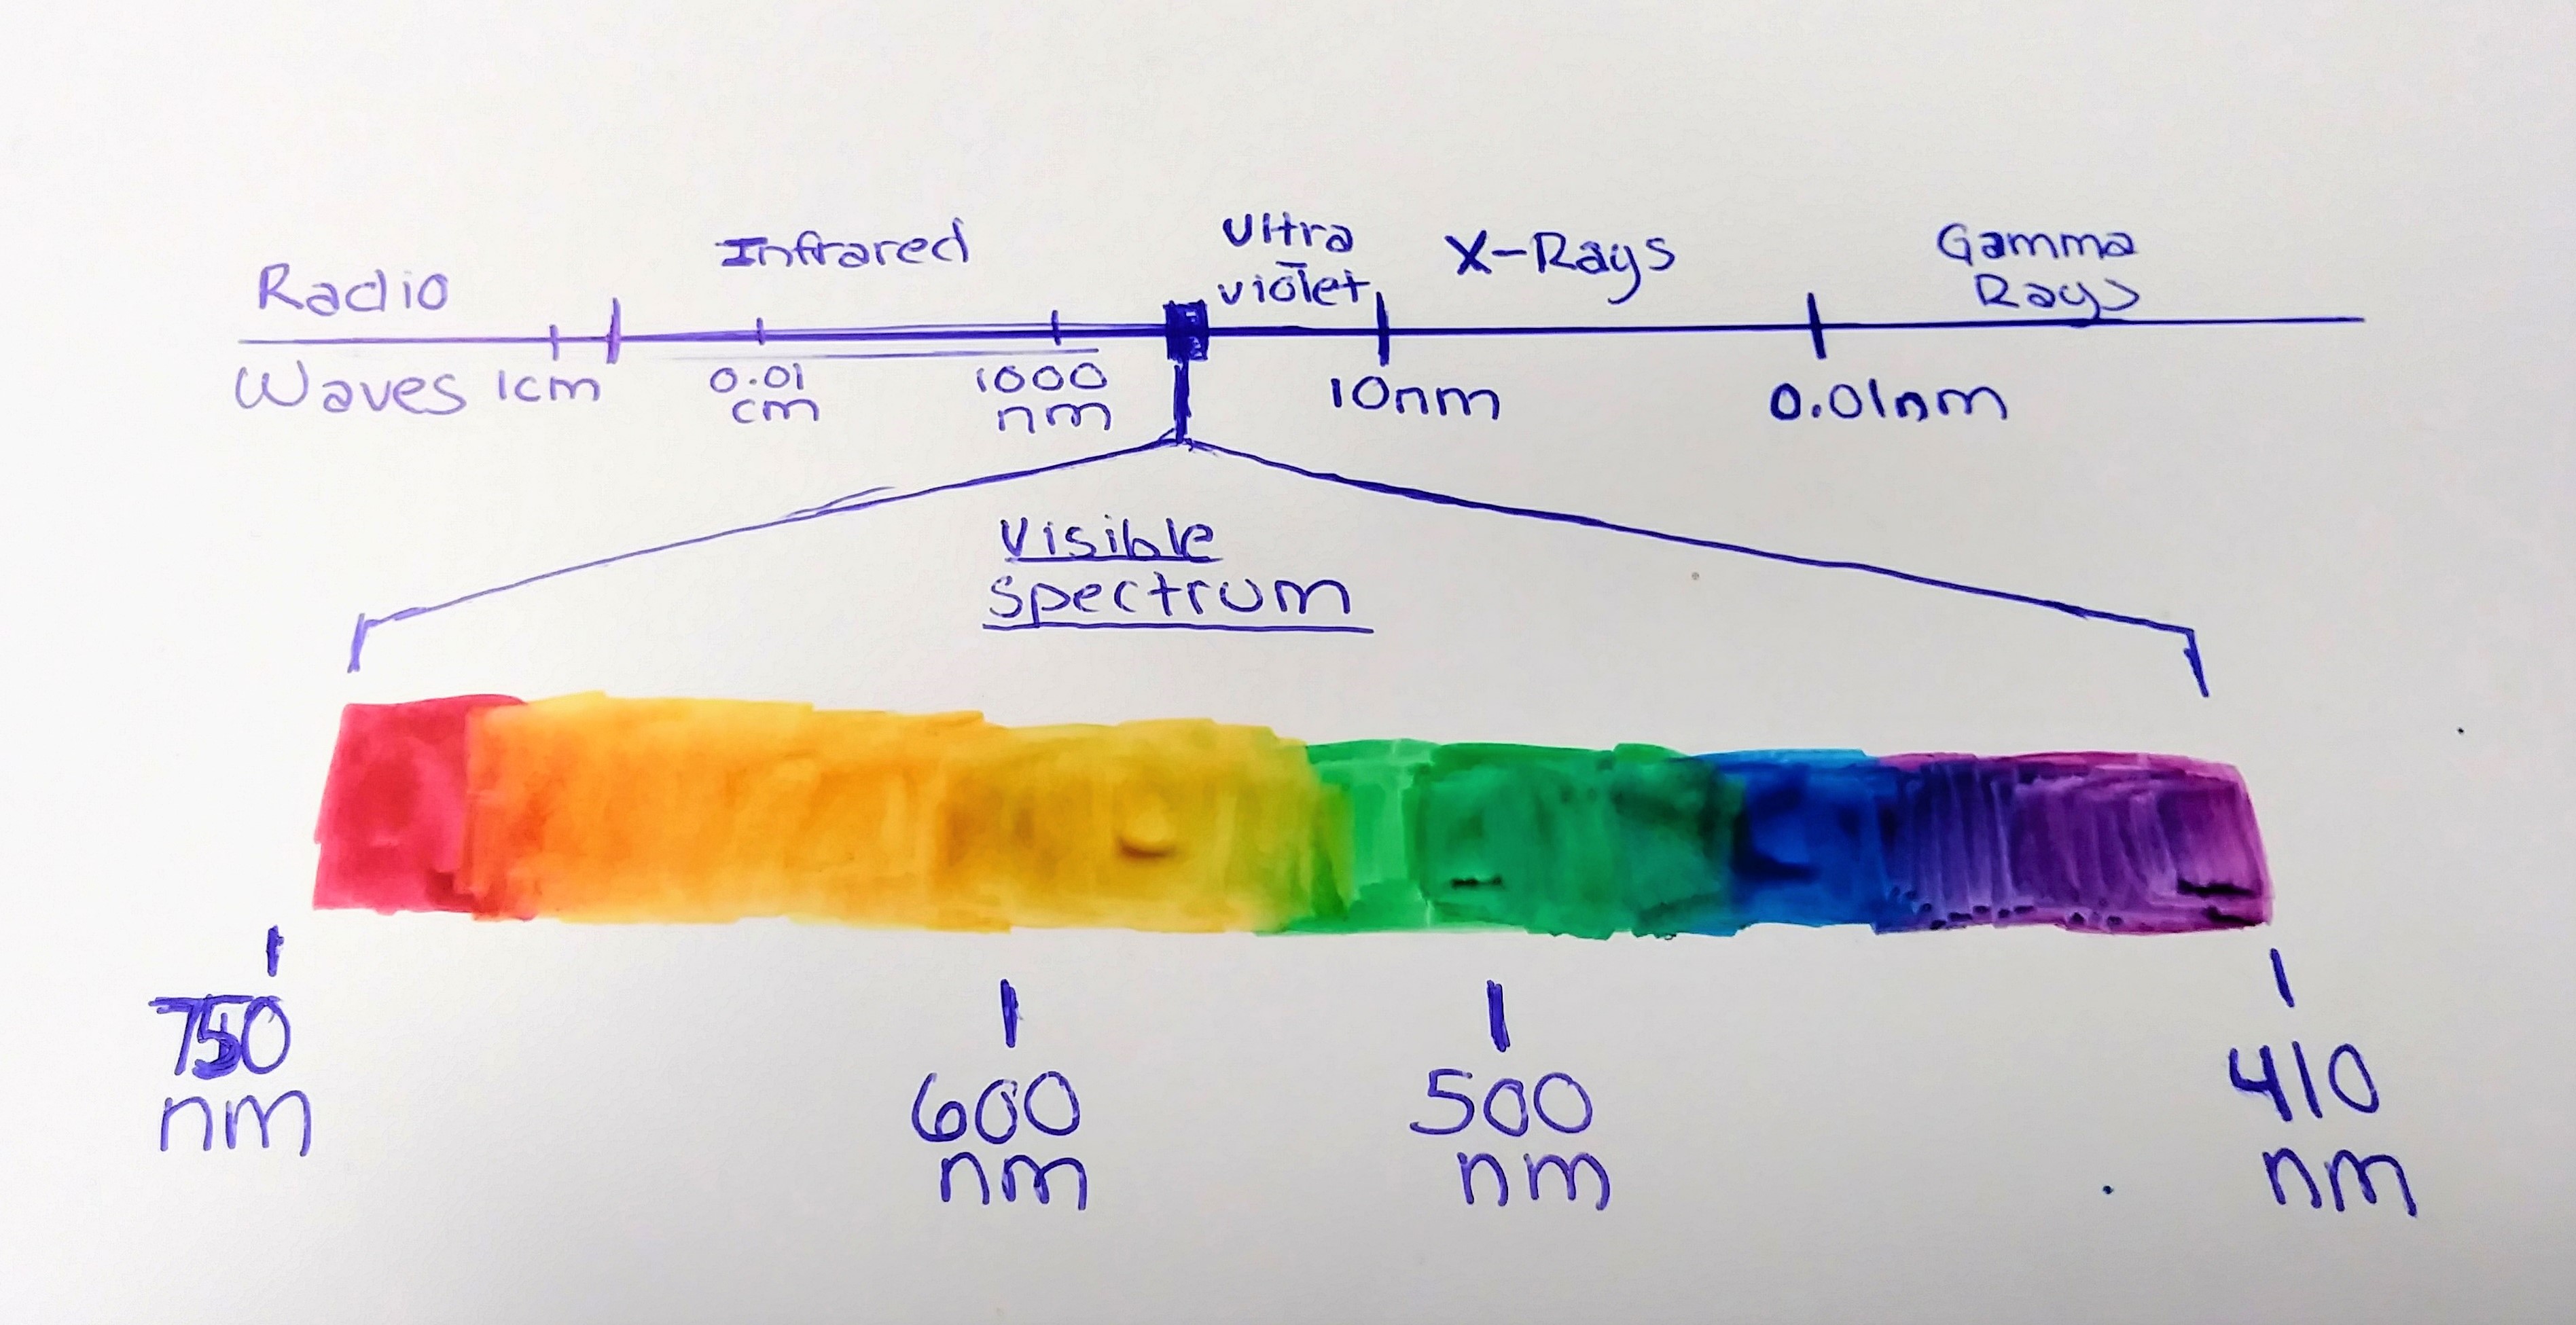
    On a spectrum of radiation, known as the electromagnetic spectrum, light composes the visible part of the spectrum. Light has two natures, but for now, let’s just focus on its wavelike nature. Each range of wavelength corresponds to a different color, with around 700nm (nanometers) being red light, and 400nm being violet light.

    Electromagnetic Spectrum
    Electromagnetic Spectrum

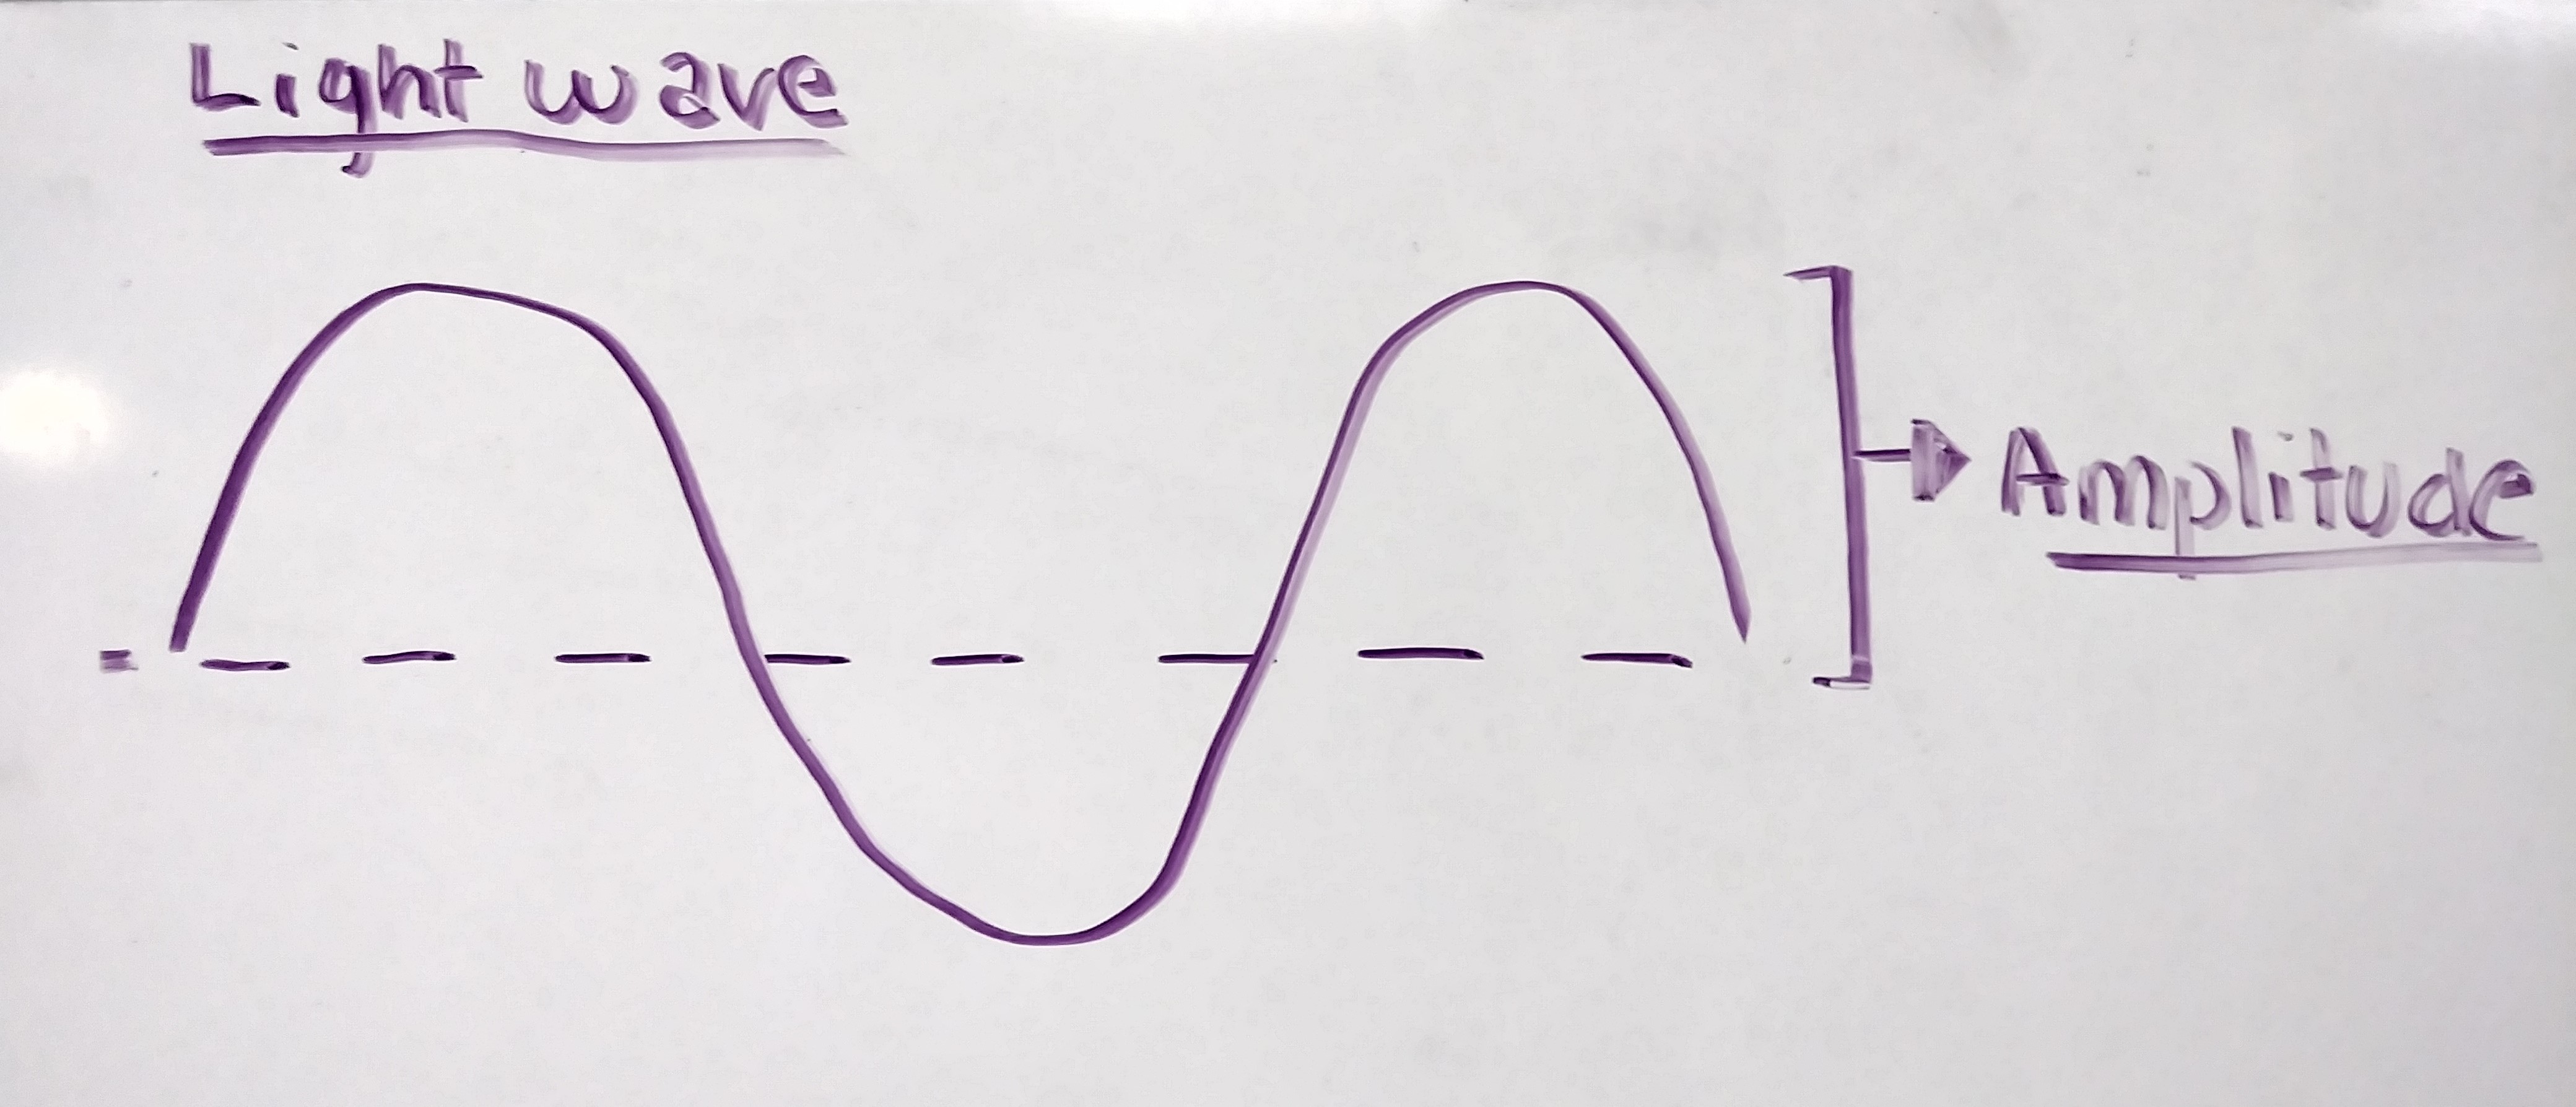
    The height of the wave from its center point, or it’s amplitude, determines how bright the light shines, or how close the value is to white. This means that the colors on your computer screen are not actually programmed into your computer as red, green, or blue. Rather, your computer makes colors by shining specific wavelengths of red, green, and blue lights with different amplitudes through the pixels, tricking your eyes into seeing specific mixes of colors. Neat, right?

    Light waves. The amplitude of the wave is from it's midpoint to the top (crest) of the wave!
    Light waves. The amplitude of the wave is from it’s midpoint to the top (crest) of the wave!

    The colors that you might have learned as primary in your childhood, red, blue, and yellow, follow the subtractive system. This means that as these colors are mixed they approach darker values going towards black. As paints they do not emit wavelengths of energy, like the pixels on your screen. These paints have pigments which reflect the color they show, and absorb all others. For example, a red apple reflects red light, but absorbs all other color wavelengths. Unlike paints, the pixels on your computer screen do not have pigments.

    Now that you know some more about the physics of color on your computer, making that science fair poster should be a breeze! Knowing how to manipulate your red, green, and blue wavelengths of light could save you a ton of time and give you some fantastic looking results! Happy poster making!


    References:

    Stroh, C. (Jul 1997). Basic color theory and color in computers. Art Education; Reston, 50(­4).

  • Get Ready for Earth Day!

    Get Ready for Earth Day!

    vip cover 2

    The Earth’s core is red

    The oceans are blue

    We’d like to keep it that way

    And you can help too!

    In preparation for Earth Day here are 5 ways you can help the cause and save the planet.

    1. Educate yourself on the threat plastics pose to the environment and animals that live there.
    2. Find your local recycling center and check out all the things that CAN be recycled you may not have known about.
    3. Organize a stream clean-up.
    4. Donate to organizations that contribute to environmental efforts.
    5. Support legislation that benefits the environment.

    Plastics:

    http://science.sciencemag.org/content/304/5672/838

    http://derraik.org/resources/Publications/003.Derraik_2002-Mar_Poll_Bull.pdf

    Recycling:

    http://www.iwanttoberecycled.org/search

    http://www.wm.com/thinkgreen/what-can-i-recycle.jsp

    Clean up events:

    http://createthegood.org/toolkit/clean-river

    Organizations to donate to:

    https://www.theoceancleanup.com/

    http://www.surfrider.org/programs/rise-above-plastics

    Stay up to date with legislation involving environmental issues:

    https://www.epa.gov/laws-regulations

    Make a difference in environmental legislation in your area:

    https://publicaccess.zendesk.com/hc/en-us/articles/212071687-Does-EPA-handle-all-environmental-concerns-

  • Coffee and Caffeine

    Coffee and Caffeine


    IMG_2285

    Arguably the most important beverage in a student’s life, coffee offers a boost of caffeine and focus when the productivity comes to a halt. This article is going to give you a taste of what’s inside that addictive cup of jo[y].

    Where does it come from?

    The coffee bean dates back to the 14th century when it was reportedly first roasted, ground, and infused in East Africa (the native area of the coffee tree). Despite the coffee tree’s successful migration to other countries with subtropical climates, African countries remain responsible for approximately a fifth of the world’s coffee production.

    FullSizeRender-1

    It contains the most widely consumed behavior-modifying chemical.

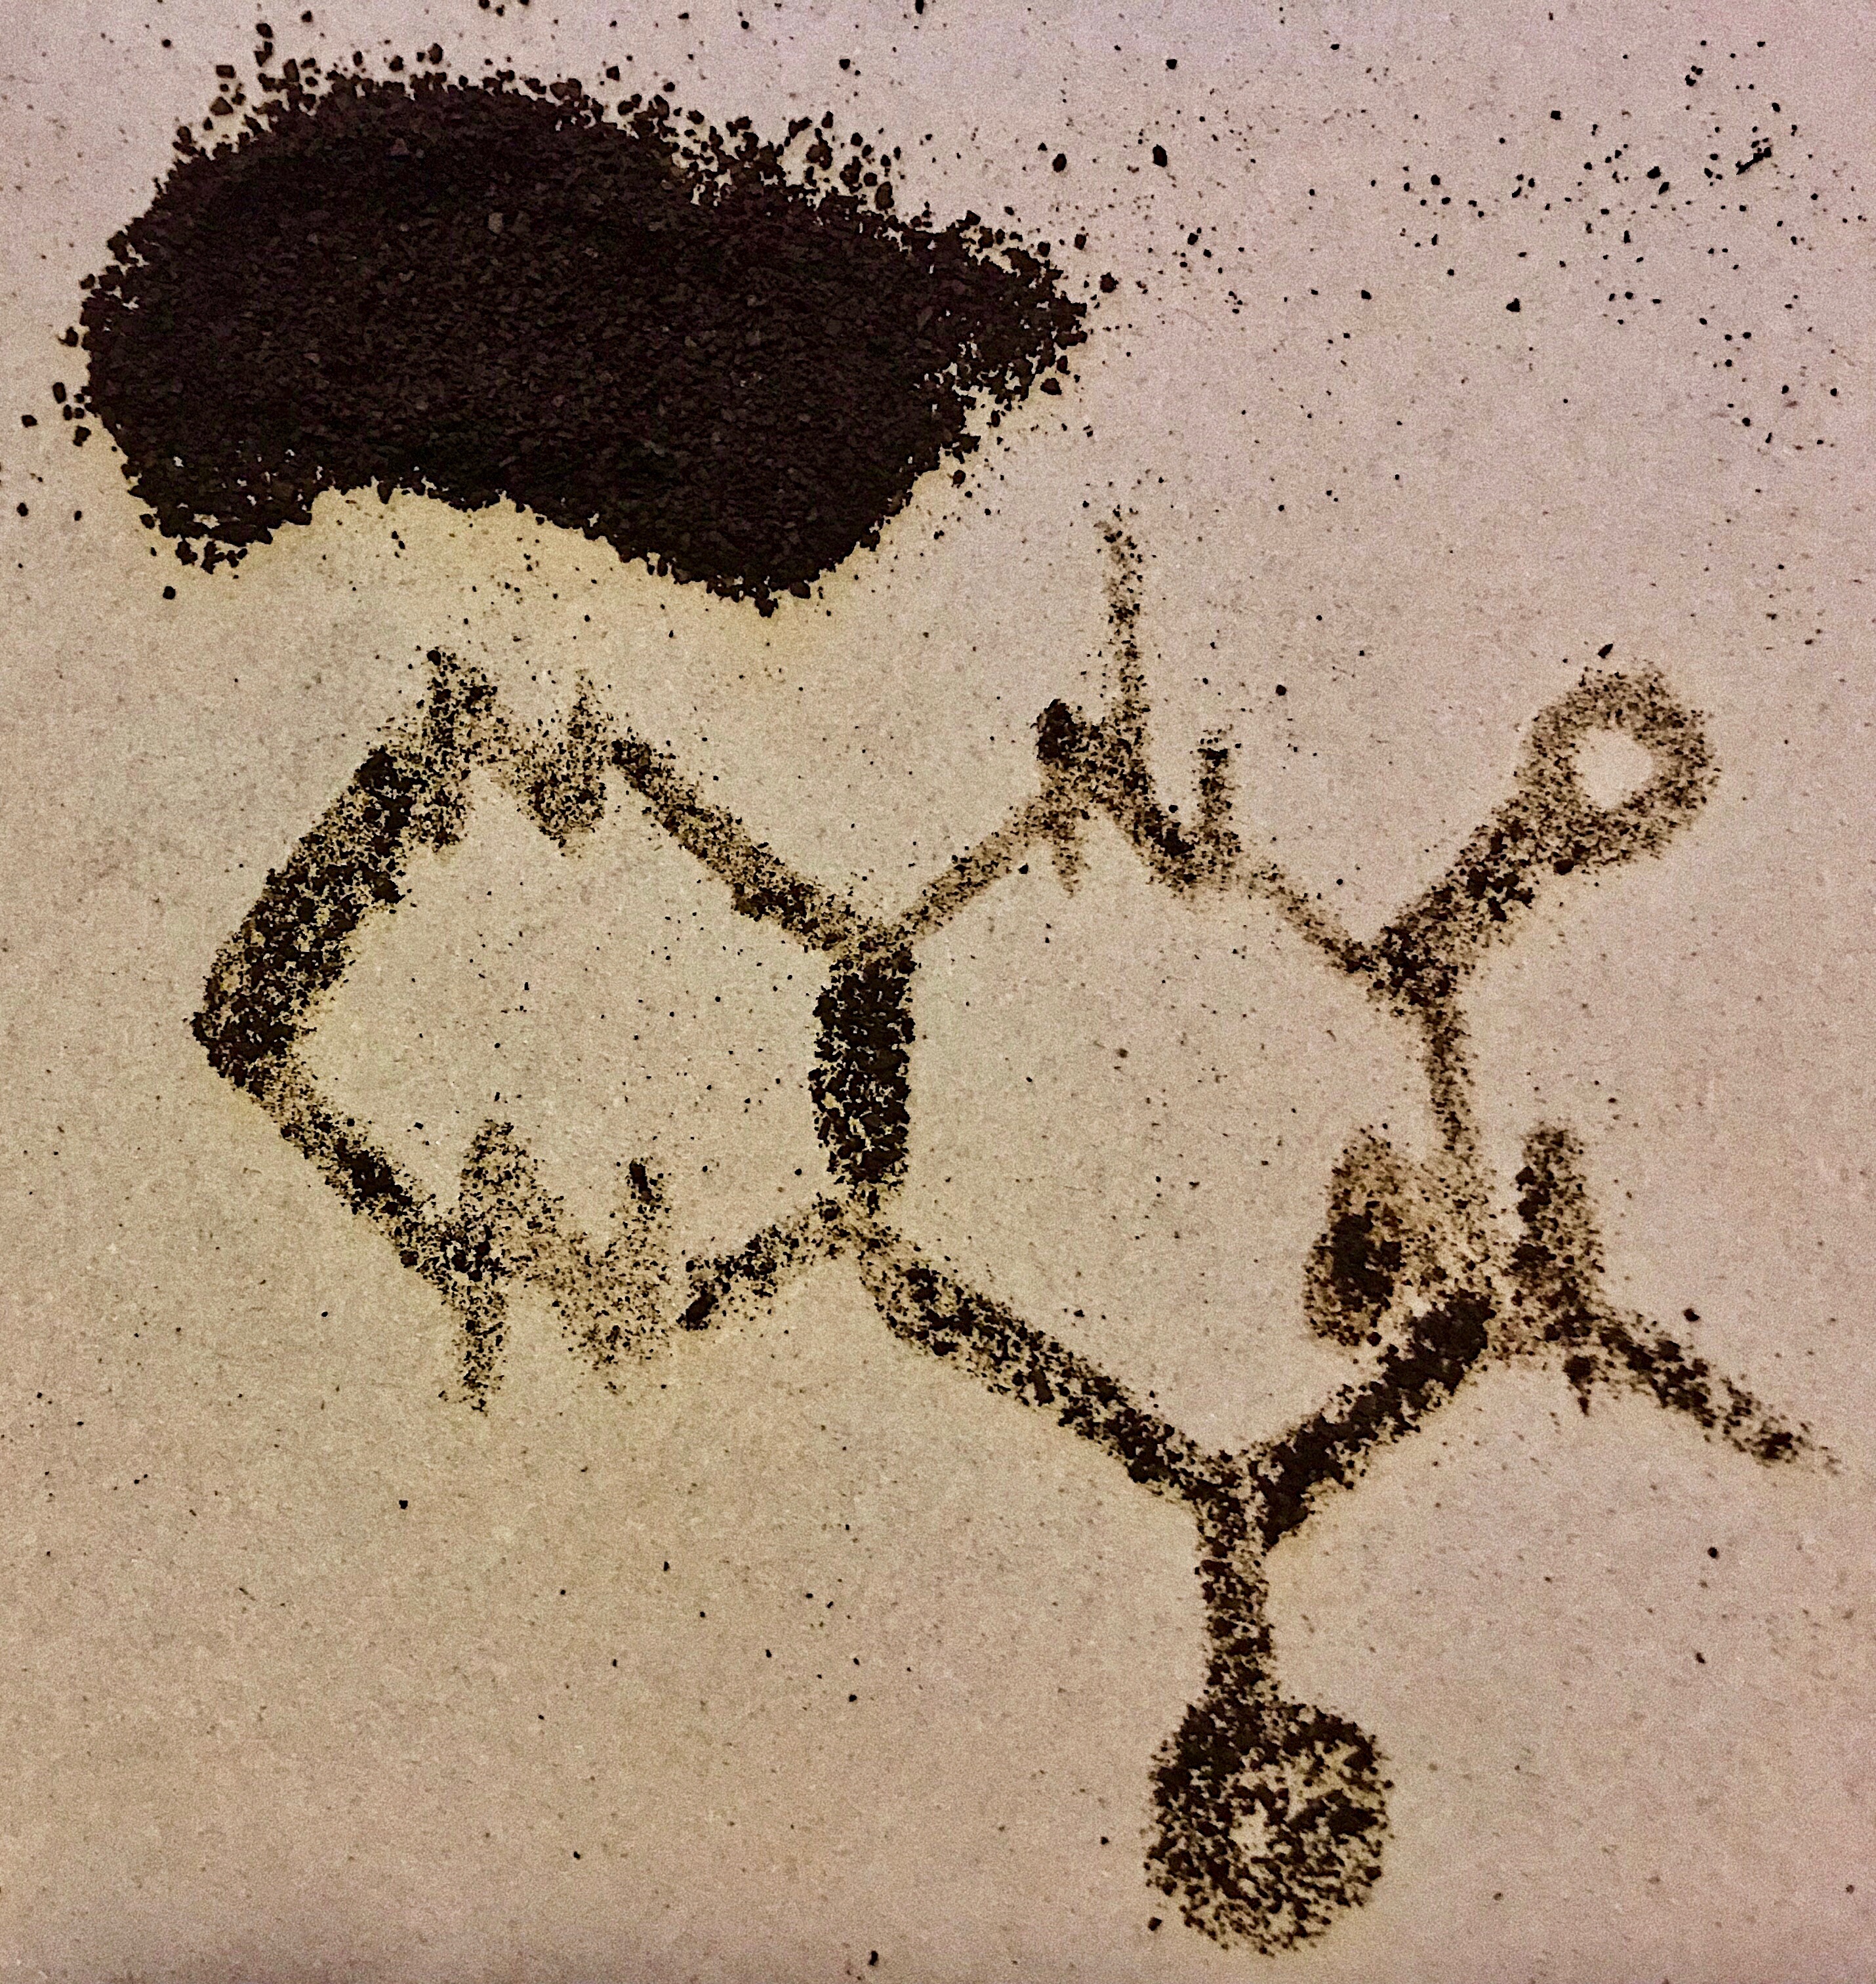
    That extra stimulation you receive after drinking a cup of coffee comes from the, on average, 95 mg of caffeine that quickens reactions and relieves fatigue. Caffeine is apart of the organic nitrogen-containing alkaloid class accompanied by other well-known molecules like morphine and nicotine. These chemicals interfere with cell signal transduction, affecting muscular and central nervous system activity through agonistic receptor activation at neuroreceptors. Caffeine levels in the blood spike within 15 minutes to 2 hours of consumption and are reduced by half within 3 to 7 hours.

    IMG_1672_Lively

    The Ideal Brewing Conditions

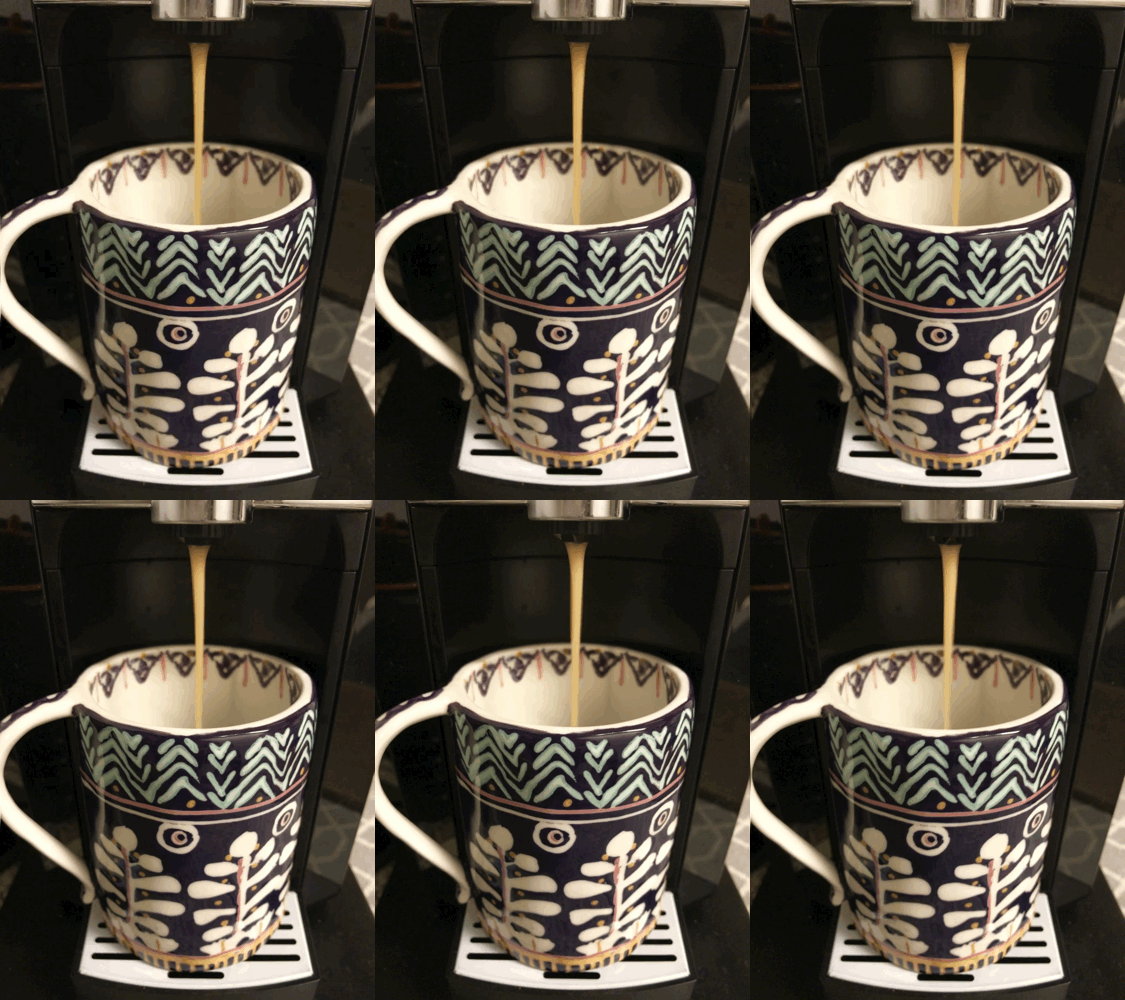
    You might want to think twice before filling up your keurig with tap water. Brewed coffee is comprised of approximately 95% water, so the quality of water can actually play a significant role in the flavor of coffee created. Most of the disinfectant chlorine flavor in tap water is removed through boiling, however water with high calcium magnesium carbonate content (hard water) can slow the brew’s flavor extraction and dissolve espresso foam. Soft water therefore over-exaggerates the flavor of the coffee and can exhibit a salty taste in the brew. Distilled water could also lead you astray as its purity produces a flat, dimensionless flavor. To yield a slightly acidic flavor in the final brew, the water should contain a neutral pH and a moderate balance of minerals.

    Sources:

    “Caffeine Content for Coffee, Tea, Soda and More.” Mayo Clinic, Mayo Foundation for Medical Education and Research, 14 Apr. 2017.

    McGee, Harold. On Food and Cooking: the Science and Lore of the Kitchen. Scribner, 2004.

    Rahman, Atta-ur-. “Interference of Alkaloids with Neuroreceptors and Ion Channels.” Studies in Natural Products Chemistry: Volume 21 Bioactive Natural Products (Part B), vol. 21, Elsevier, 2000.