Category: DIY

science activities you can do at home, science crafts, scientist favorite recipes, science travel, fashion and beauty science, science art, mods

  • A Scientist’s Perspective on Why Pie is Yummy and Delicious and Deserving of Your Respect and Admiration

    A Scientist’s Perspective on Why Pie is Yummy and Delicious and Deserving of Your Respect and Admiration

    It is an indisputable fact that I am deeply, irreversibly, head-over-heels in love with pie. Apple. Pumpkin. Blueberry. Banana Cream. You name it, I’ll eat it.

    As Thanksgiving approaches, I find myself longing for a slice of warm apple pie with a big scoop of vanilla ice cream. I also find myself contemplating the scientific majesty that is an apple pie.

    What majesty, you say? Well, friend, allow me to take you on a journey — from orchard to oven, from farm to table. Prepare yourself. Cozy up. Grab your snuggie. A tall glass of hot chocolate wouldn’t hurt either. Of course you’ll need some marshmallows. Got the marshmallows? Good! Let’s begin.

    There are few evolutionary success stories as impressive as the apple’s. Think about it. This fruit was able to evolve a trait so desirable (its deliciousness) that we humans have taken it from its ancestral home in the mountains of Kazakhstan to every populated continent on Earth. We have immortalized the apple in art; we have juiced them, fermented them, sliced them, bobbed for them, dipped them in caramel, engineered machines for the sole purpose of coring them and, yes, made them into delicious pies.

    You might think with all its uses that the apple must be a simple, easy fruit to grow. Humans are lazy, right? Surely we wouldn’t grow a fruit like the apple so much if it weren’t an easy thing to do. Wrong. False. Incorrect. Lies!

    Apples are incredibly complex. Apples are extreme heterozygotes, meaning that the genes they inherit from their parents can be radically different between one apple and another apple on the same tree. If you were to grow a tree from a seed taken from a Granny Smith apple, you would most certainly, not obtain a tree filled with Granny Smith apples. Your apple tree would likely produce “spitters” — nasty, sour apples meant only to be spit out. Every so often a sweet apple would be grown by chance, but not with consistency.

    So how do we manage consistency today? How do we grow a Granny Smith apple tree? Well, in order to produce a Granny Smith apple tree, you would need to graft one. Grafting is a horticultural surgical procedure whereby the tissues from one plant are transplanted into another, allowing for asexual reproduction of the primary tissue. As a result of this process, the tissues from the donor plant fuse with the tissues of the host plant and the resulting fruits are born from the genes of the donor tissue.

    Without this process, apples would never have been domesticated; planting an apple tree would be like opening a box of chocolates — you’d just never know what you’d get.  It would be an adventure, yes, but 99 times out of 100, it’d be an unhappy one. Through grafting we have become slaves to the apple, spending billions of dollars per year on pesticides aimed at keeping the sweet apples we love away from the dark precipice of extinction. And for what? For pies. And to be perfectly honest, that’s all the reason we need.

    The next thing you’ll need for your pie is a crust. There are many recipes that one can use to make a pie crust. But so far as it is an indisputable fact that I am deeply, irreversibly head-over-heels in love with pie, it is also a fact that the best pie crust recipe is indisputably my great-grandmother’s recipe. But I will not be supplying you with this recipe. This is not a “how-to” guide. Get over it. I will however, confide in you, my dear reader, the identity of one crucial ingredient. It’s flour. I know. Revolutionary! But don’t tell anyone. It’s a secret. Now that you know this deep, dark secret, you probably have some burning questions. If you’re like me, the first question you are probably asking yourself is “What are the explosive properties of flour?” Lucky for you, I have the answer!

    As it turns out, flour is, indeed, an explosive substance. Flour is composed primarily of starch, which is, in turn, composed primarily of glucose. Glucose is highly combustible — it reacts with oxygen to produce carbon dioxide and water. When ignited by a flame, the sugars explode! Boom! Normally, this process is highly controlled — cells convert glucose into pyruvate through glycolysis and that pyruvate is then converted to carbon dioxide and water through the citric acid cycle and oxidative phosphorylation.

    Through these processes animal cells produce the energy needed for carrying on with their day-to-day metabolic processes and that’s all good and well, but it’s probably not the type of combustion you were thinking of. Where are the explosions? Where’s the excitement? Well … this is the excitement. Your cells have the ability to carry out explosive reactions in a manner so intricate and organized that they cause no harm to you whatsoever — in fact, they help you. On a second-to-second basis, your body is “exploding” sugars and harnessing their energy. So put that energy to good use. Invest it in digesting more pie.

    Of course there are many other ingredients that go into making the perfect apple pie (cinnamon, nutmeg, sugar, butter), but we will not address those here. We will, instead, end our journey with a discussion on ice cream — apple pie’s obligatory sidekick. Ice cream is a dairy product, meaning it is derived from mammalian milk. Humans have been consuming milk since the Neolithic revolution, but it wasn’t until Louis Pasteur invented pasteurization that dairy products such as ice cream could be made and stored for extended periods of time. Pasteurization is the process by which milk is heated and cooled in order to reduce the amount of pathogenic microorganisms in the product. Once pasteurized the milk is free to be used as an ingredient for whatever ice cream your heart desires! But as for me and my heart, we will desire vanilla.

    If you’ve stuck with me this far, congratulations, your dedication is about to pay off! How, you ask?! Why with a discussion on the colligative properties of rock salt, of course! If you wanted to make your own ice cream, you could do it by filling a bag with milk (1/2 cup), sugar (1 Tbs), and vanilla (1/2 tsp), sealing that bag, and placing it in a larger bag filled with ice (4 cups) and rock salt (4 Tbs). Gently massage your bag for 5 minutes, or so, and voila, you’ve made yourself ice cream!

    Witchcraft! You exclaim. No, silly! It wasn’t witchcraft. It was science.  You see, salt has the ability to lower the freezing point of water (meaning that it enables water to remain liquid beneath its freezing point).  For your ice cream, this means your ice/salt mixture will keep your milk/sugar mixture sufficiently cool for it to freeze into ice cream despite the fact that it’s sitting in your warm, cozy hands in your warm, cozy room. It also means you have a quick, easy way to make yourself a side dish for your apple pie!

    By now you’ve probably finished your tall glass of hot chocolate and are wondering what to do next. This article is almost over; you’ll soon be left on your own. What will you do? Well, if I may make a suggestion; go make an apple pie and some vanilla ice cream. Bake it. Eat it. Respect it. Admire it. After all, it came a long way to get where it is today. Also, pie is yummy and delicious.

  • Creepy costumes:  radioactive Madame Curie

    Creepy costumes: radioactive Madame Curie

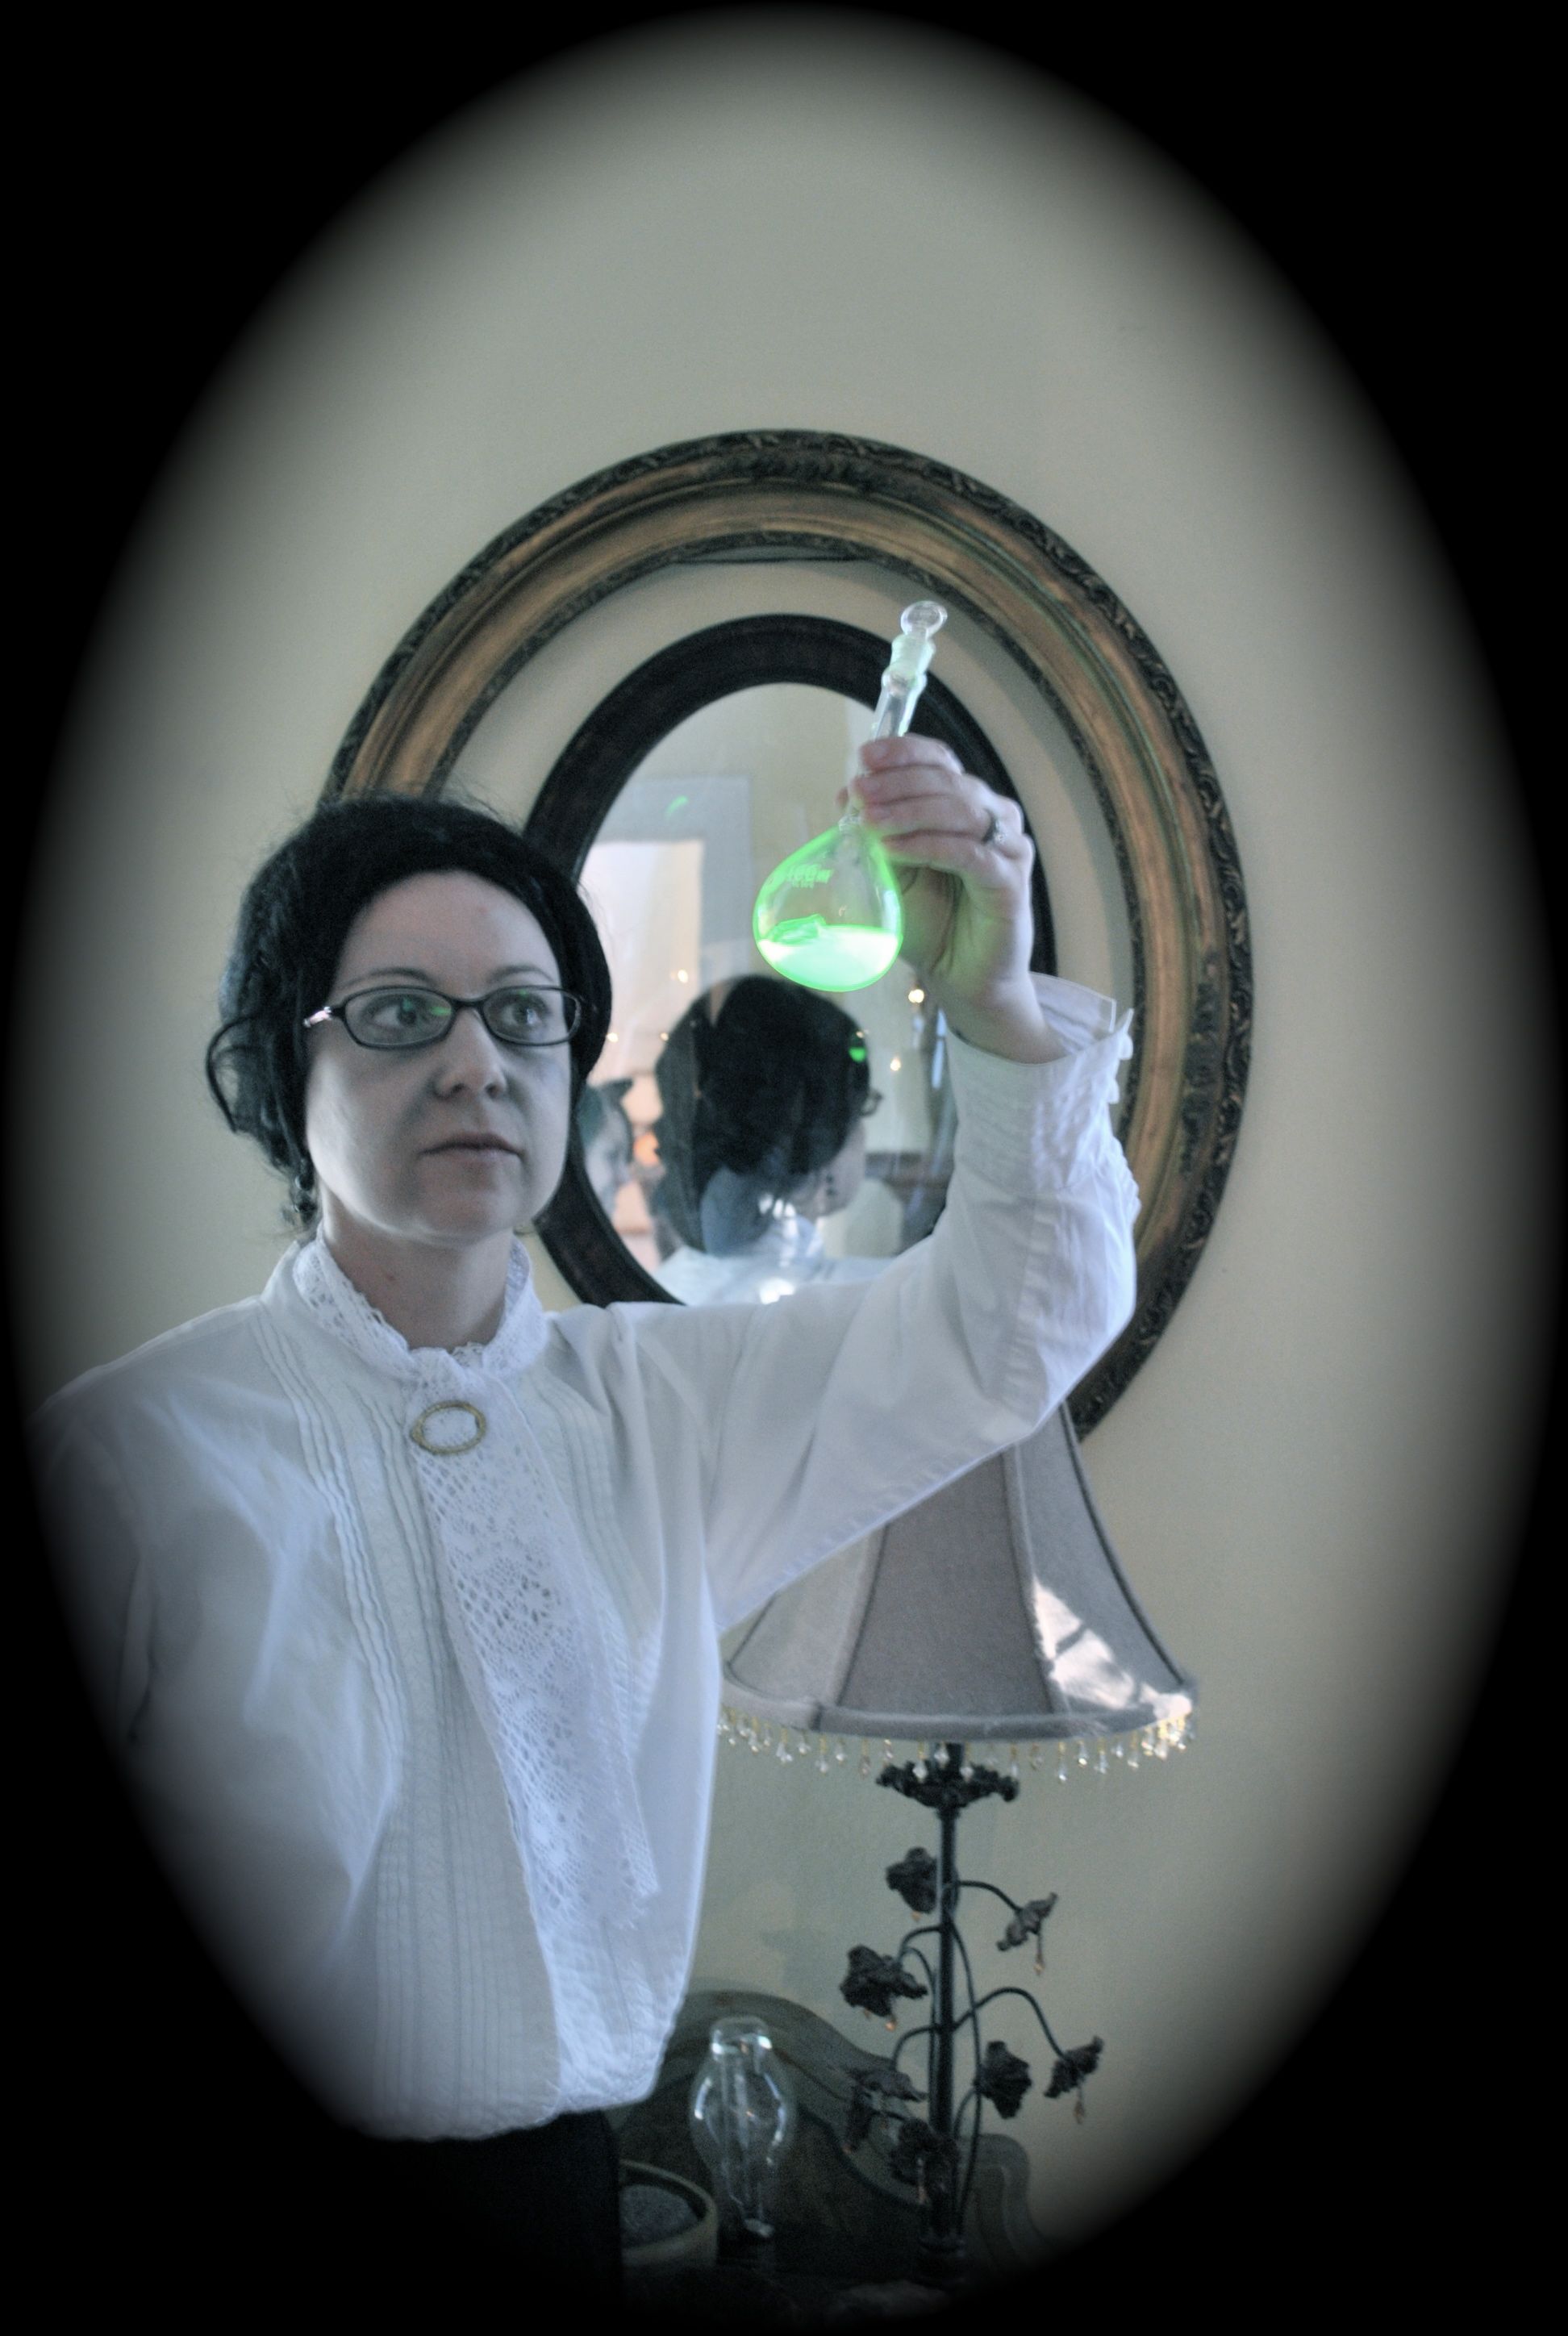
    This year for Halloween, why not celebrate Marie Curie, the first woman to win the Nobel Prize?  The good news (for you, not for her) is that she died a gruesome death as a result of exposure to the radioactive chemicals she studied so she makes for a spooky costume.  Even now, her lab notebooks are so radioactive that researchers that want to look at them have to wear lead aprons!  Madame Curie’s official cause of death was anemia, so a little yellow or gray makeup would be appropriate.  You can mimic radium by cutting open an activated glow stick and pouring it in a test tube or flask (she used to like to carry her chemicals around in her pocket).  I found a Victorian-era skirt at a vintage clothing store, but any dowdy dress will do….creepy AND geeky! Happy Halloween!!!

  • Let’s Go!: Costa Rica

    Let’s Go!: Costa Rica

    As a supporter of the “Let’s stop wearing shoes” movement that seems to be taking over the mentality of both young adults and shoe manufacturers alike (that is a later story, though), I often find myself lamenting the amount of shoes I am required to pack when going on vacation with my mother. As a supporter of traveling and not destroying the environment in the process, those same trips with my mother tend to stress me out. Previous trips have found us in France and Ireland in GIANT tour buses that make me cringe when I think of the carbon emissions coming from my enjoyment of a new country.

    I have newly found faith in my mother’s traveling compulsion these days. Immediately upon finishing my first year of college, my mother and I hopped on a plane and flew to San Jose, Costa Rica to join a trip with G Adventures, an eco-friendly tour company based in Canada (and one where I was only required a pair of flimsy sandals in order to be comfortable).

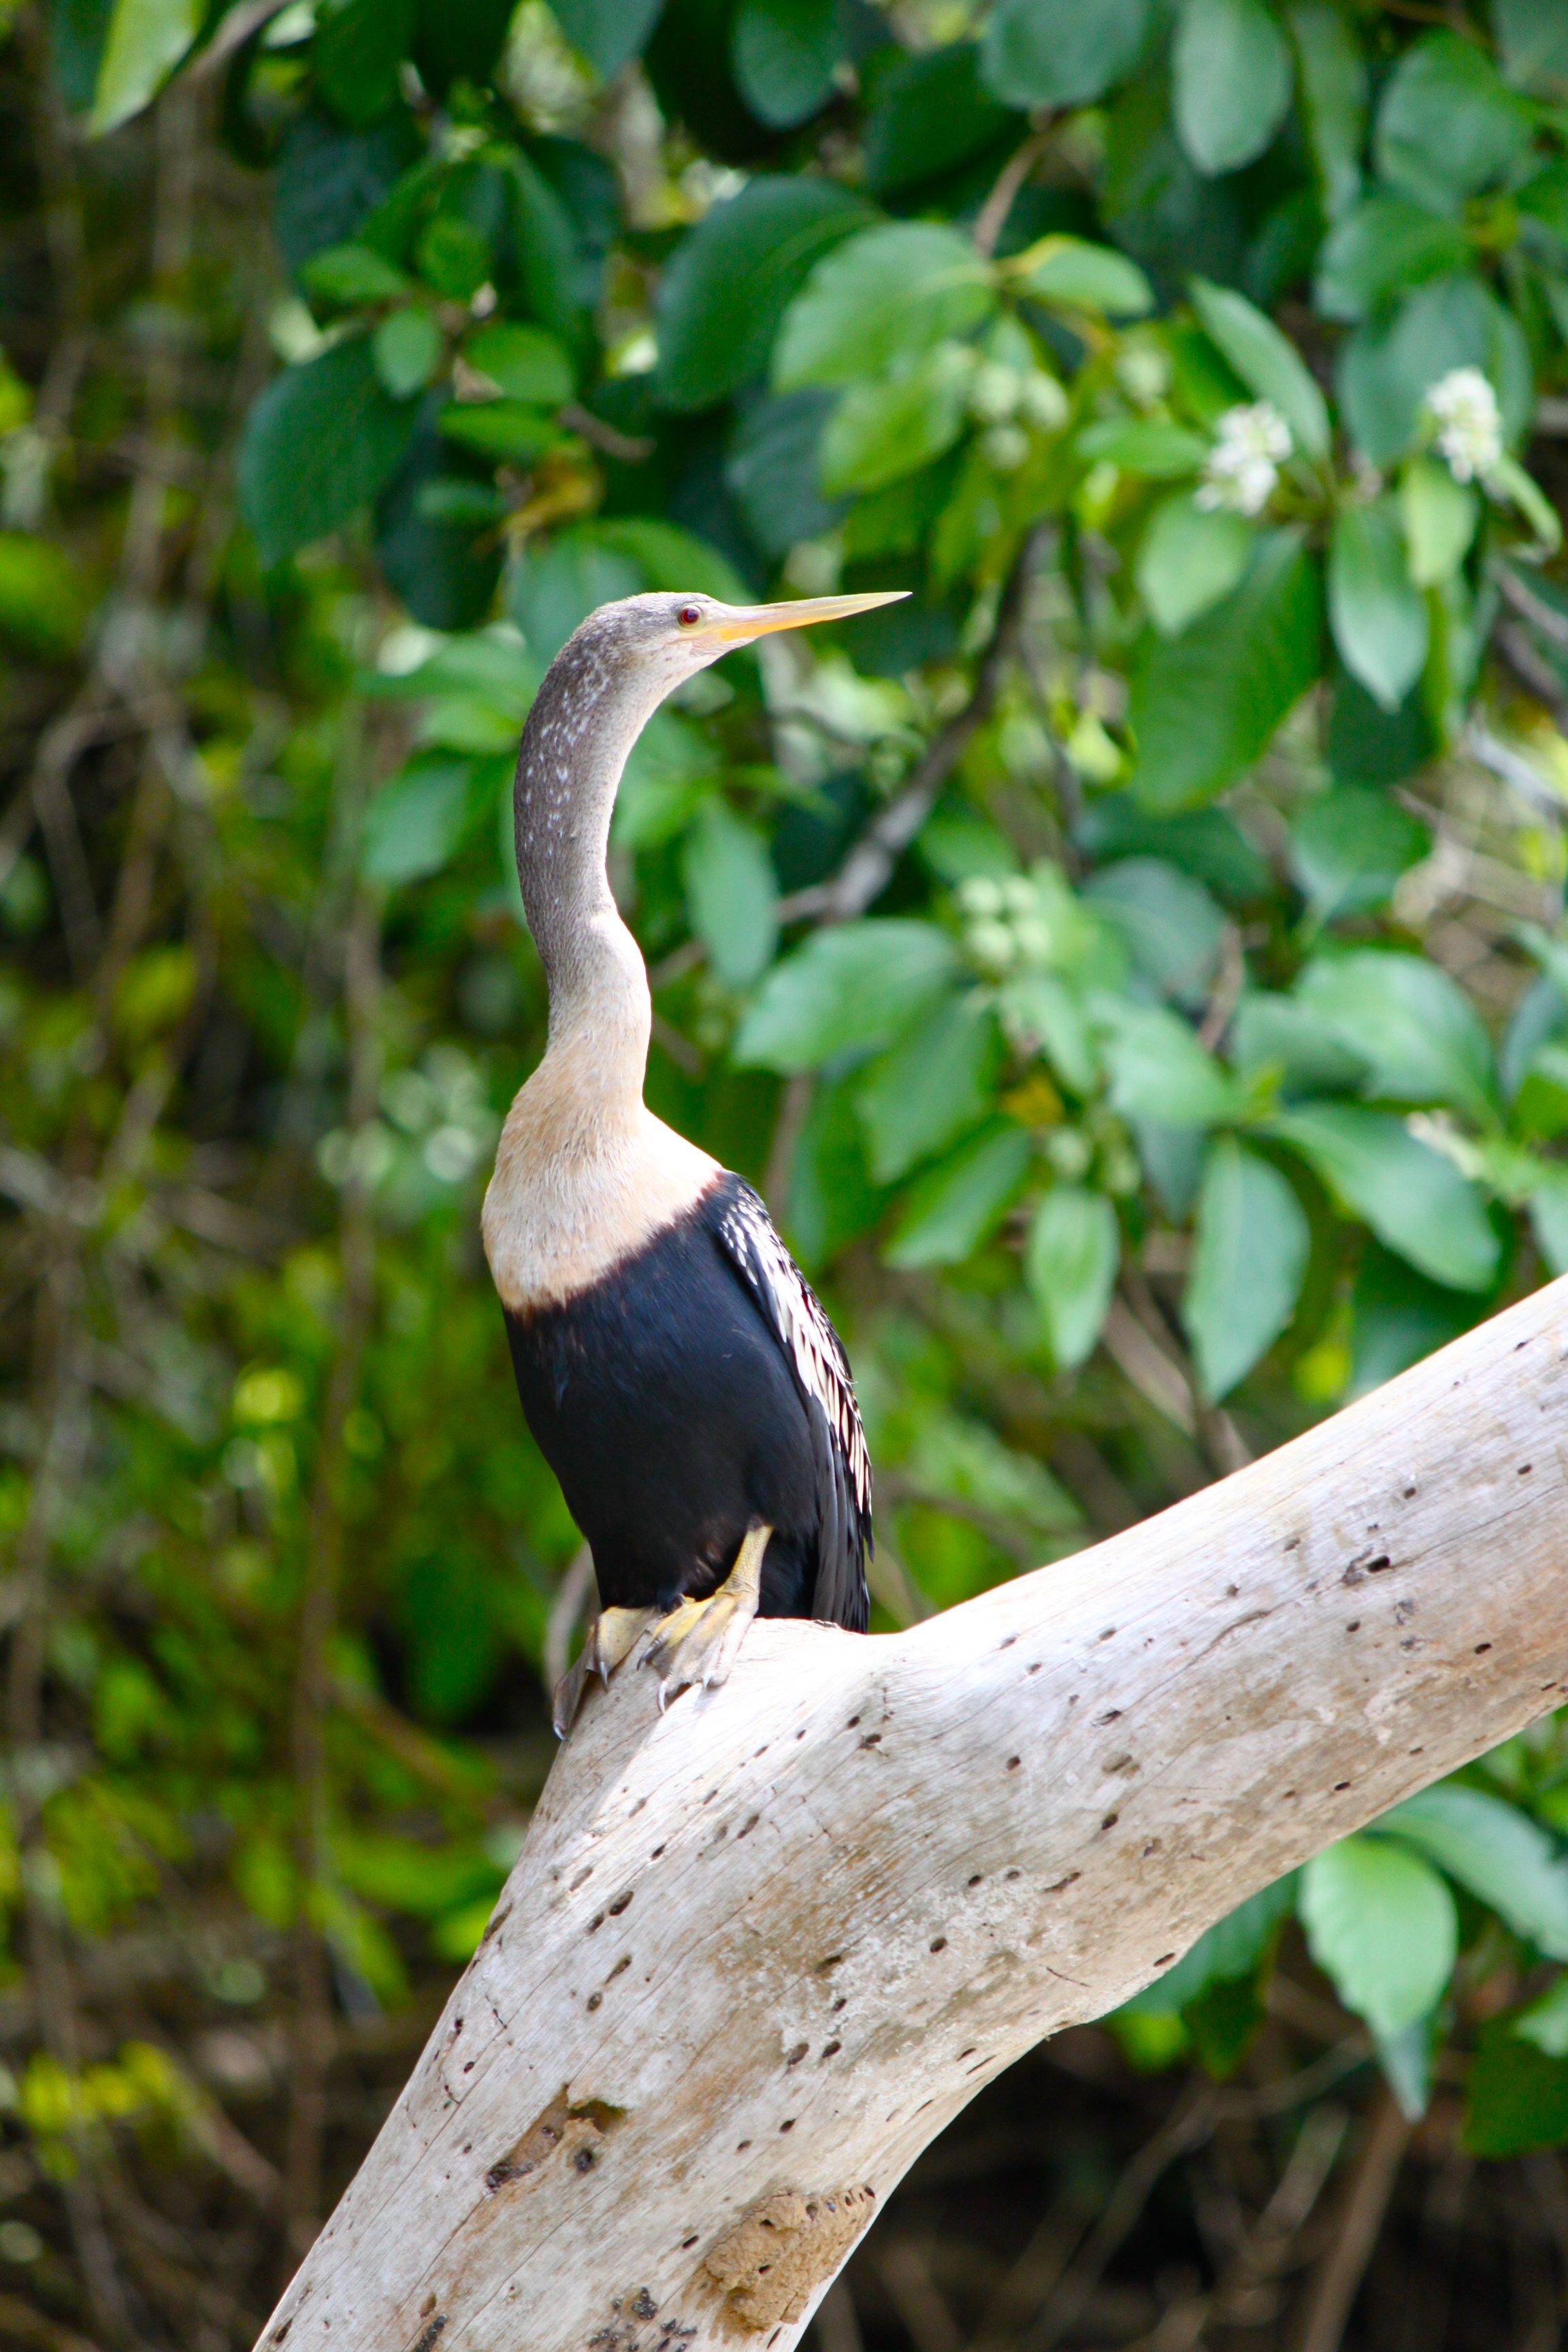
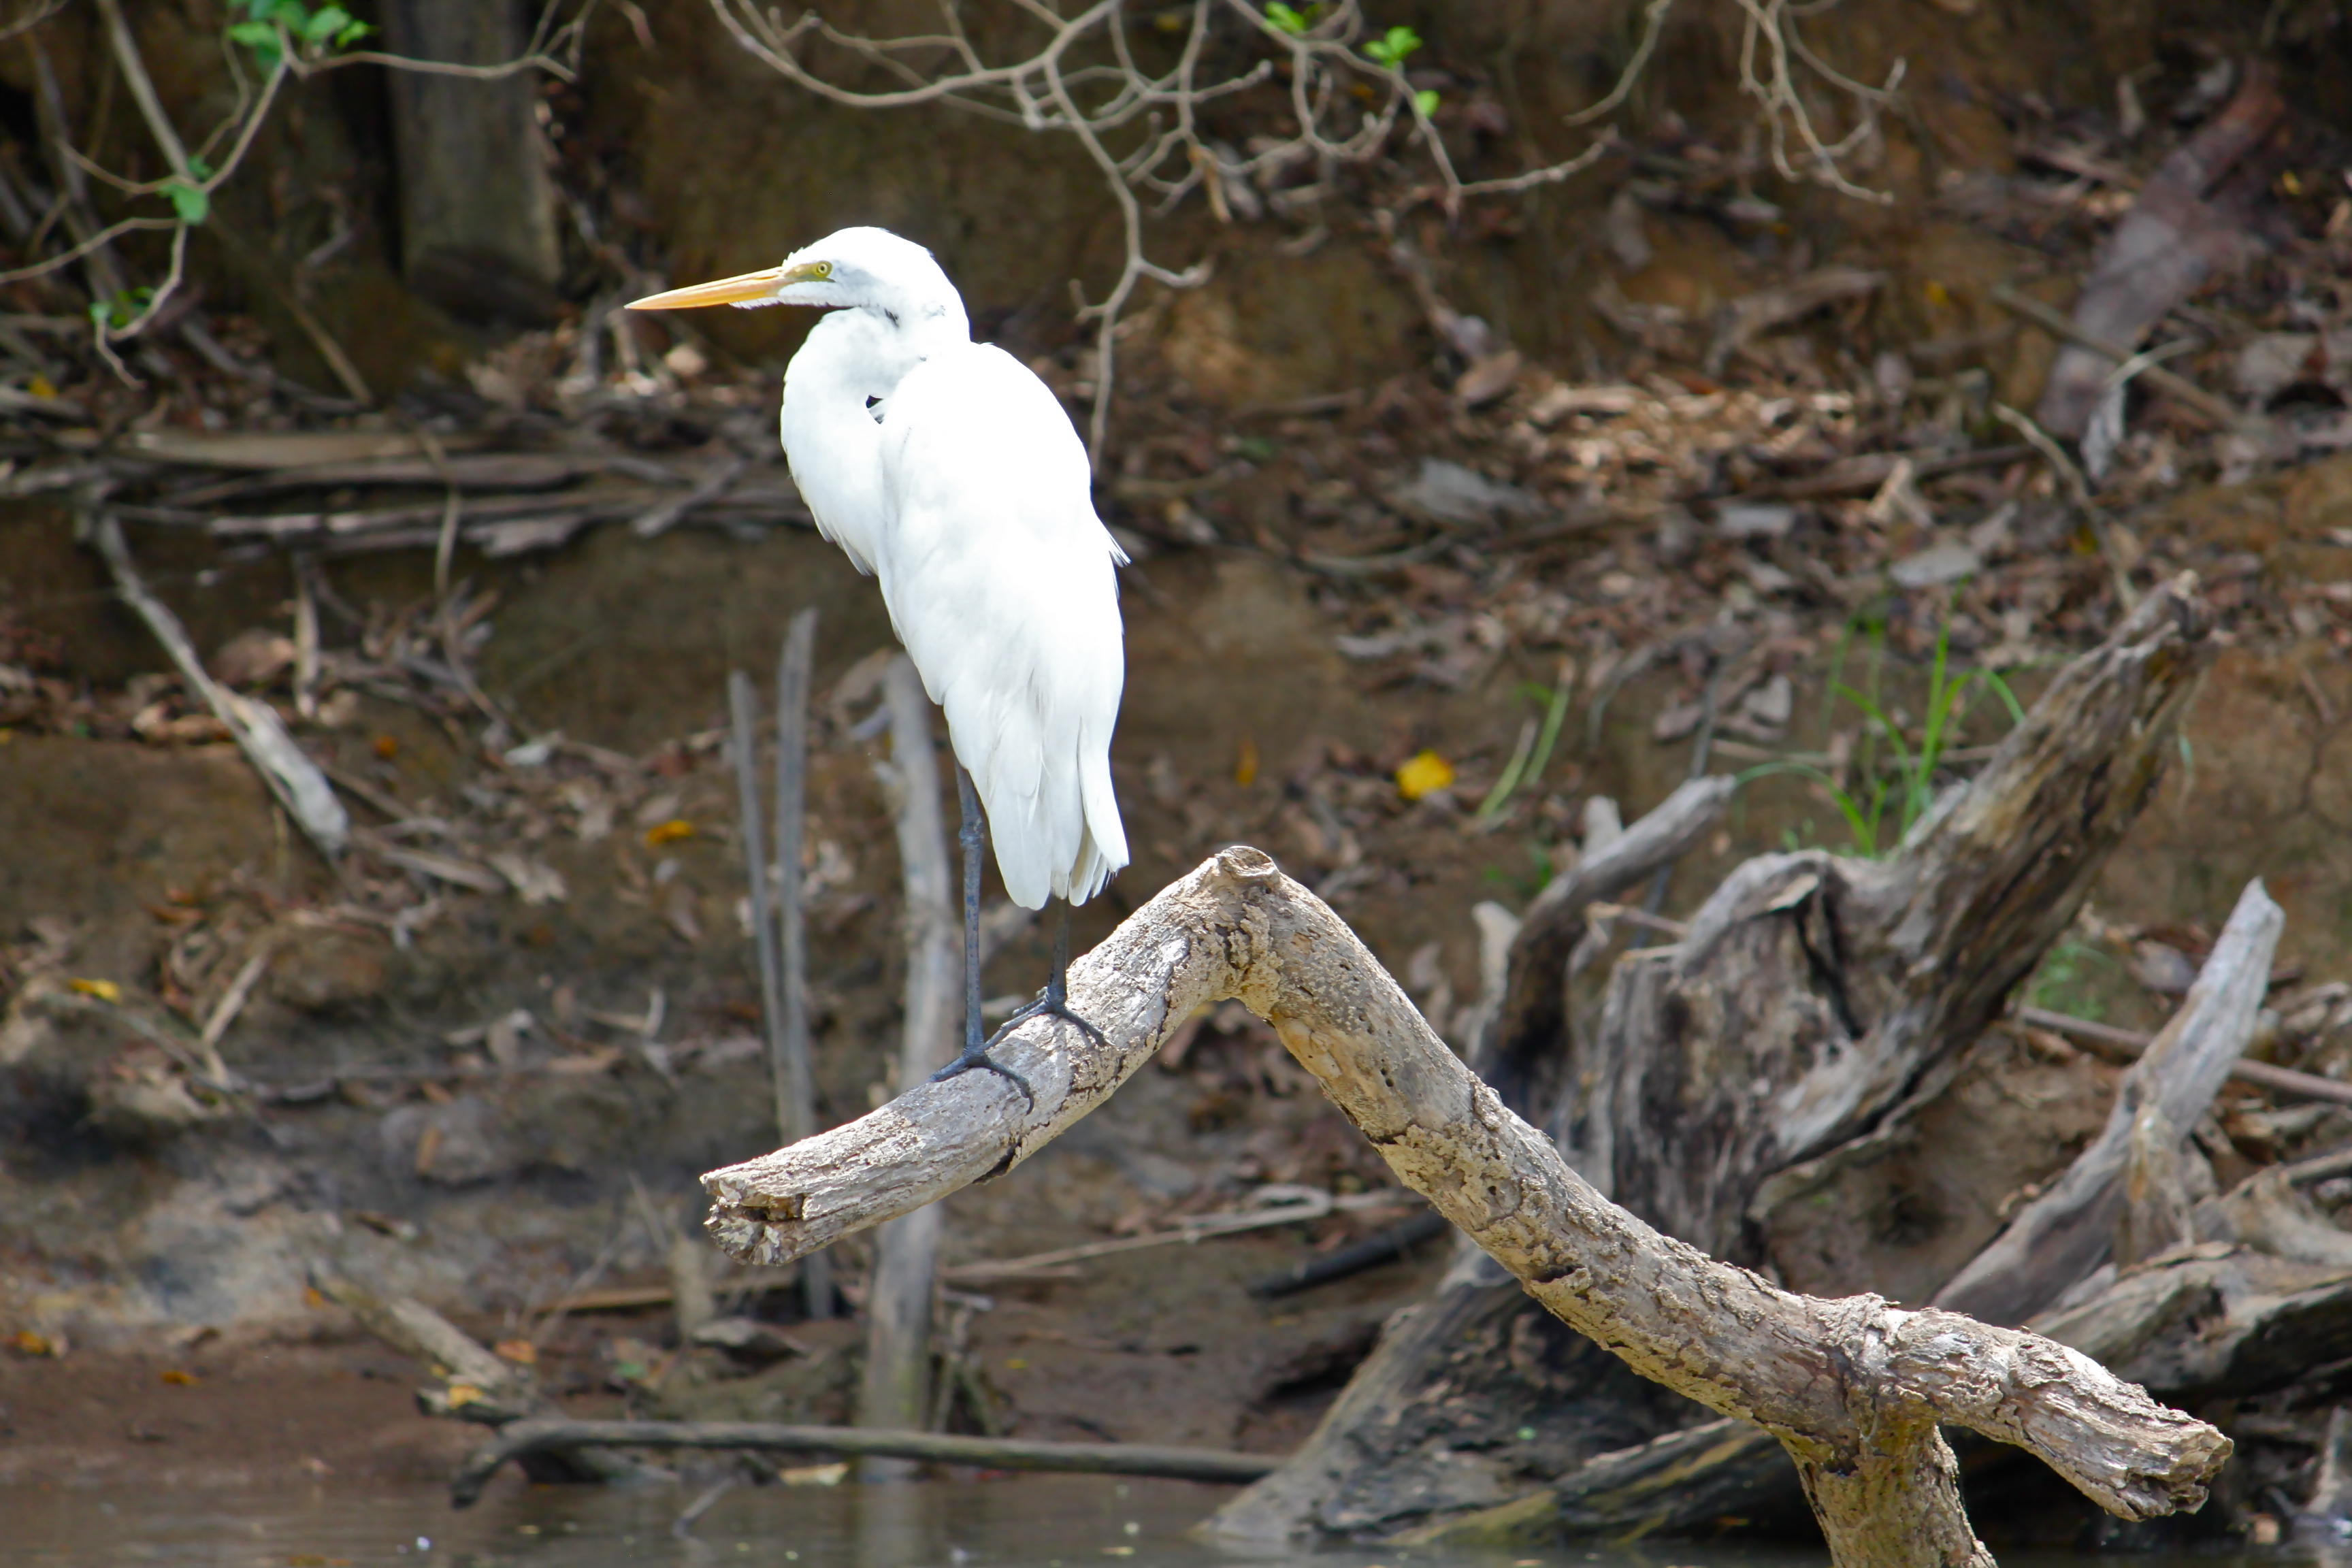
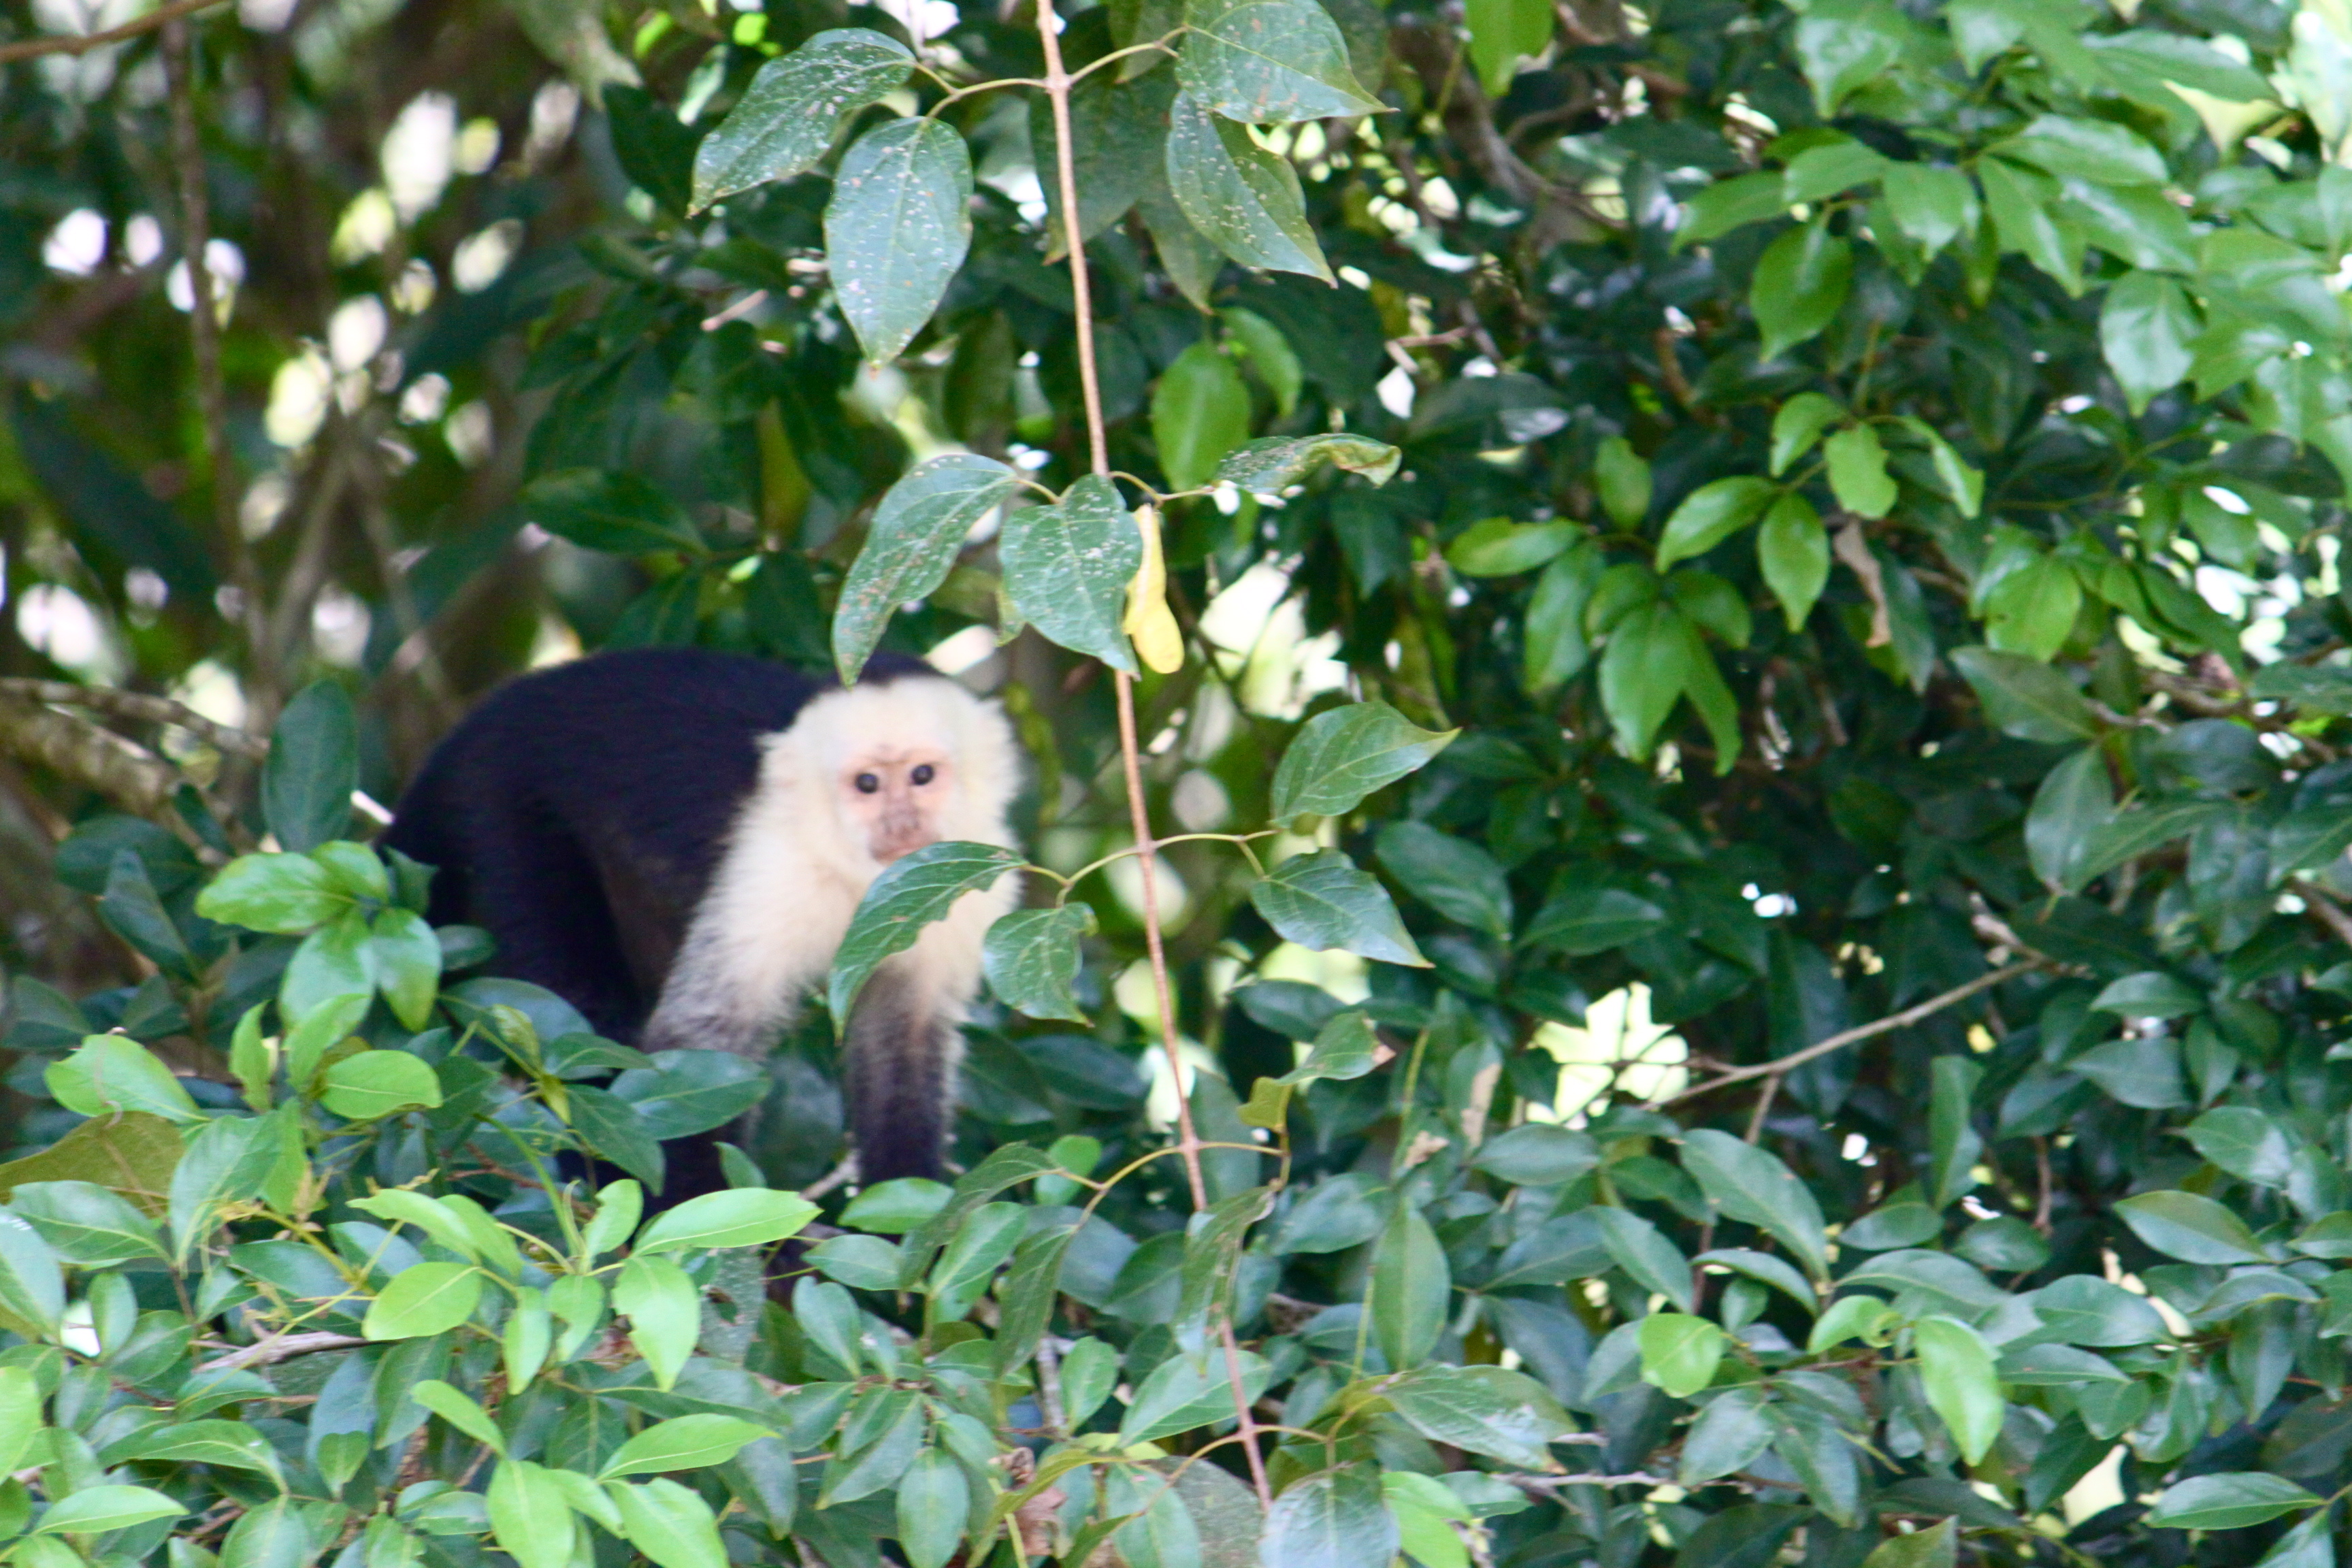
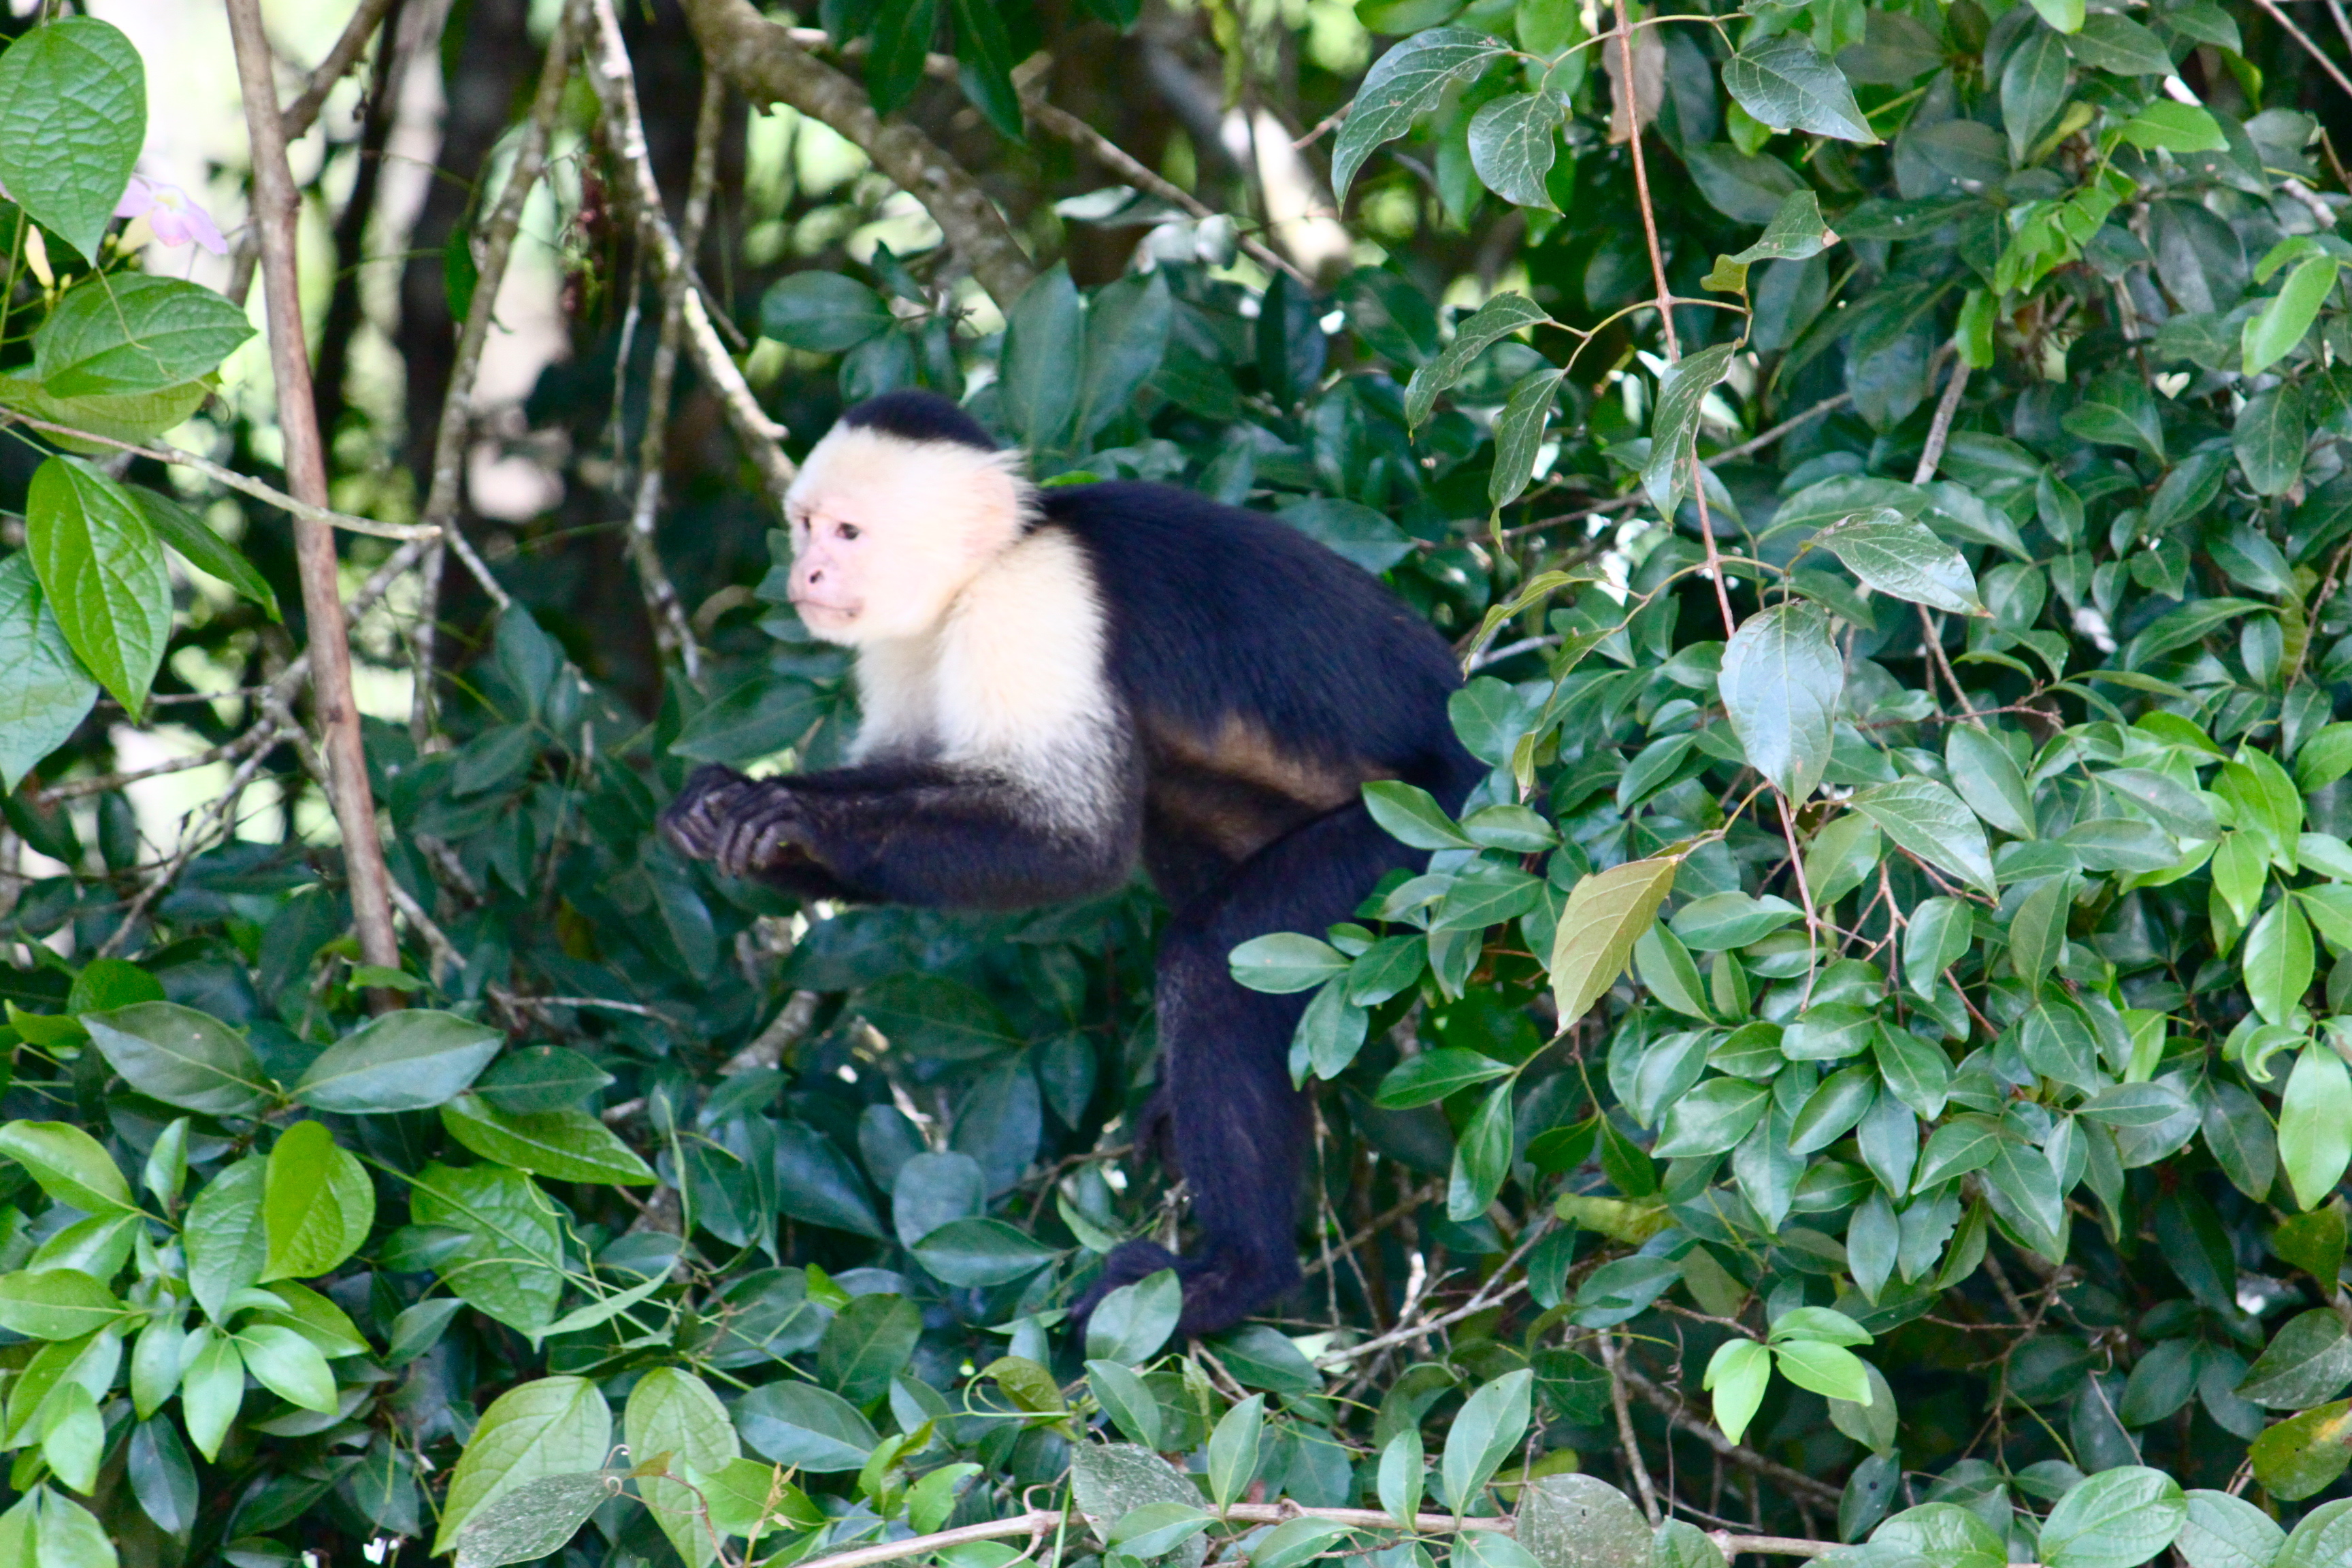
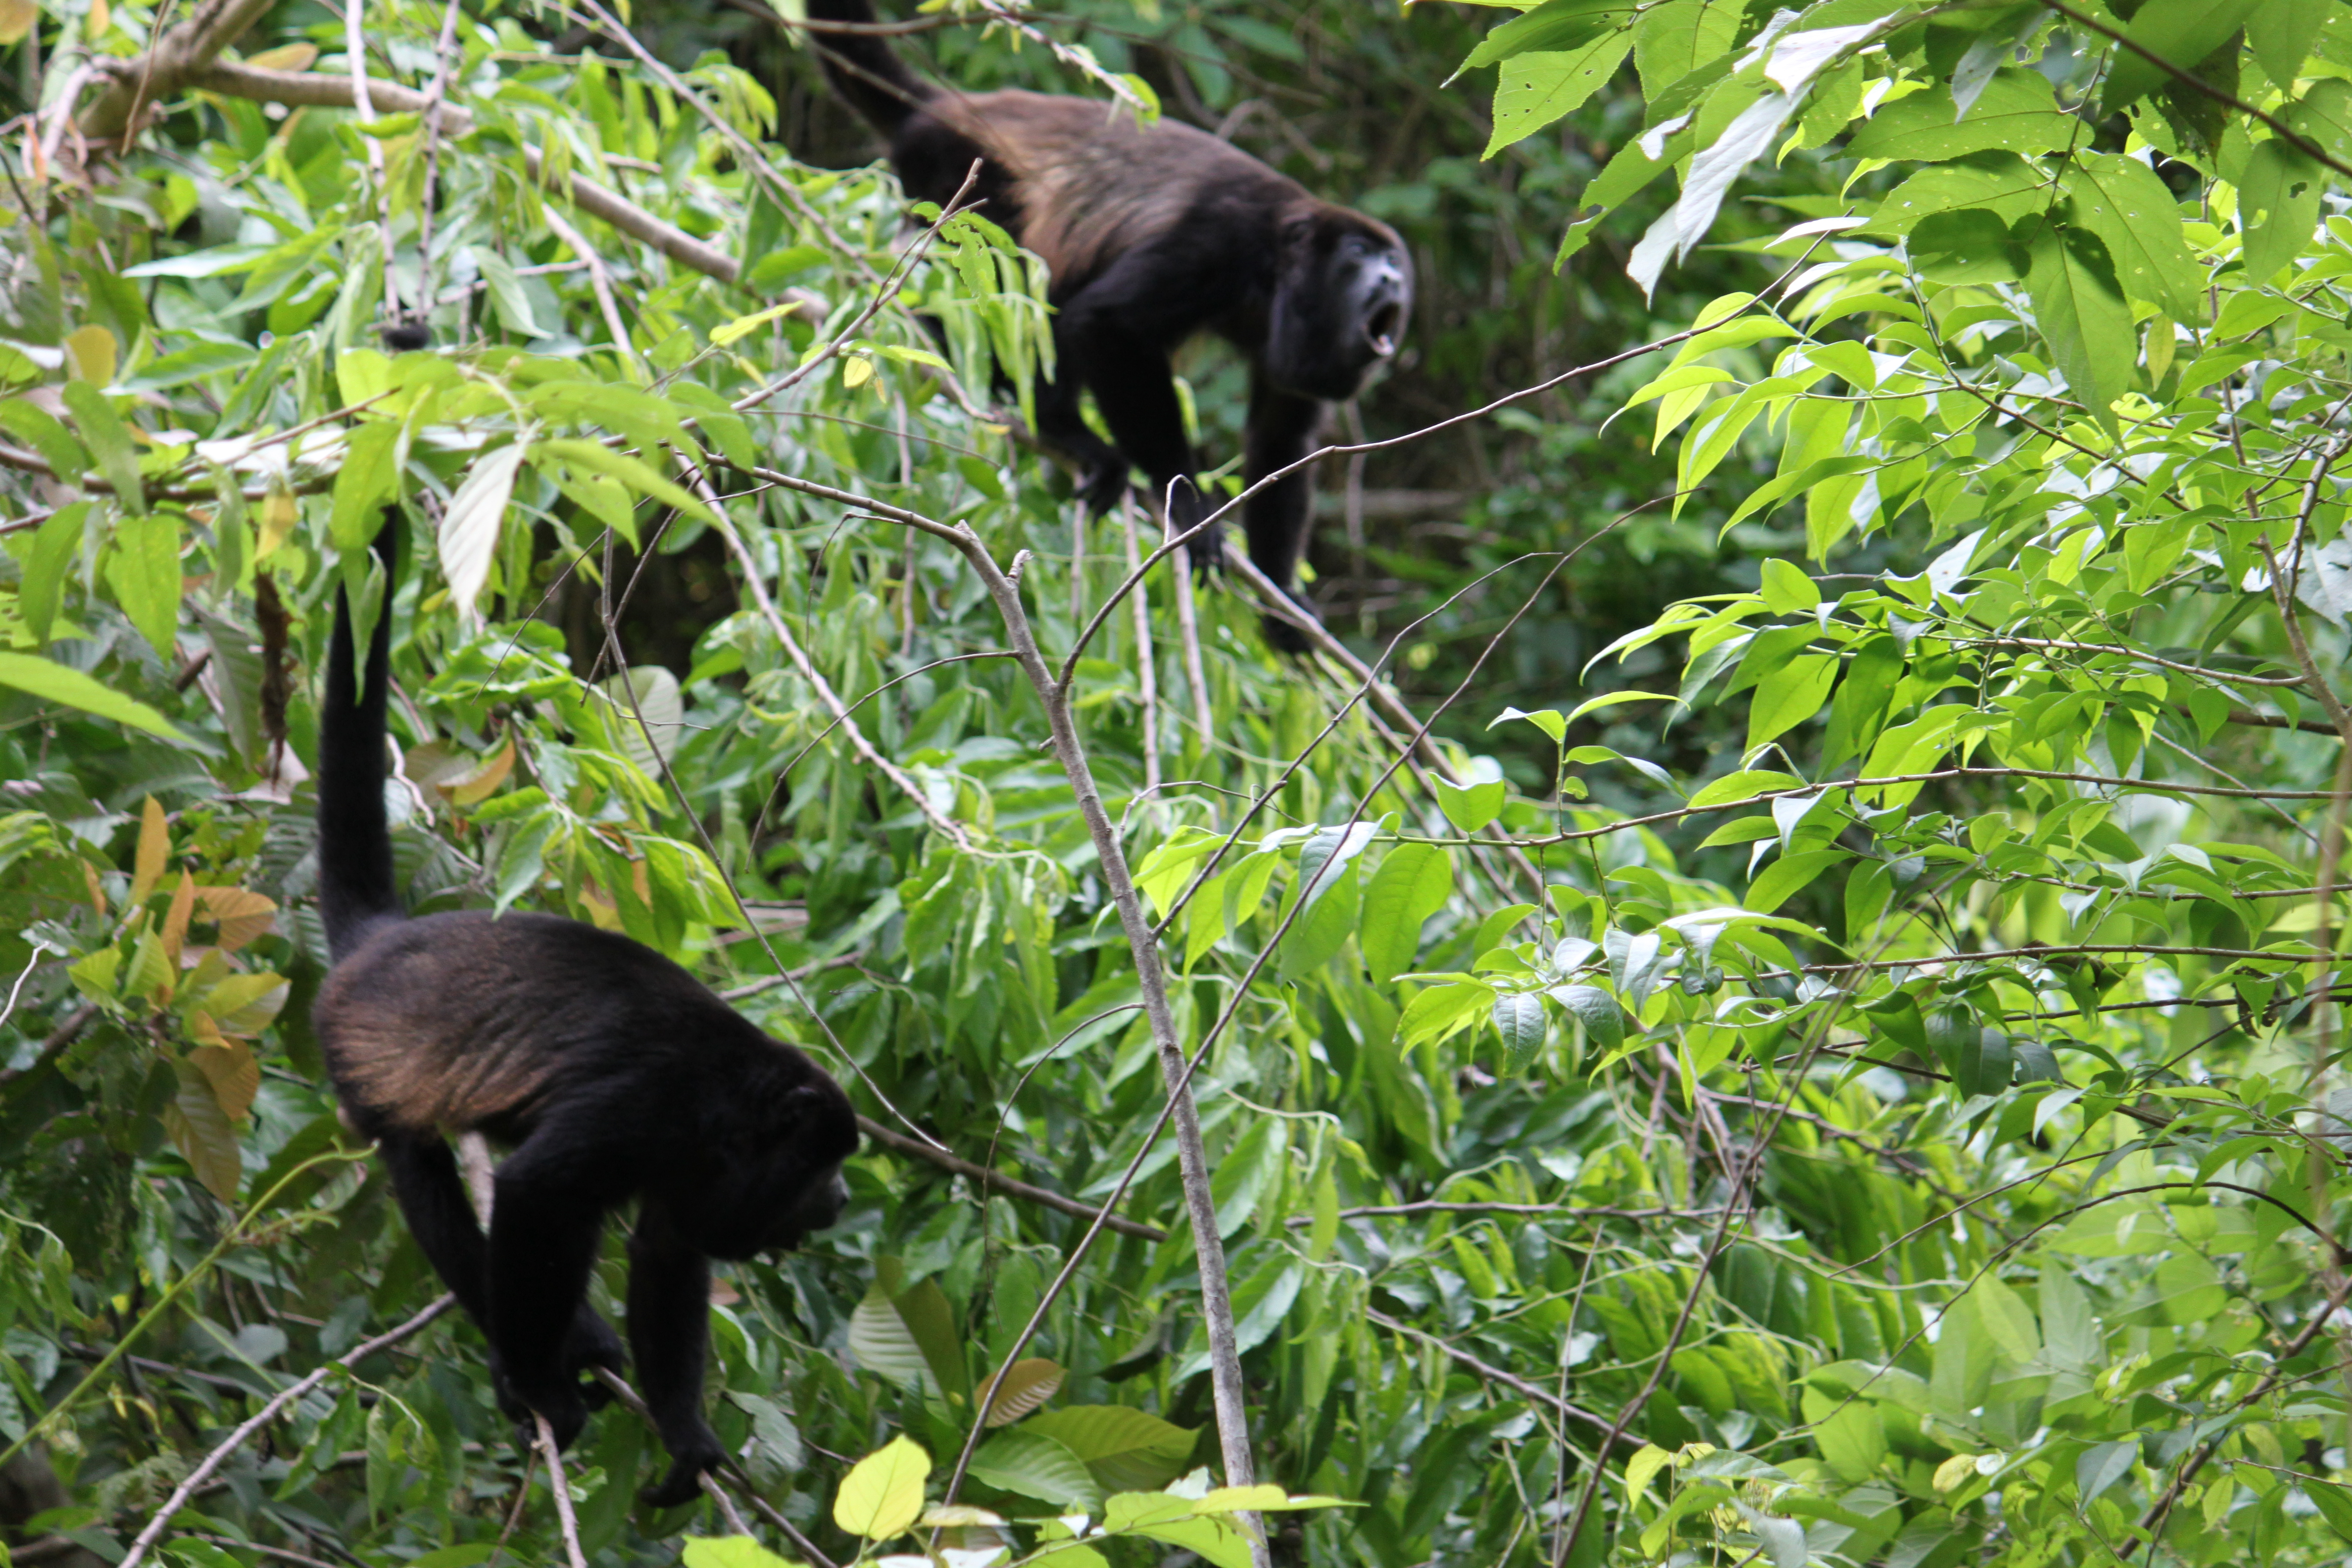
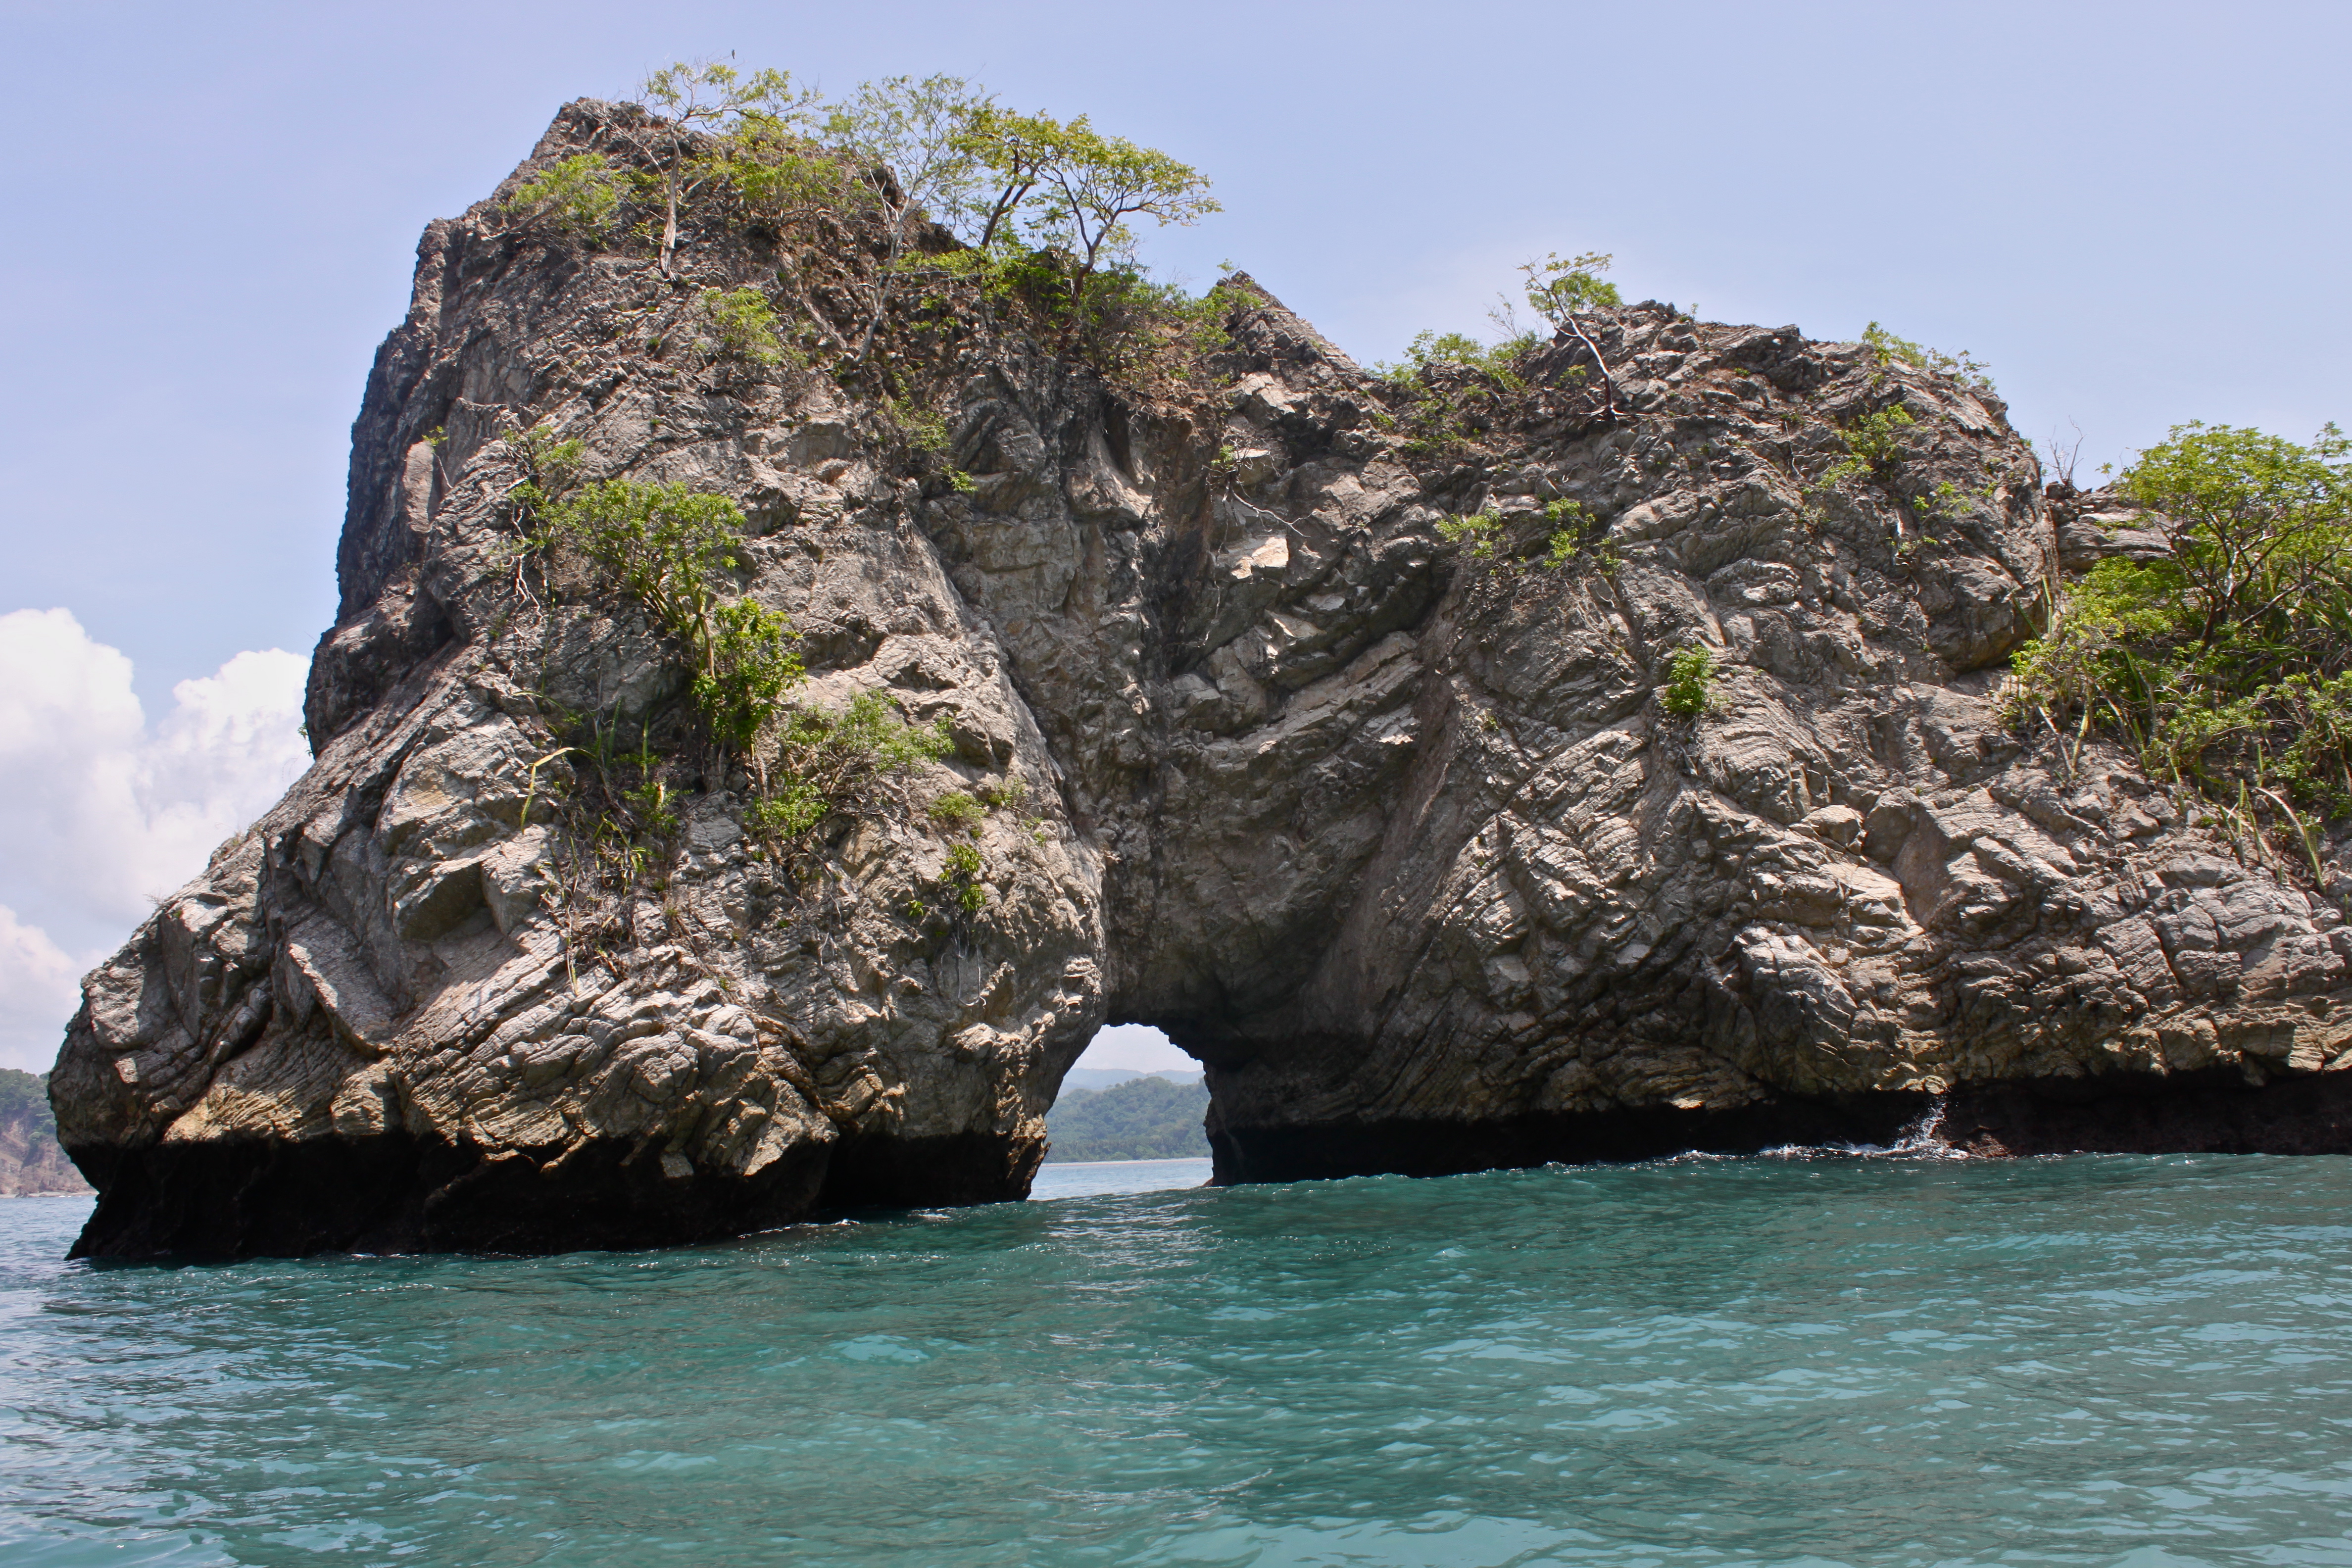
    The highlights of the trip included white water rafting, ziplining, and a safari with a whole lot of monkeys. So let’s go into picture heavy post, because I very honestly cannot encompass this trip in words.

    G Adventures offers many kinds of tours. My mother and I took a YOLO trip, which is a budget-style trip kind of perfect for us. The trip style that interested me the most, and is how our tour guide Jorge started in this line of work, is a “Volontour” trip. Jorge worked at a biology research center studying leatherback sea turtles. Volunteers, through G Adventures, were able to work alongside the biologists, protecting the sea turtles as they hatched.

    I’m still a bit in awe of the fact that I got to be in Costa Rica, sharing the tree tops with howler monkeys. I’ll be back when I get over that awe and talk to you guys about college (yes, yes, it is that time).

    sciseekclaimtoken-4fd6551a0640c

  • A Trip to the Atlanta Botanical Gardens

    A Trip to the Atlanta Botanical Gardens

    This past month I had the absolute pleasure of visiting the Atlanta Botanical Gardens as part of class field trip with my BIOL 4440 Plant Physiology class. Located just up the street from Piedmont Park, a quick 10 minute drive or 30-40 minute walk (for those of us without cars on campus, cough cough, me) from Georgia Tech, the Gardens offer year round awesomeness. My first visit to the Gardens was free of charge thanks to Dr. Jerry Pullman, Georgia Tech’s one and only resident plant researcher. Dr. Pullman works with the Research and Conservation division of the Botanical Gardens to study native endangered plant species such as the Georgia Aster and various types of pitcher plants. Also due to Dr. Pullman’s sweet connections with the Garden’s staff, my classmates and I received a tour of the greenhouses led by the director of Research and Conservation, the lovely and informative Dr. Jenny Cruse-Sanders.

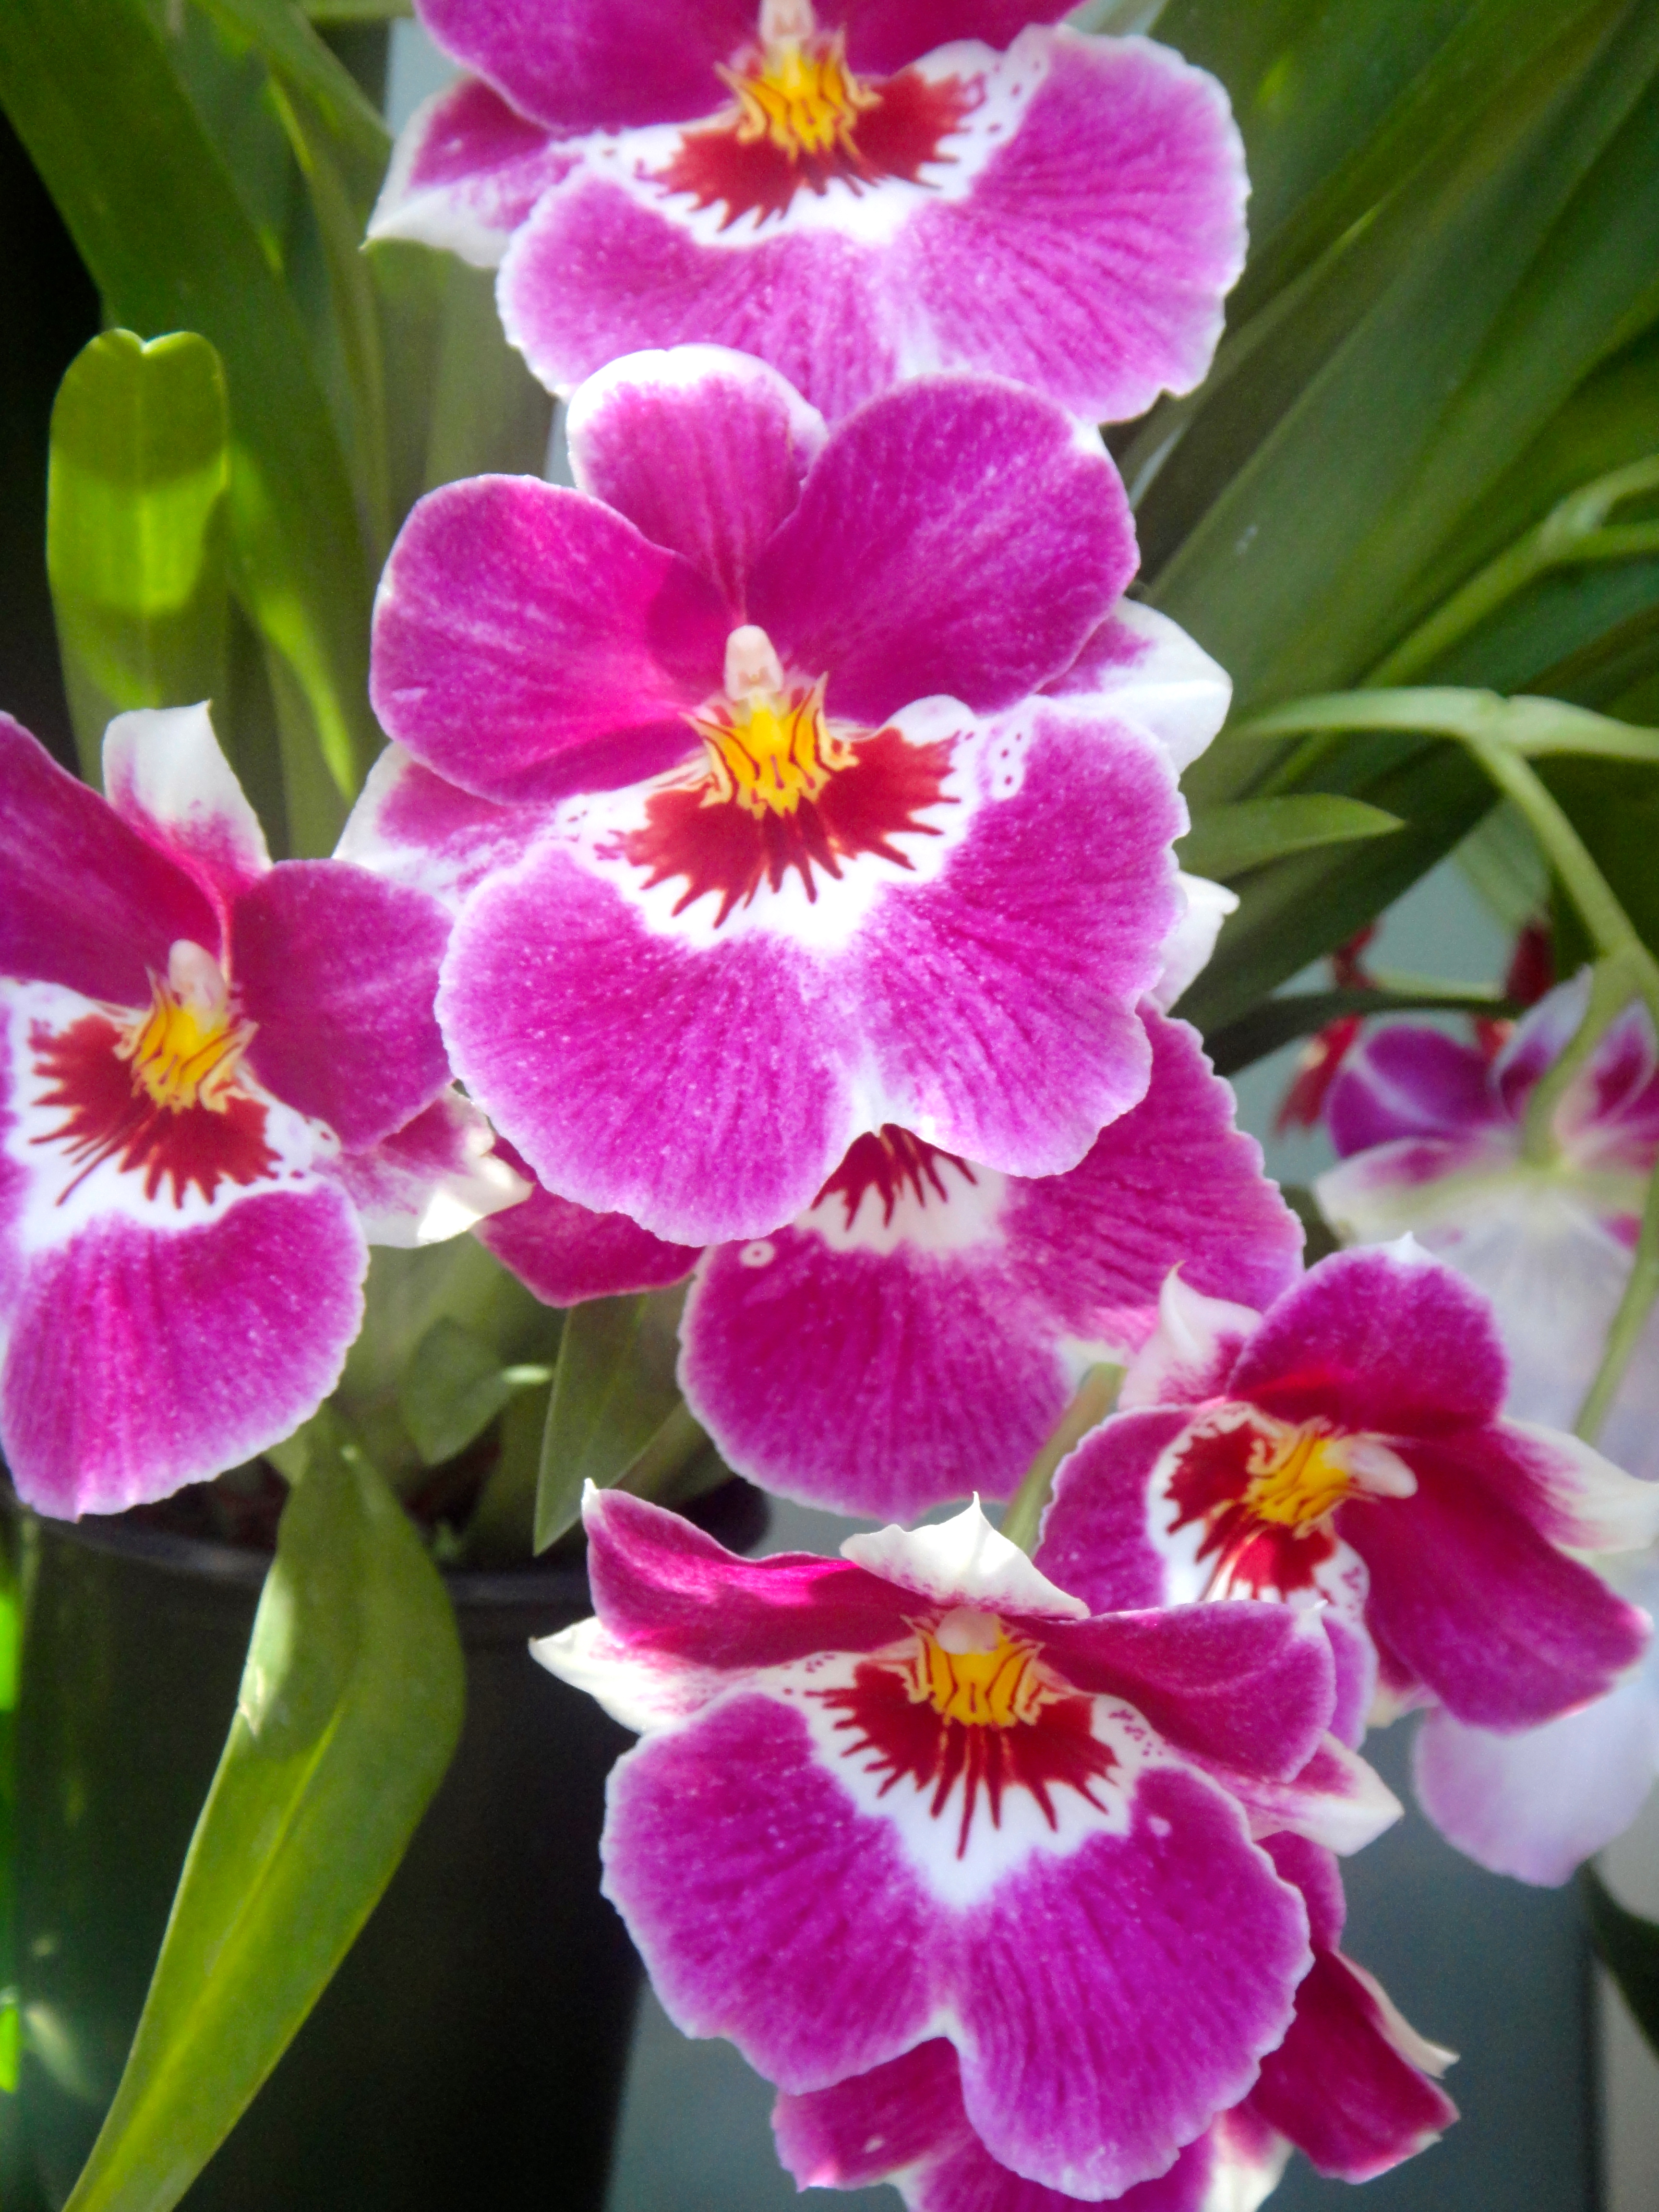
         Cruse-Sanders took us through several of the greenhouses that showcase different genres of botanical wonder. The pride and joy of the spring season is their Orchid collection, with a showcase called ORCHIDdaze which runs February through April before a “Gently Used Plant Sale” is held to sell the orchids to the public. However, the Gardens have orchids on display year-round with different seasonal displays and house an Orchid Reference Library for more bookish visitors, with public access available on Tuesdays. The Research and Conservation department runs a program for the restoration of the orchids native to Georgia. The Gardens also specialize in carnivorous plants, specifically Asian pitcher plants, Nepenthes, which can be seen in the Special Exhibits area of the Fugua conservatory. Also found in the conservatory are tropical conifers, some of which can be seen in the Tropical Rotunda, and Amborella, a rare genus of small trees native to New Caledonia and thought to be one of the earliest angiosperms.

          One the most enjoyable indoor exhibits for me was the Orangerie, which allows guests with the opportunity “to see, touch and smell some of the plants which are so important in our daily lives.” The Orangerie includes common foods such as vanilla, tea, coffee, cocoa, ginger, and many others. The botanical geek in me loved seeing these foods in the context of the whole plant, rather than just the isolated products.

         The Botanical Gardens work not only with plants, but also animals; in the tropical conservatory, quail and yellow saffron finches can be found among the underbrush and canopy, and snapping turtles and various types of frogs can be found in and around the water feature. My class was also treated to a tour of the amphibian displays and amphibian research lab by Amphibian Conservation Scientist, Dante Fenolio.

          The outdoor areas have much to offer as well, including The Edible Garden, The Rose Garden, The Southern Seasons Garden, a children’s area, and much more. The Gardens offer several events and classes, both delicious and educational, throughout the year, as well as volunteer opportunities. The garden is having an Endangered Species Day on June 2nd, where you can learn more about the work the Botanical Gardens do with rare plants and animals. Science Cafe is something I plan checking out soon, a climate change talk series held this May through October on the third Thursday of each month. The series will feature regional speakers discussing different aspects of climate change. This month’s lecture is titled “Pandora Botanicals: What kind of plants might grow on OTHER planets,” led by Dr. Angelle Tanner from Mississippi State University. More information on these events and other information about the Gardens can be found at http://www.atlantabotanicalgarden.org. Happy Exploring!

  • Celebrate DNA Day with a Chocolate Smoothie!

    Celebrate DNA Day with a Chocolate Smoothie!

    Happy DNA Day!!!!

    So, it’s April 20th and you want to celebrate DNA day, but aren’t sure how?  What about making chocolate smoothies in honor of Alfred Hershey and Barbara Chase, the rockin’ scientists whose experiment finally convinced everybody that the information for your traits (i.e. genes) was contained in DNA rather than in protein, which was the other contender .  They made their discovery 60 years ago so now’s a good time to call them out.

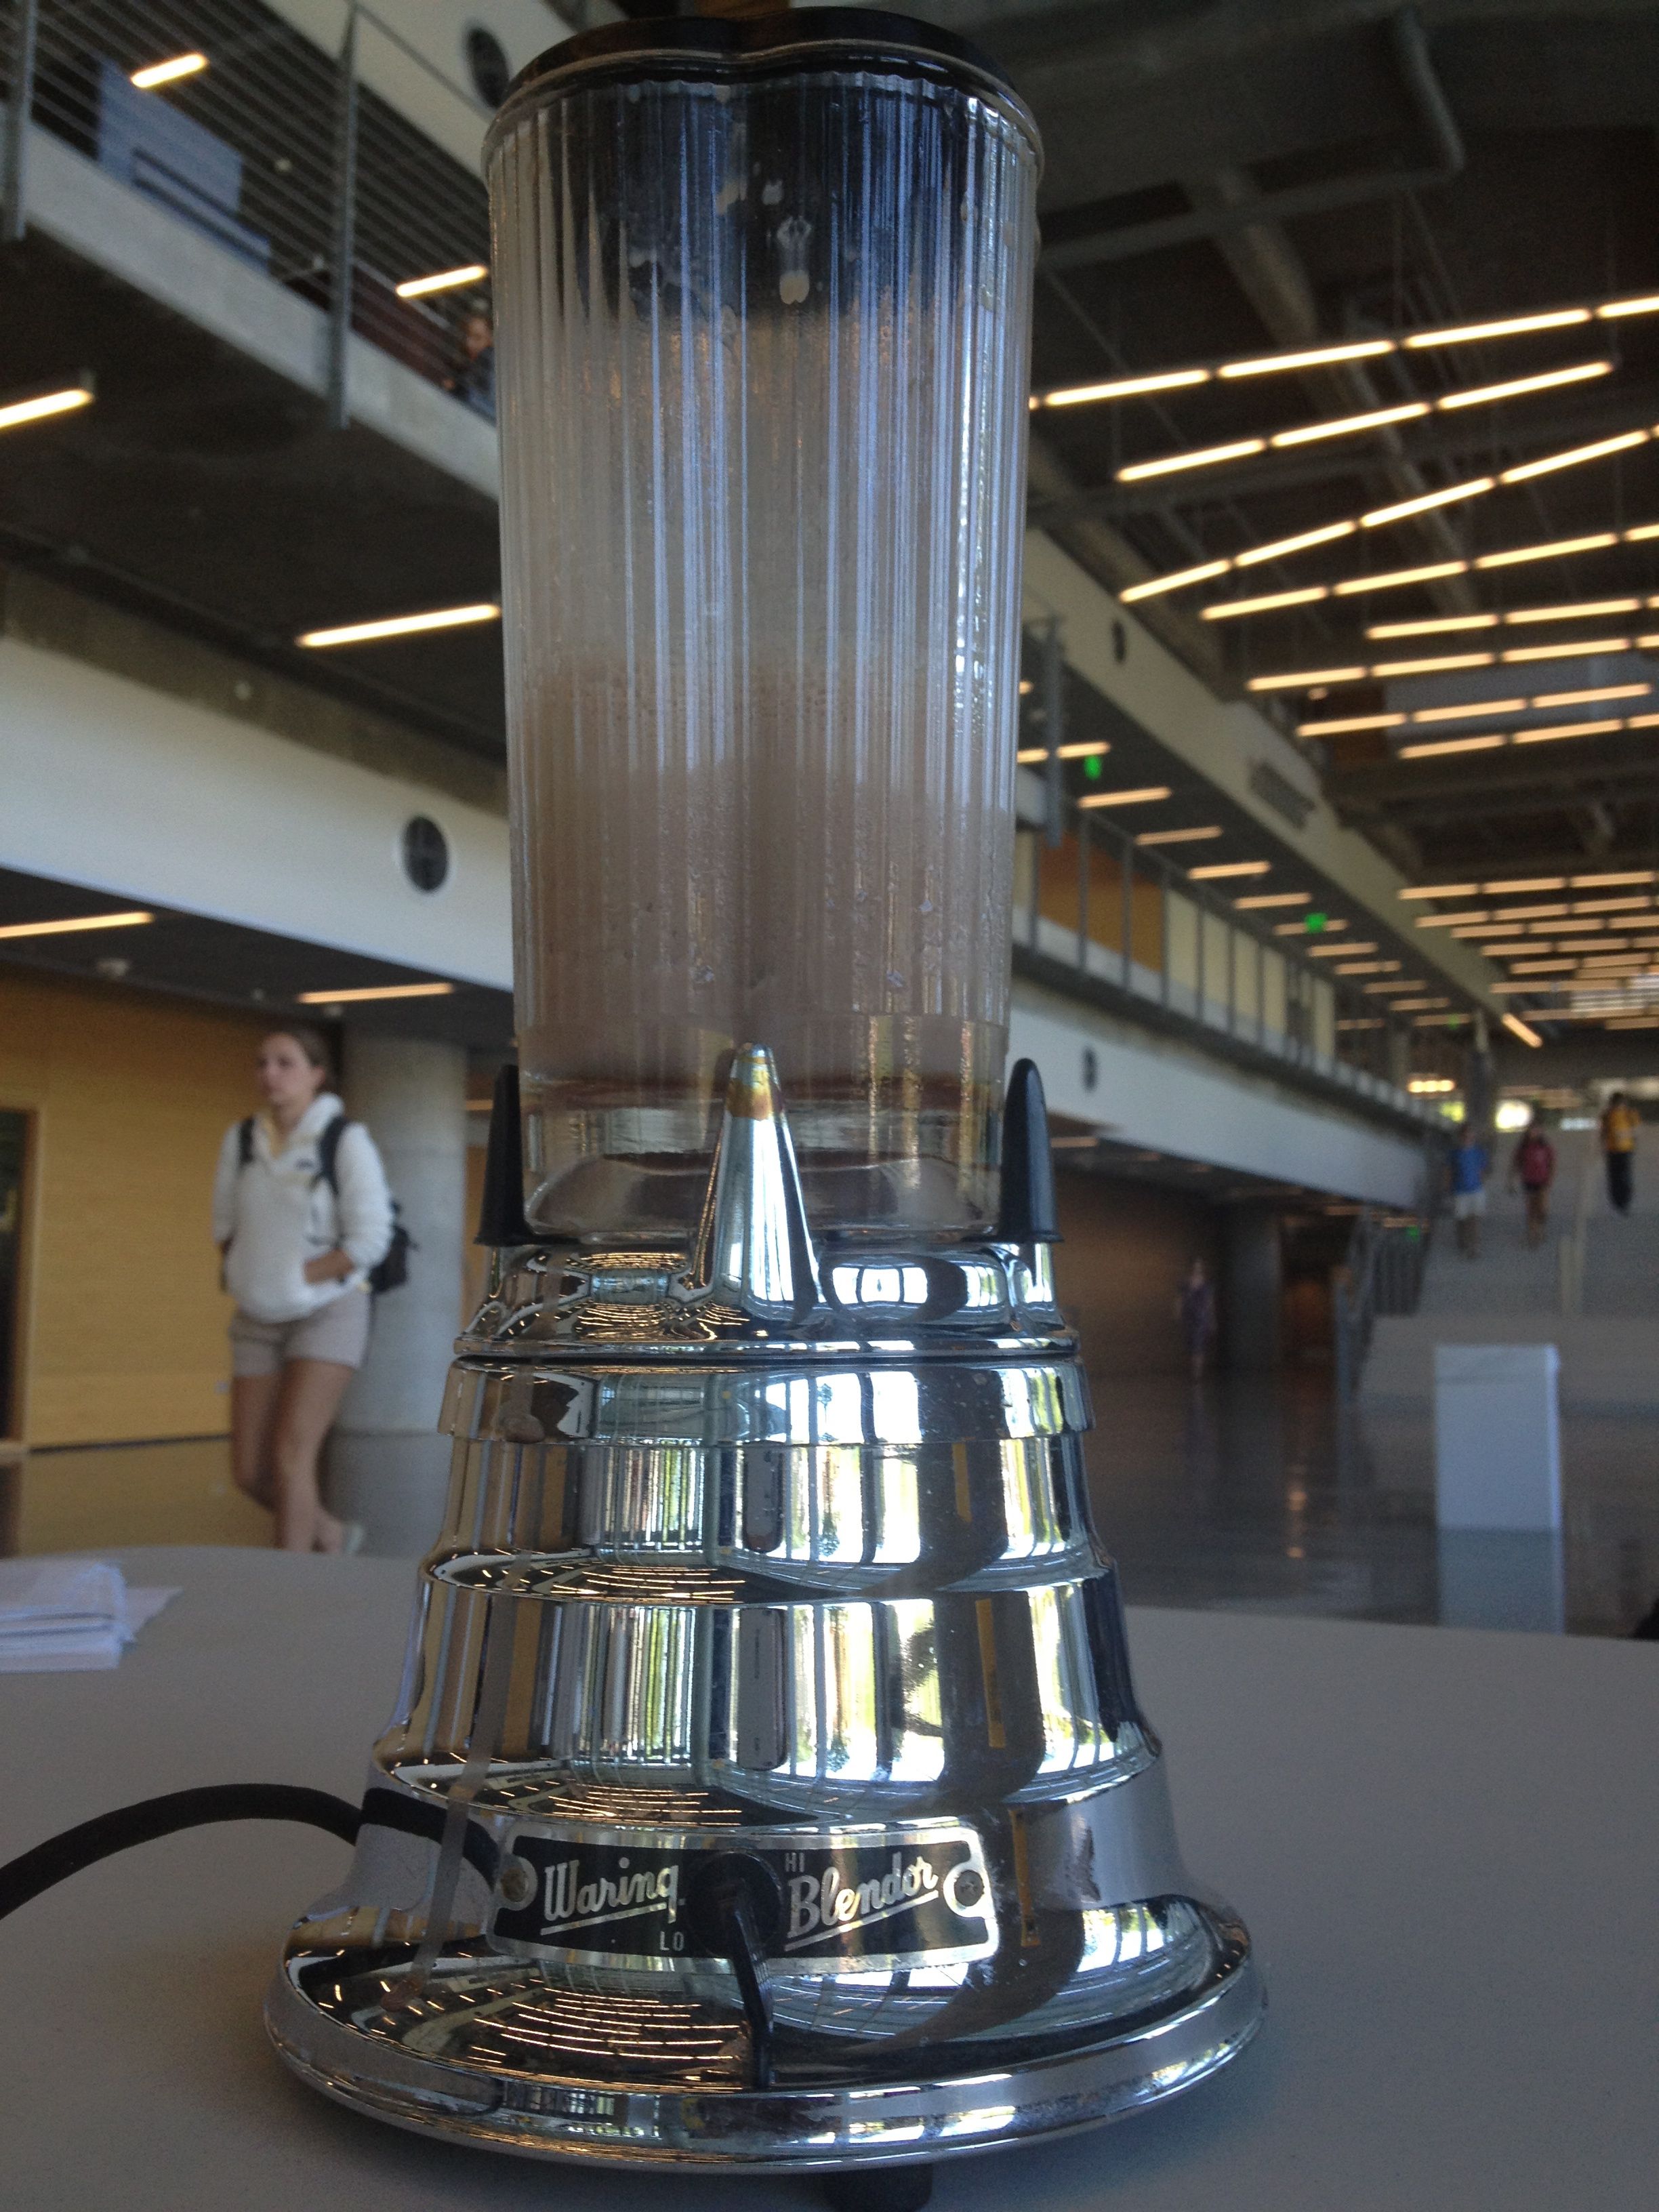
    Now, 1952 was a prosperous time in America and while folks were makin’ babies, watching TV and buying $0.20/gallon gasoline to fuel their big, beautiful cars, Hershey and Chase were hanging out on Long Island at the Cold Spring Harbor Laboratory, mixin’ up phage (bacteriophage) and E. coli.  Phage are viruses that infect bacteria and when they do that they bring genetic information along with them.  Hershey and Chase had the genius idea that if they labeled the different parts of the phage with radioactivity and then tracked which parts went INTO the bacteria, they could figure out what genes were made of.  So, they labeled the phage protein with radioactive sulfur or the phage DNA with radioactive phosphorous and added it to the bacteria for a little while.  Then they used a blender (like the vintage Waring blender pictured here) to knock off any parts of the phage stuck to the outside of the bacteria and, lo and behold, the radioactive DNA was inside the cells carrying the genes and the radioactive protein got knocked off of the cells and floated away.

    The results of the Hershey Chase experiment paved the way for the golden era of molecular biology and actually made people care about the big paper Watson and Crick put out the next year that proposed the structure of DNA.

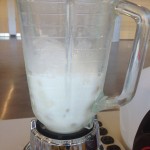
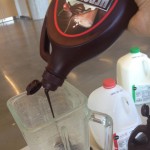
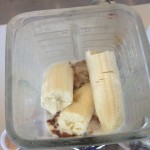
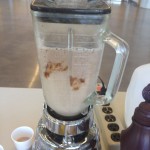
    So, HAPPY DNA DAY! Here’s how you can use YOUR blender to pay delicious tribute to these important scientists.

  • Water: Prankster of the Natural World Part 2

    Water: Prankster of the Natural World Part 2

    If you haven’t read part 1 (why would you do that?), here is a review of the scenario we are considering in part 2:


    Two identical containers of water (same volume, same container size and material) are placed into a freezer. One container contains water at just below its’ boiling point (< 100 °C) and the other at roughly room temperature (21 °C). Which will freeze first?


    Well I have two jars right here!

    In part 1 I discussed the Leidenfrost effect, named after a guy named Leidenfrost. In part 2 I will discuss the Mpemba effect named after, you guessed it, a guy named Mpemba. Interestingly, Erasto Mpemba was a young student when he made the initial observation that hot water can freeze faster than cold water. While he was not the first to make this discovery, his observation led to the first scientific study of the topic so it bares his name.


    At first glance, the second scenario is decidedly less exciting. No boiling, no sizzling, and unfortunately no shoddy videography, but unlike the Leidenfrost effect the mechanism behind the Mpemba effect is still hotly debated. During the boiling experiment the lower thermal conductivity of a trapped steam layer prevented efficient heat transfer to the remaining liquid droplet. Several competing explanations are offered for the Mpemba effect, but I will only consider the influence of variation in heat transfer upon freezing. In general “heat transfer” can be considered to explain both the Mpemba and the Leidenfrost effect, and there are three modes of heat transfer. Last time I described conduction which is the transfer of heat within a solid material or between two physically connected bodies. Conduction assumes that the atoms involved in the transfer of heat are fixed in space, like they would be in the solid pan from the Leidenfrost scenario or the walls of the container for the Mpemba effect. Thermal conductivity as described in part 1 is a measure of heat conduction. In a fluid convection is the major mode of heat transfer and implies that atoms or molecules are free to move around. Convection is the reason a bath of cold water with hot water poured into it will eventually reach a single homogenous temperature or opening the front door on a cold day will “let the cold in”. When dealing with both solids and “fluid” phases (a fluid means a non-solid phase) both conduction and convection can be considered. A more detailed explanation of conduction and convection can be found here.

    The third mode of heat transfer is radiation, which is the transfer and absorption of electromagnetic radiation. This was indirectly discussed in a previous article but is not important for these scenarios. A nice animation of each of the three modes mentioned here can be found on the web.

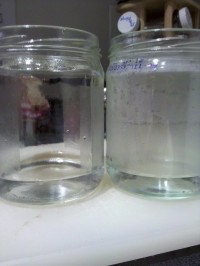
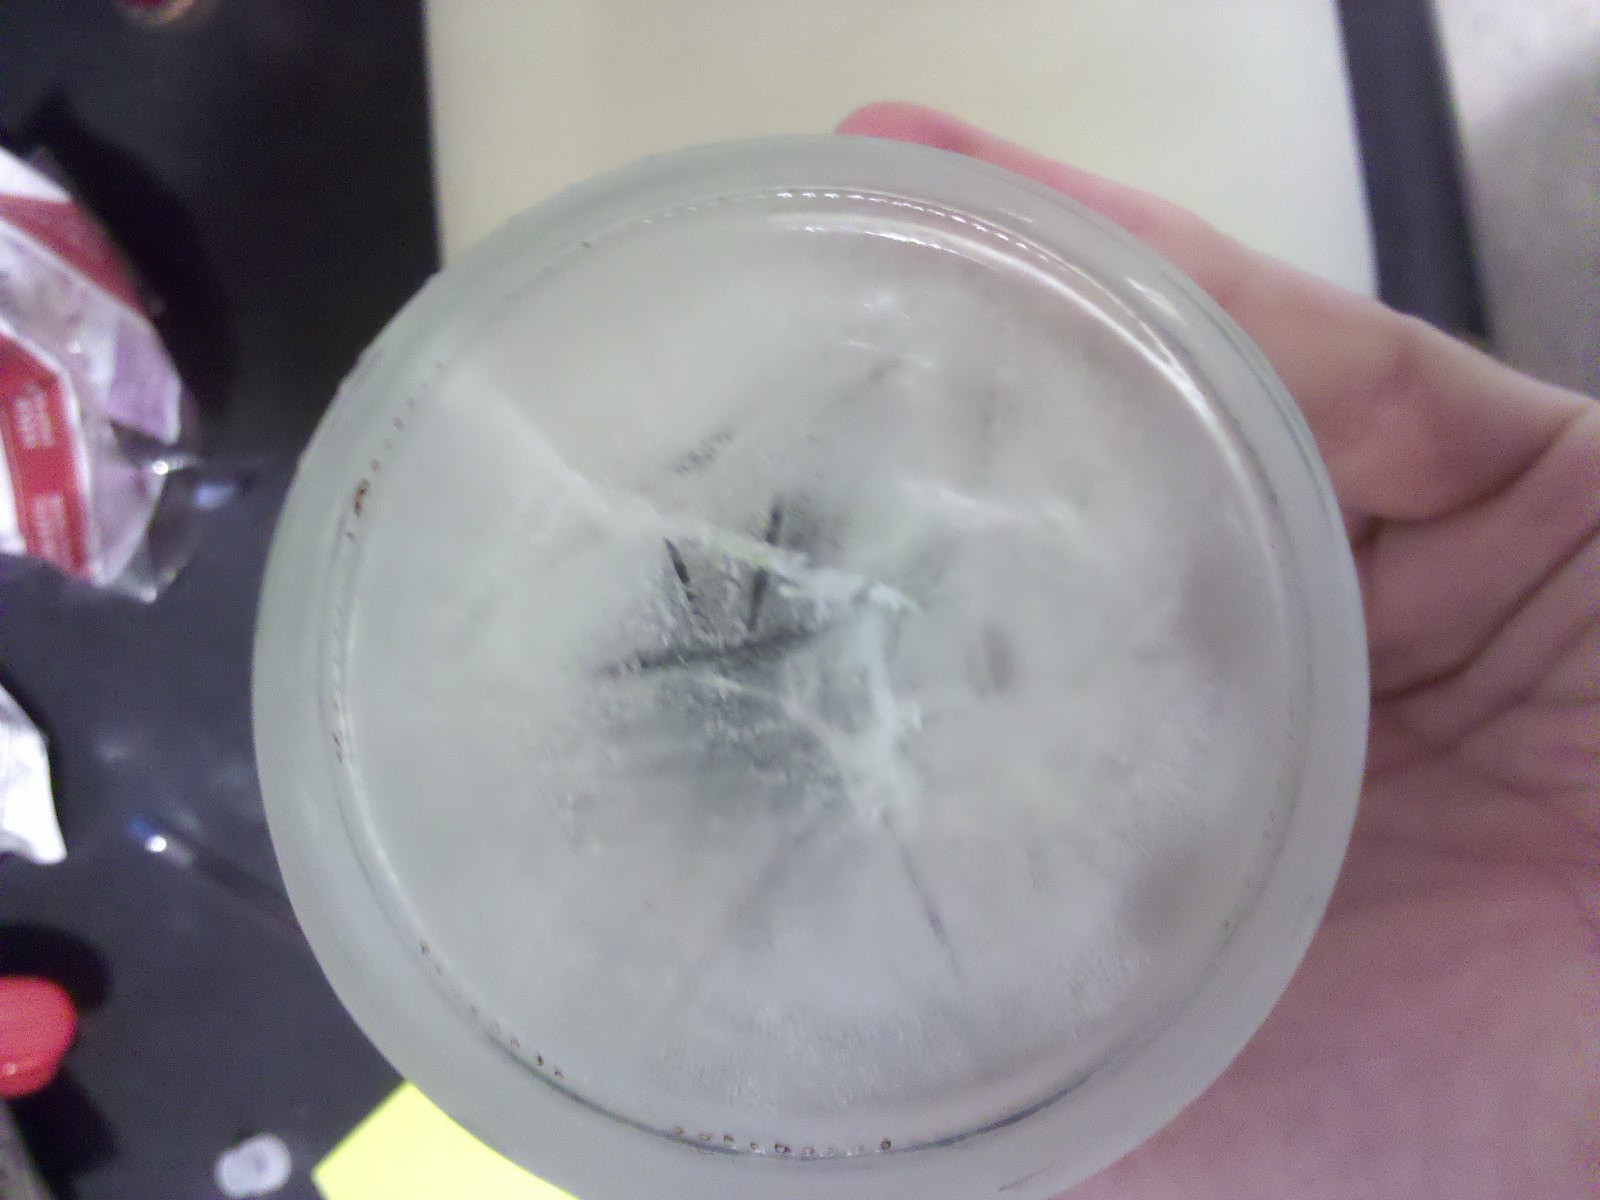
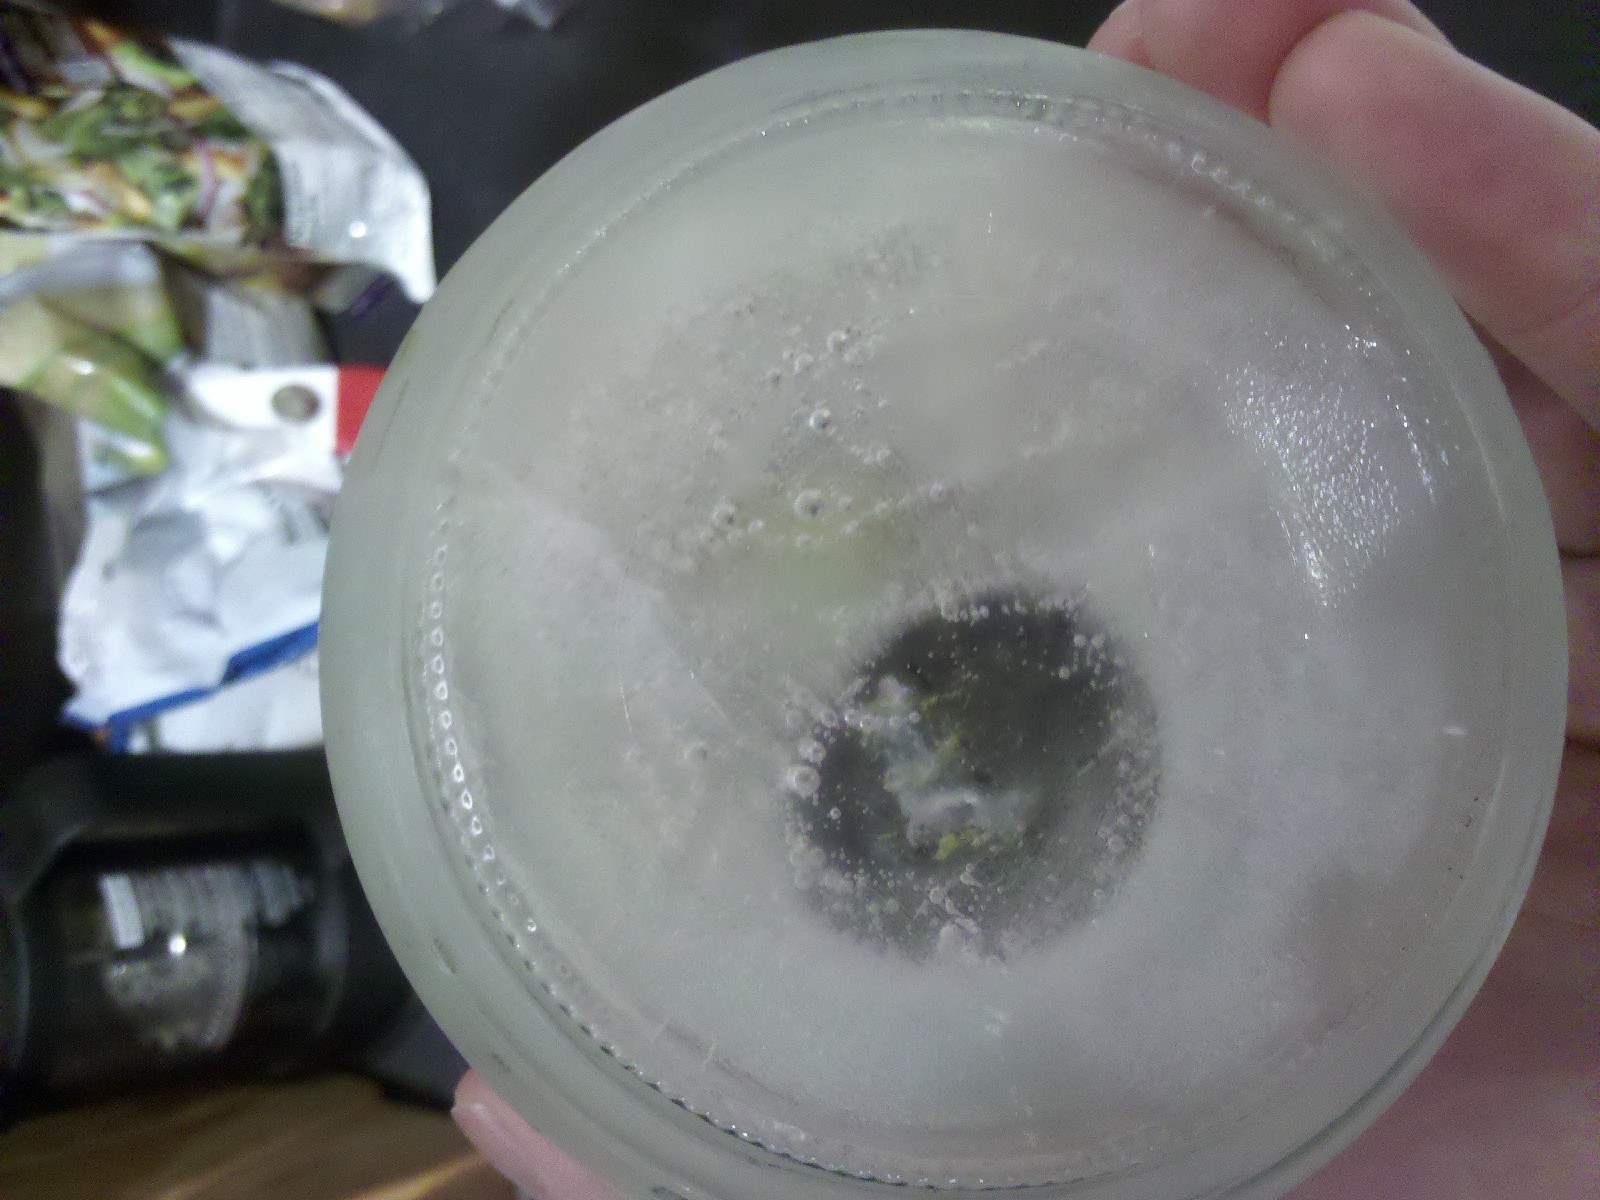
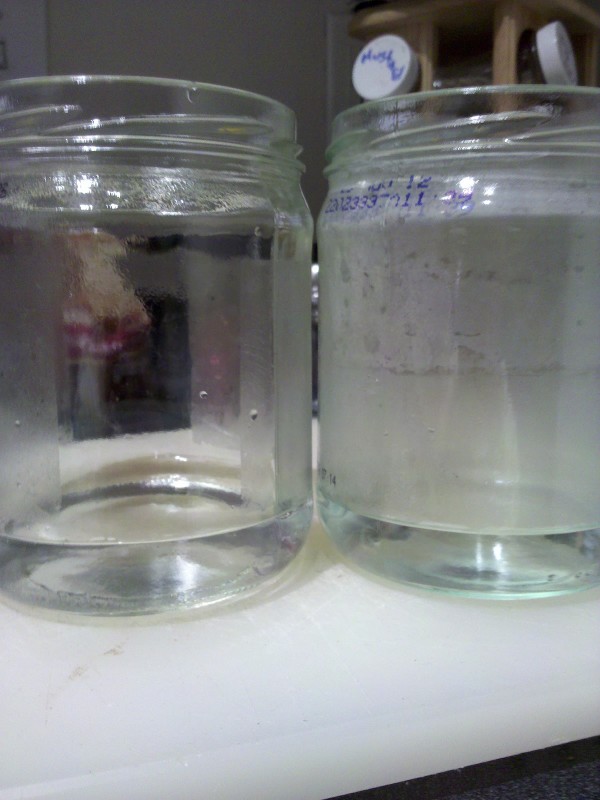
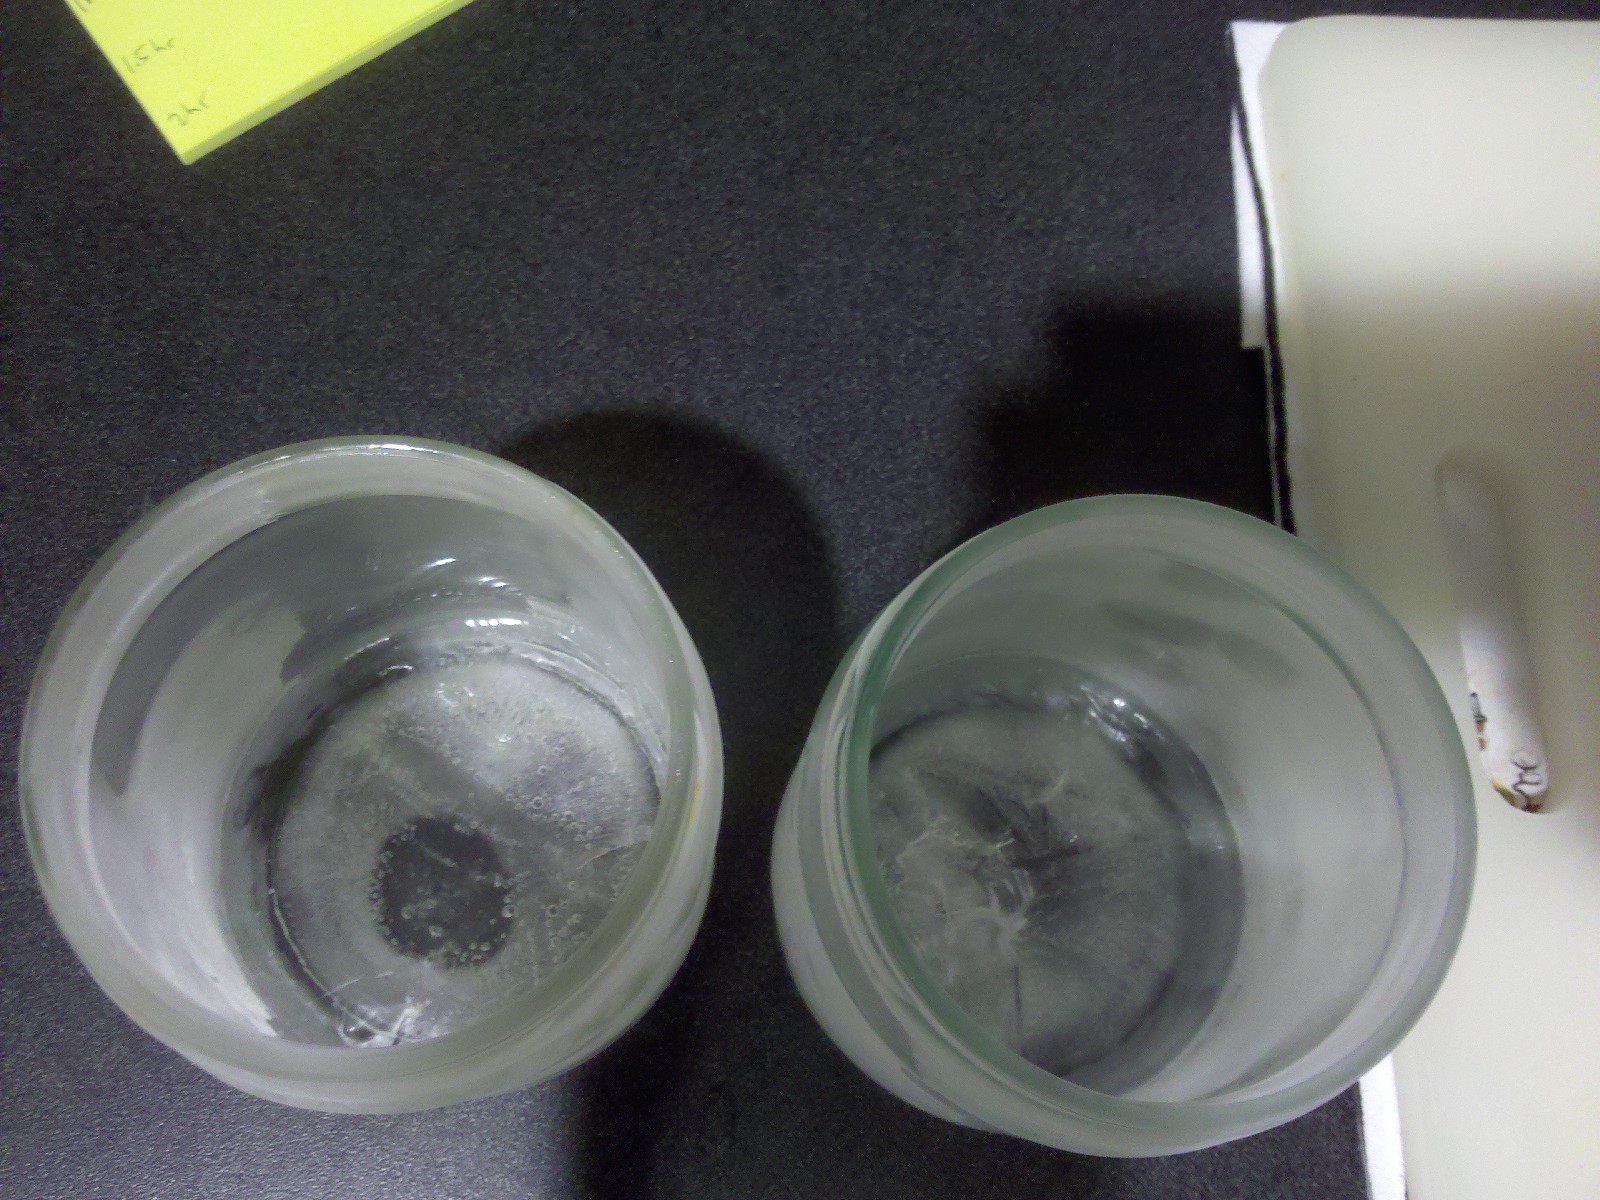
    To observe the Mpemba effect I took two identical salsa jars and ate their contents. This did not result in the Mpemba effect so I cleaned the jars and set about a second experiment. In one jar I put ¼ cup of tap water and allowed the water to reach room temperature by setting it on the counter for a few minutes. The temperature of my room was about 24 °C (75 °F). In the second jar I put ¼ cup of boiling water. By the time I poured the water it had cooled slightly from the boiling point (100 °C or 212 °F) to about 88 °C (190 °F). I checked these temperatures with a meat thermometer intended for porkchops and roasted chickens so the accuracy is not perfect but for this experiment it doesn’t matter – we only want to confirm that one container has water at a significantly higher temperature than the other. I placed both containers into my freezer which according to the same thermometer is somewhere around -15 °C (5 °F). After two hours I took the containers out and had a look-see. The room temperature water was mostly frozen except for a cavity between the ice at the top of the jar and the bottom of the jar itself. The boiled water was frozen solid. If I moved both jars around motion of the remaining liquid water in the tap water jar was obvious. From left to right below is both jars from the top after freezing, the room temperature jar from the bottom, and the boiling water jar from the bottom. The opening image for this article shows both jars unfrozen.
     

    Both jars after freezing – tap water on left
    Boiled water frozen
    Frozen tap water


    The heat transfer explanation that fits my results goes something like this: due to a difference in density between hot and cold water, hot water in the boiled container rises to the top and delays freezing. When the hotter water cools slightly it sinks to the bottom of the jar and stirs the rest of the container, keeping the temperature in the container homogenous. These movement within the water due to relative density differences are called convective currents. The convective currents are strong enough to keep the average temperature in boiled hot water jar above freezing until the entire container freezes simultaneously. Convective currents due to temperature differences are responsible for many naturally occurring events like the movement of an atmosphere around a planet. Meanwhile, the initially cooler tap water freezes at the top of the container preventing convective heat transfer between the water and the cold air in the freezer. Convective currents are also present in the tap water jar, but the remaining heat distributed by them is not enough to prevent a top layer of ice from forming.
     

    I feel obligated to admit that I had some difficulty getting this experiment to work. At first I tried using a whole cup of water in the same jars, checking the temperature in each container every five minutes. In this test I found that the boiled water dropped in temperature very rapidly at first whereas the tap water changed temperature very slowly. Both jars reached around 34 °F, just above the freezing point, at about the same time. The tap water jar froze on the top first making subsequent measurements of the underlying liquid difficult. Eventually both containers were mostly frozen but I couldn’t tell when the interior of either jar had frozen. Repeatedly opening the freezer door to inspect the jars also manipulates the experimental conditions, so when trying this at home I recommend you only check the freezer once an hour or so to see if anything is frozen. Transparent containers like my glass salsa jars make a quick inspection easier, but using containers of different materials could lead to some interesting results. It is this apparent sensitivity to experimental conditions that makes the mechanism responsible for the Mpemba effect subject to question. You can read more about some of these on the Wikipedia article for the Mpemba effect, but I encourage you to try some of your own tests and see what you find!

  • Water: prankster of the natural world part 1

    Water: prankster of the natural world part 1

    If you’ve ever taken a life sciences course your teacher probably mentioned one of several properties that make water particularly interesting. Water is cohesive meaning it sticks to itself, adhesive meaning it sticks to other things (superhydrophobic surfaces notwithstanding), and is considered the “universal solvent” because it readily dissolves many other substances. These properties are some of the most critical that allow water to function as the key to most terrestrial forms of life. Another interesting fact about water is that it is one of the few substances that exists in all three states of matter (solid, liquid and gas) in fairly non-extreme locals on earth. Furthermore, these phases exist within a relatively narrow range of temperatures – the entire transformation from solid to gas spans only 100 degrees Celsius (from melting of ice at 0 °C to boiling of liquid water at 100 °C). Compare that to ethyl alcohol (the alcohol in “alcoholic” beverages) which solidifies at -114 °C  and boils at 78 °C (a range of only about 200 °C, but with freezing occurring at a temperature below the coldest temperature ever recorded on earth) or a pure metal like iron with a melting temperature of 1538 °C and boiling temperature of 2862 °C  – that’s a phase range of over 1000 °C!

    It is important at this point in my introduction to define a phase: a phase is one of several atomic or molecular configurations for a given composition. When considering melting and boiling points, we are observing only the transition between the three states of matter mentioned above, however it is equally correct to consider multiple crystal structures for one composition of solid as different phases. Some of these solid phases are not easily distinguishable without sophisticated analytical techniques, while others have characteristic changes in physical properties.  No one would confuse graphite and diamond though they are in fact different phases of the same element. Plasma, also known as a superheated gas, is considered a fourth phase of matter but not one normally observed in nature with a notable exception being bolts of lightning. However, when heated to the point of being a plasma the atoms defining a given composition become ionized and for this reason plasma is normally considered separate from the more conventional states of matter. Fun fact for gamers: this is the plasma in all your favorite late game super-weapons.

    This is where things get weird for our old friend agua.

    Consider the following scenarios:

    1) Two identical pans are pre-heated to temperatures above the boiling point of water. The first pan is heated to 150 °C and the second pan to 300 °C. If drops of water at room temperature are placed into each pan, which drop will undergo the phase change from liquid to gas (boil) first?


    2) Two identical containers of water (same volume, same container size and material) are placed into a freezer. One container contains water at just below its’ boiling point (< 100 °C) and the other at roughly room temperature (21 °C). Which will freeze first?


    If considering only the energetics of each scenario, the logical conclusion is that a higher temperature pan means faster boiling, and a lower starting temperature means faster solidification. But if you were to perform these exact experiments at home (which I hope you do!) the opposite would occur.


    So whats going on? Is water playing by the rules (of thermodynamics)? Fortunately for us, Gibbs will remain stationary in his grave. As it turns out, both of these scenarios are good examples of how the properties of matter can change dramatically after a phase change. In both of these cases, variations in heat transfer between phases is likely to blame.


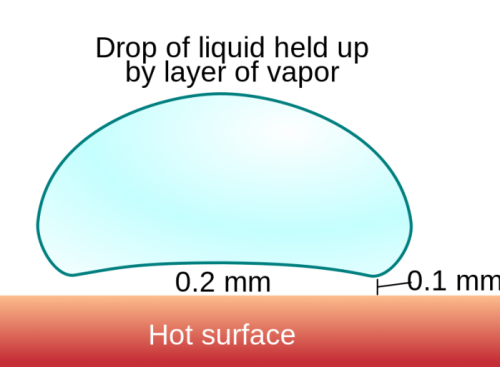
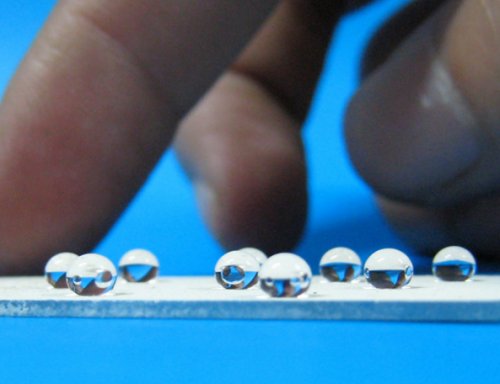
    For the water in the pan scenario, there exists a temperature above which water is so quickly vaporized upon hitting the pan a thin layer of steam is trapped below the liquid droplet, causing it to literally levitate above the surface of the pan on cushion of water vapor. Think air hockey table, but droplets of boiling water replacing the plastic puck. This temperature is called the “Leidenfrost point”, which according to unreferenced figure from Wikipedia is about 200 °C. Steam has a thermal conductivity roughly 10-100 times lower than that of liquid water depending on the temperature. In an idealized example, thermal conductivity is a measure of how easily a quantity of heat in a high temperature region can travel from one side of a 100% dense (no porosity) slab of material to the other. Thermal conductivity has units of energy per length per degree per second (Joules/(meter*°C*seconds)), meaning for a fixed length and temperature a material with lower thermal conductivity will take more time than a material with higher thermal conductivity to transfer the same amount of energy.

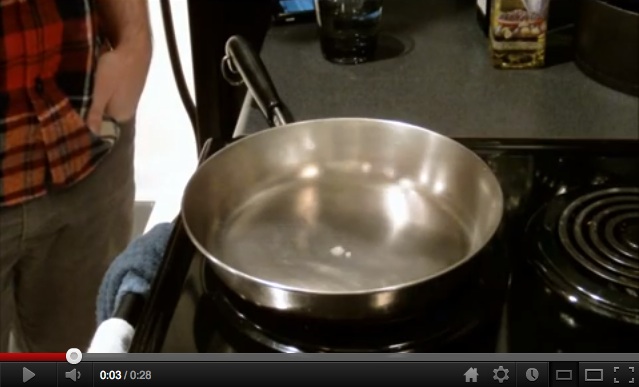
    At temperatures above the Leidenfrost point the Leidenfrost effect is observed and drops of water on a pan will take longer to boil because the steam trapped below the liquid water takes more time to transfer heat to the droplet from the pan. The videos below demonstrate drops of water into a pan below (top) and above (bottom) the Leidenfrost point. Above the Leidenfrost point, the droplets can barely be heard to sizzle as they zoom around on cushions of steam. For the pan heated above the Leidenfrost point, occasional contact with the edges of the pan, which are actually at a lower temperature or placing drops repeatedly in the same area which leads to local cooling will lead to momentary sizzling as the entire droplet boils. For the videos below, I used a nonstick pan and an eyedropper to put a few drops of tapwater onto the pan at a time. For the lower temperature I set my range to setting of 2 out of 10 and for the higher temperature I set it to about 6 out of 10 and waited a few minutes at each temperature for the pan to heat up.


    You may have heard of ole’ Leidenfrost’s namesake before associated with dipping things (namely one’s hand) into boiling lead after placing it in water. The Myth Busters did it after significant deliberation and preliminary testing, but somehow the alpha geeks at PopSci seemed to think it would make a good “DIY” project. I have to say, I can understand why dipping digits is the sexier version of the Leidenfrost effect demonstration, but the pan + water trick seems a little less invasive. In their defense, PopSci also covered this demo and the equivalent effect with boiling Nitrogen instead of steam as well.

    However you plan to enjoy the Leidenfrost effect, do so under proper supervision and be careful.

    Check out part 2 for a discussion on the second scenario!